The Mouth Cancer Foundation illustrates the screening protocol for dental professionals to carry out in the practice.
When it comes to cancer, early diagnosis is key to ensuring patients have the best possible outcome. Therefore, all dental professionals are encouraged to carry out a thorough head and neck cancer screening on every patient at least once a year at routine appointments.
The Mouth Cancer Foundation views the screening as a whole-team approach, so all members of the practice team are familiar with the signs and symptoms to look out for. In addition, a constant effort is required to demonstrate a visible commitment to increasing public awareness of mouth cancer.
A comprehensive mouth cancer screening takes less than two minutes to carry out.
To ensure that dental professionals have a standardised process for all patients over the age of 16 years, the Mouth Cancer Foundation has developed a simple mouth cancer screening protocol.
This examination can be carried out in the dental chair using gloved hands, a mirror and good lighting. Before the examination, communicate to your patient what you are doing and looking for. The time after the examination is ideal for giving appropriate advice to those at risk.
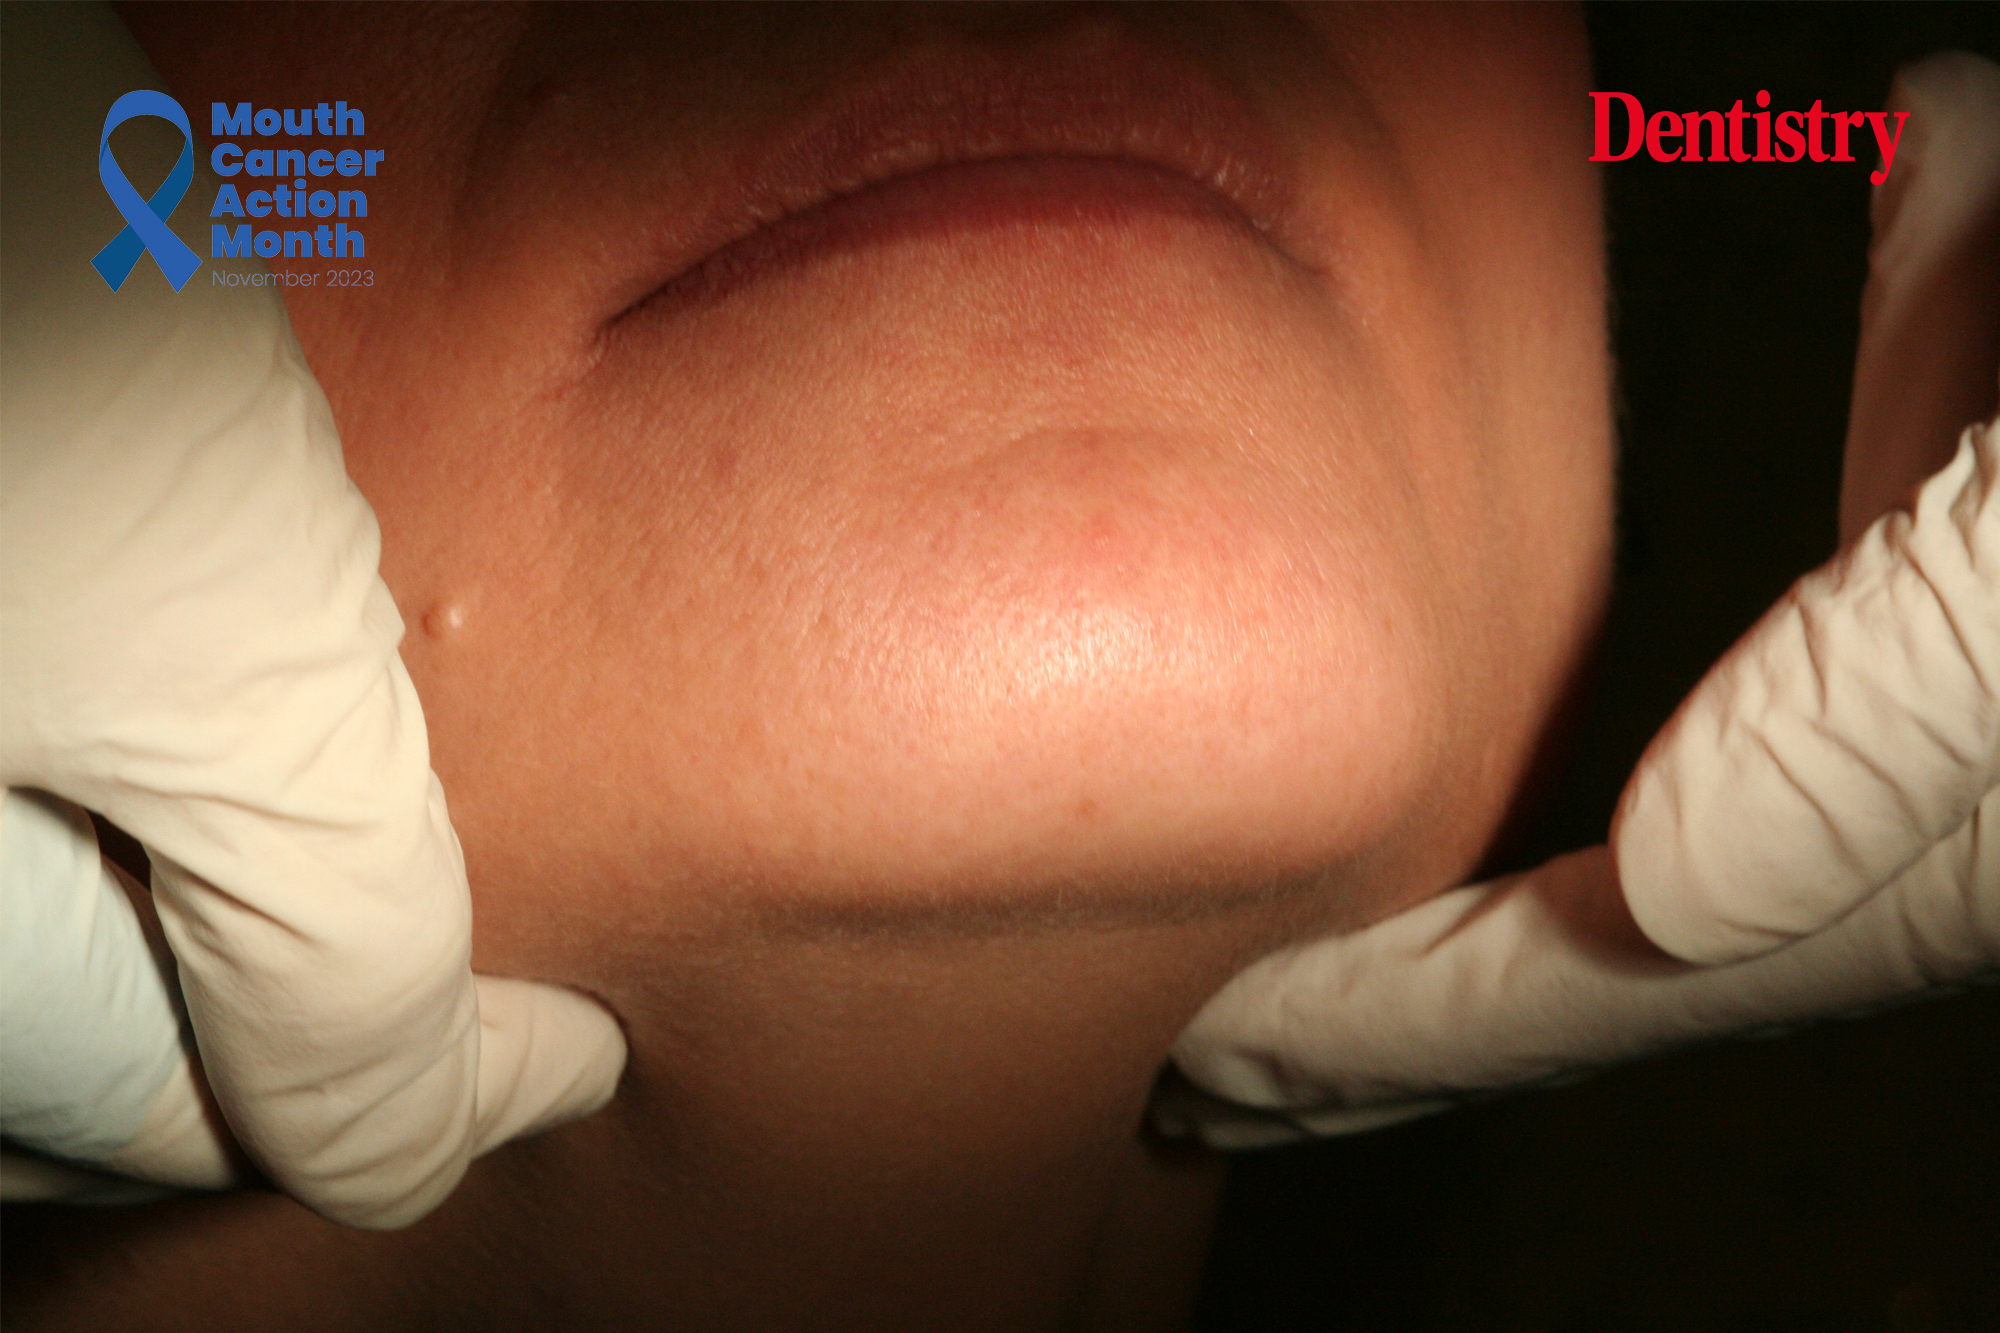
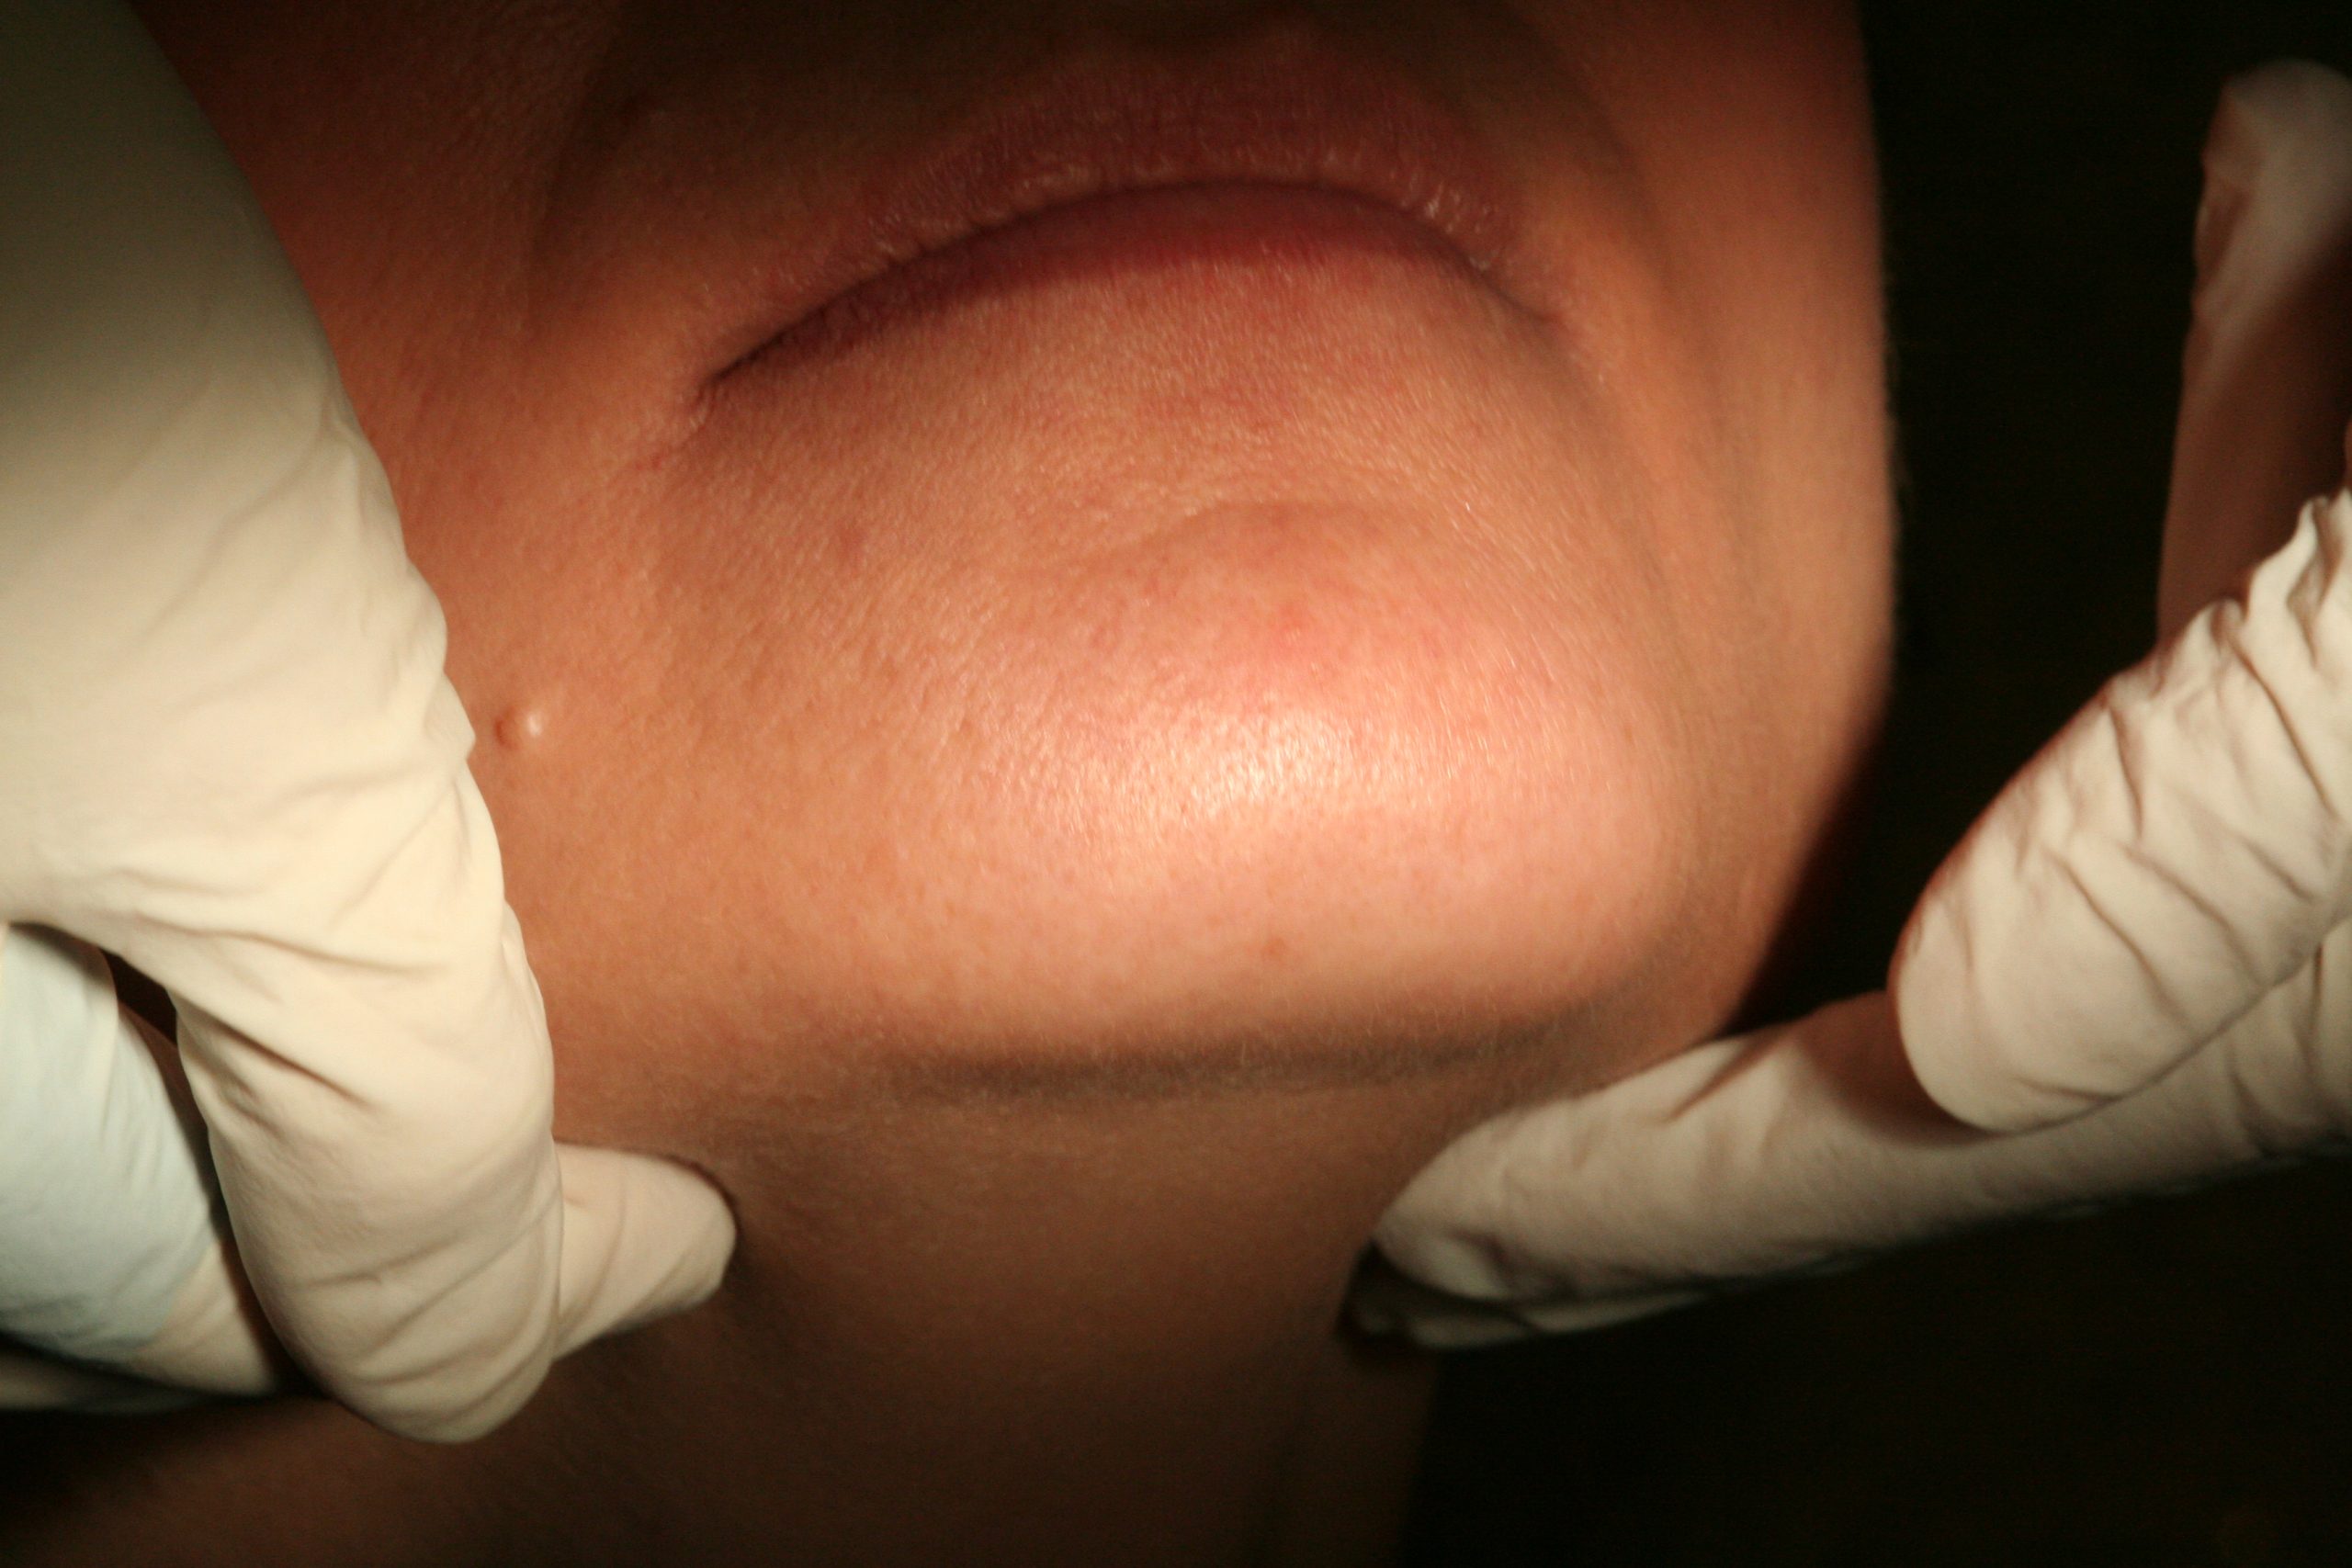
Extraoral examination
- Observe the face and neck looking for swellings, skin abnormalities, moles and asymmetry
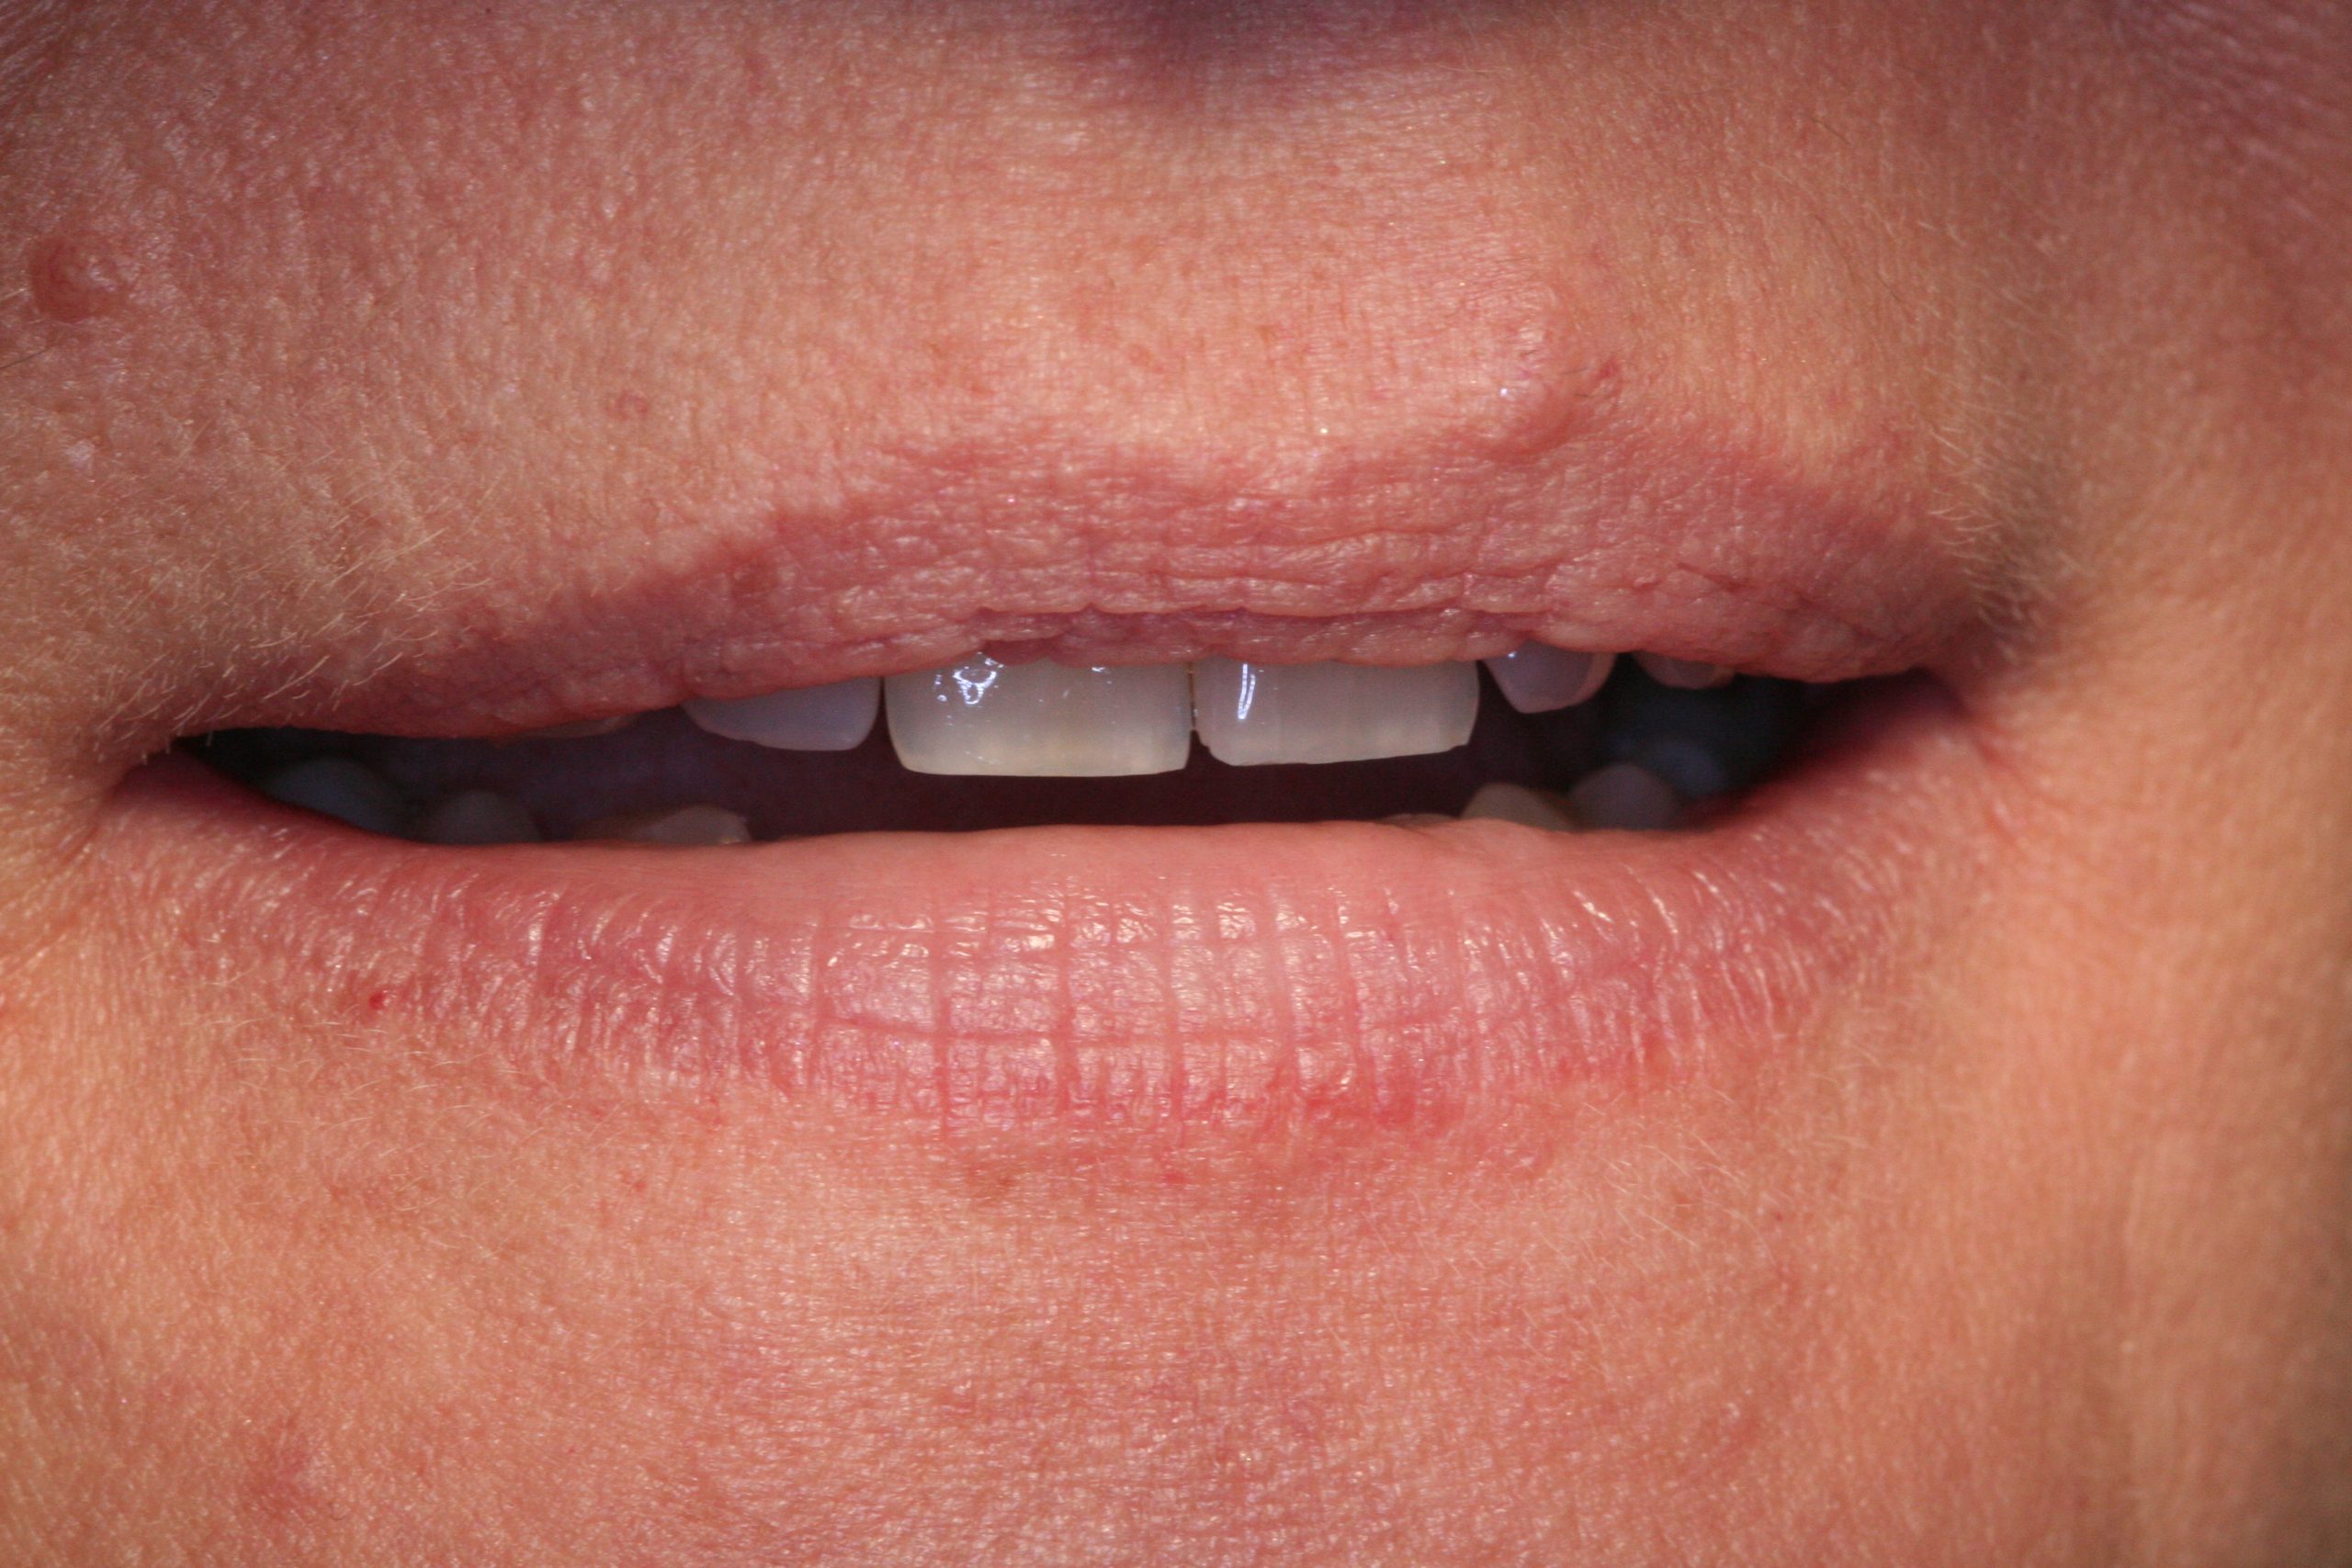
- Look for any changes in the colour or texture of the vermillion border of the lips and mouth
- Palpate the lymph nodes in the neck feeling for any enlargement or abnormality. Most intraoral lesions present with enlarged nodes in the submandibular and submental and upper jugular regions of the neck. These can be palpated in the submandibular region below the lower border of the mandible and just anterior to the sternocleidomastoid muscle.
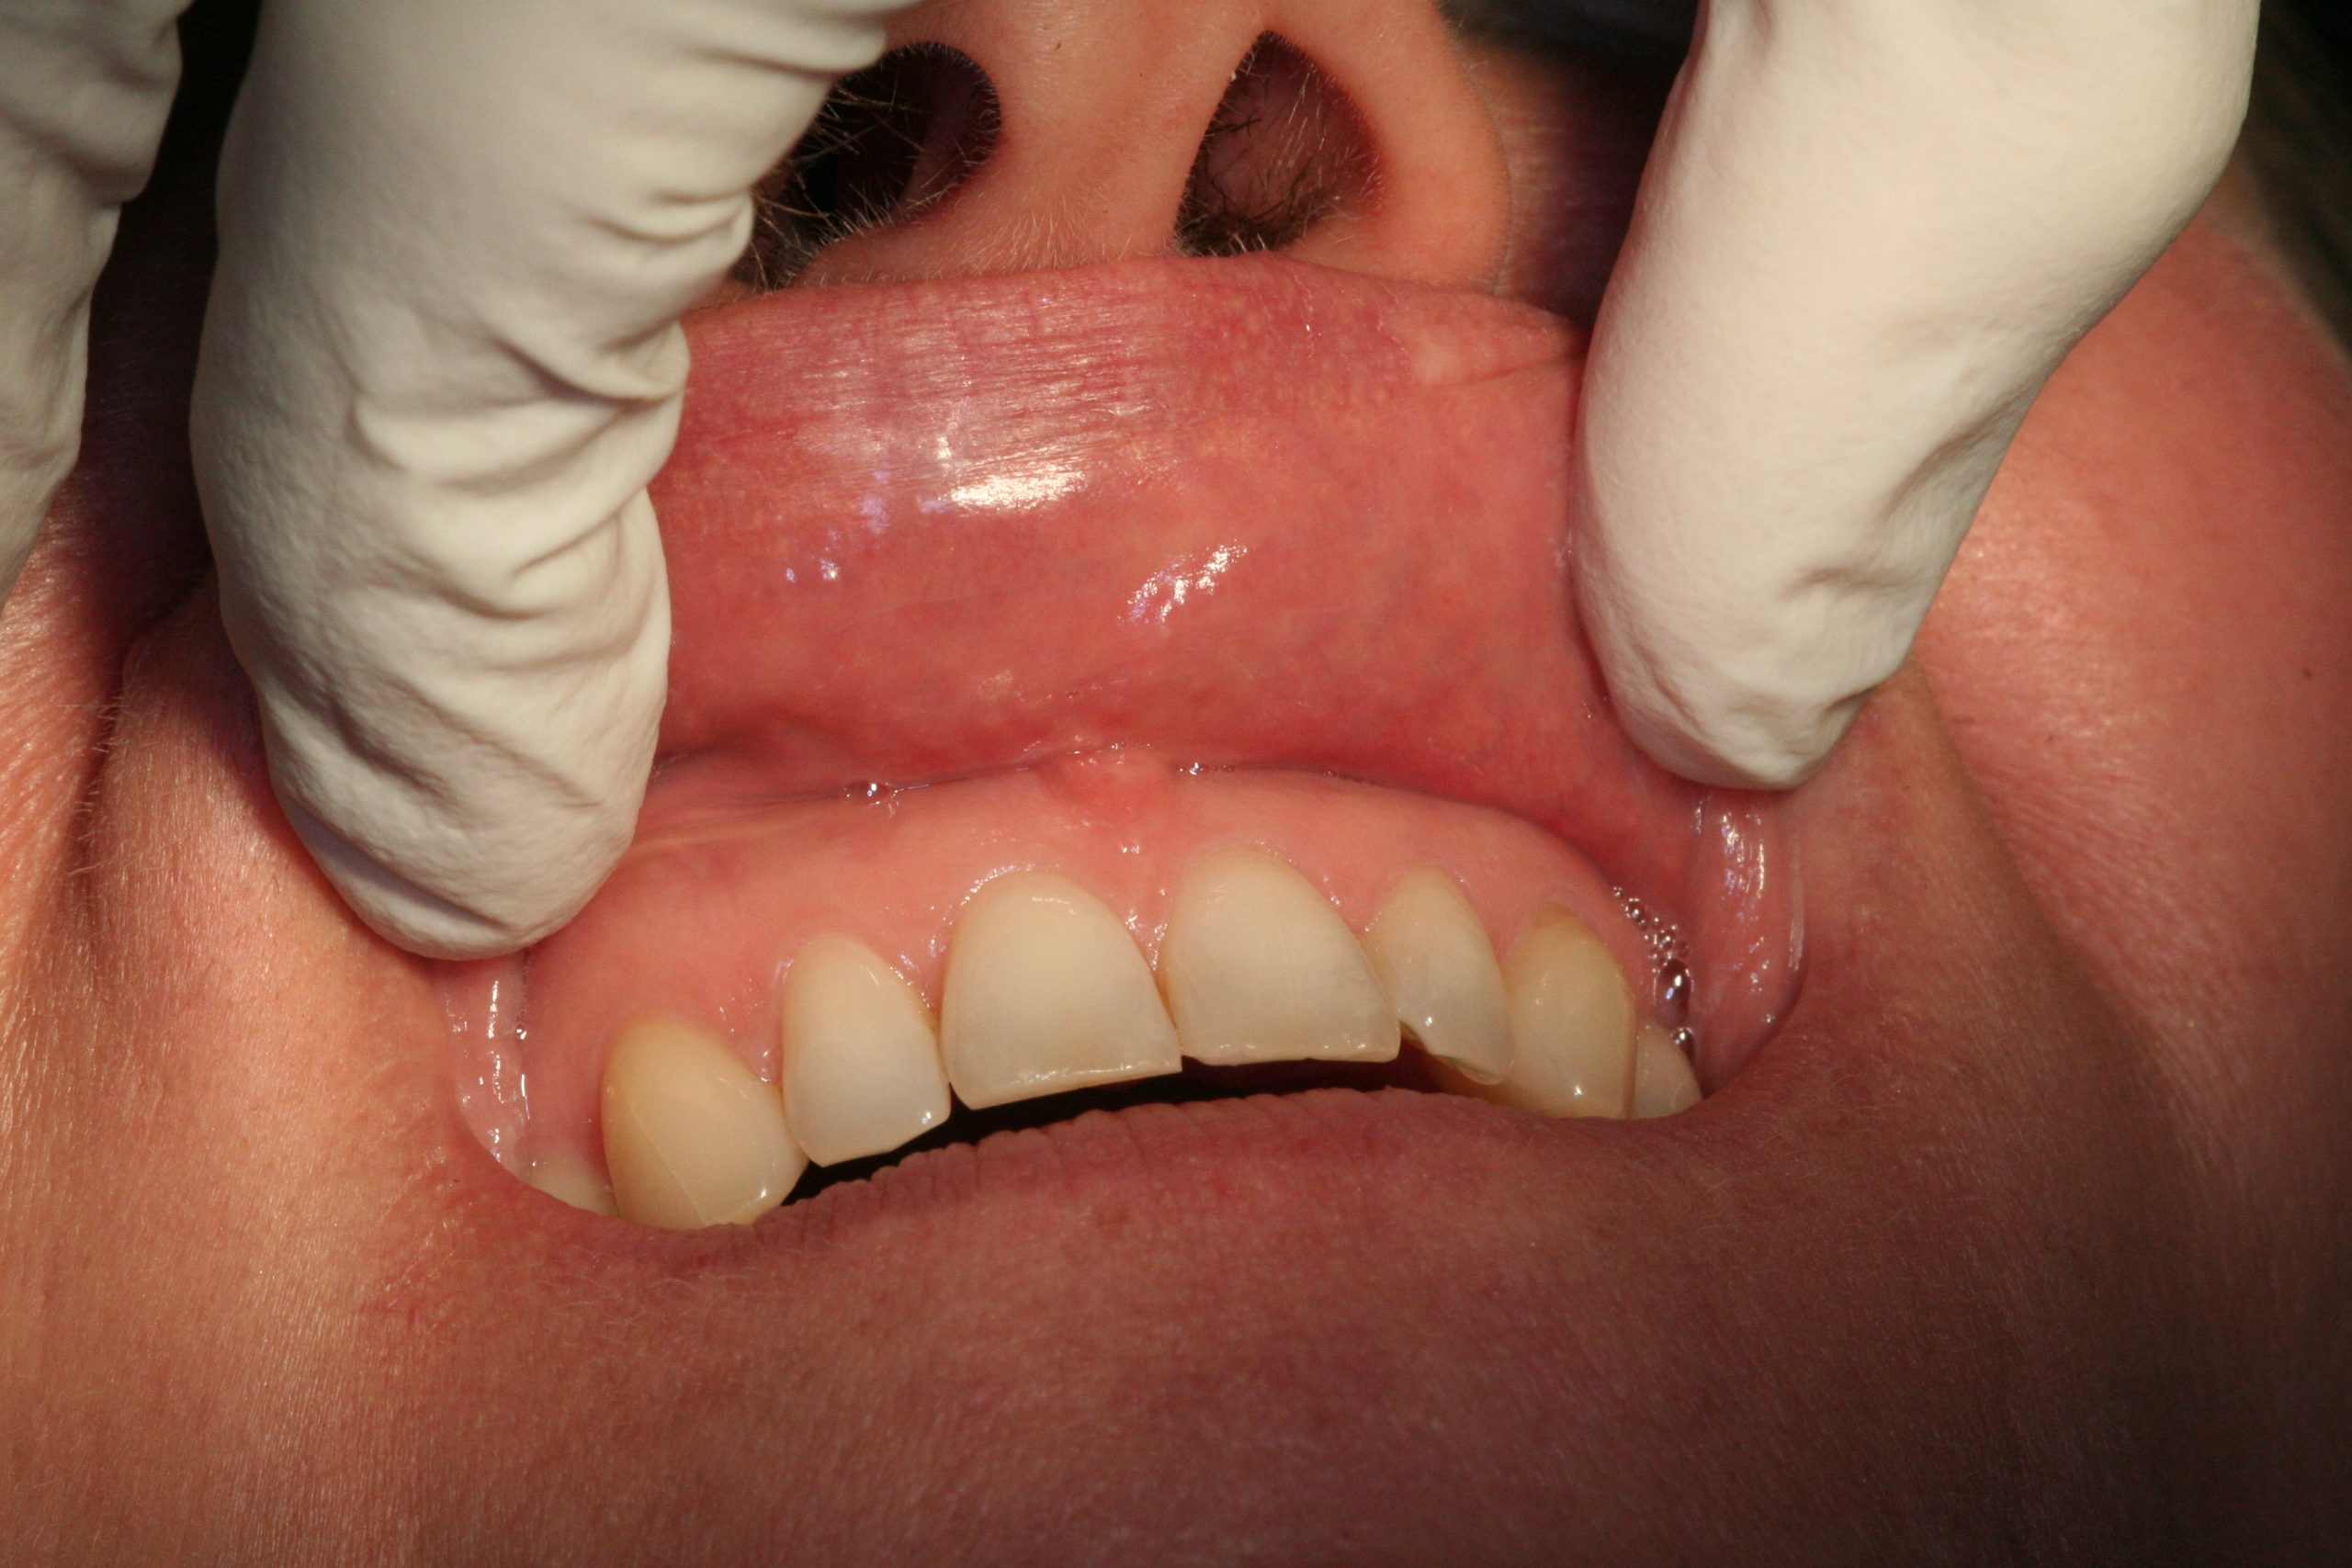
Intraoral examination
Ask denture wearing patients to remove them at this stage.
- With the mouth half open, examine the labial mucosa and sulcus
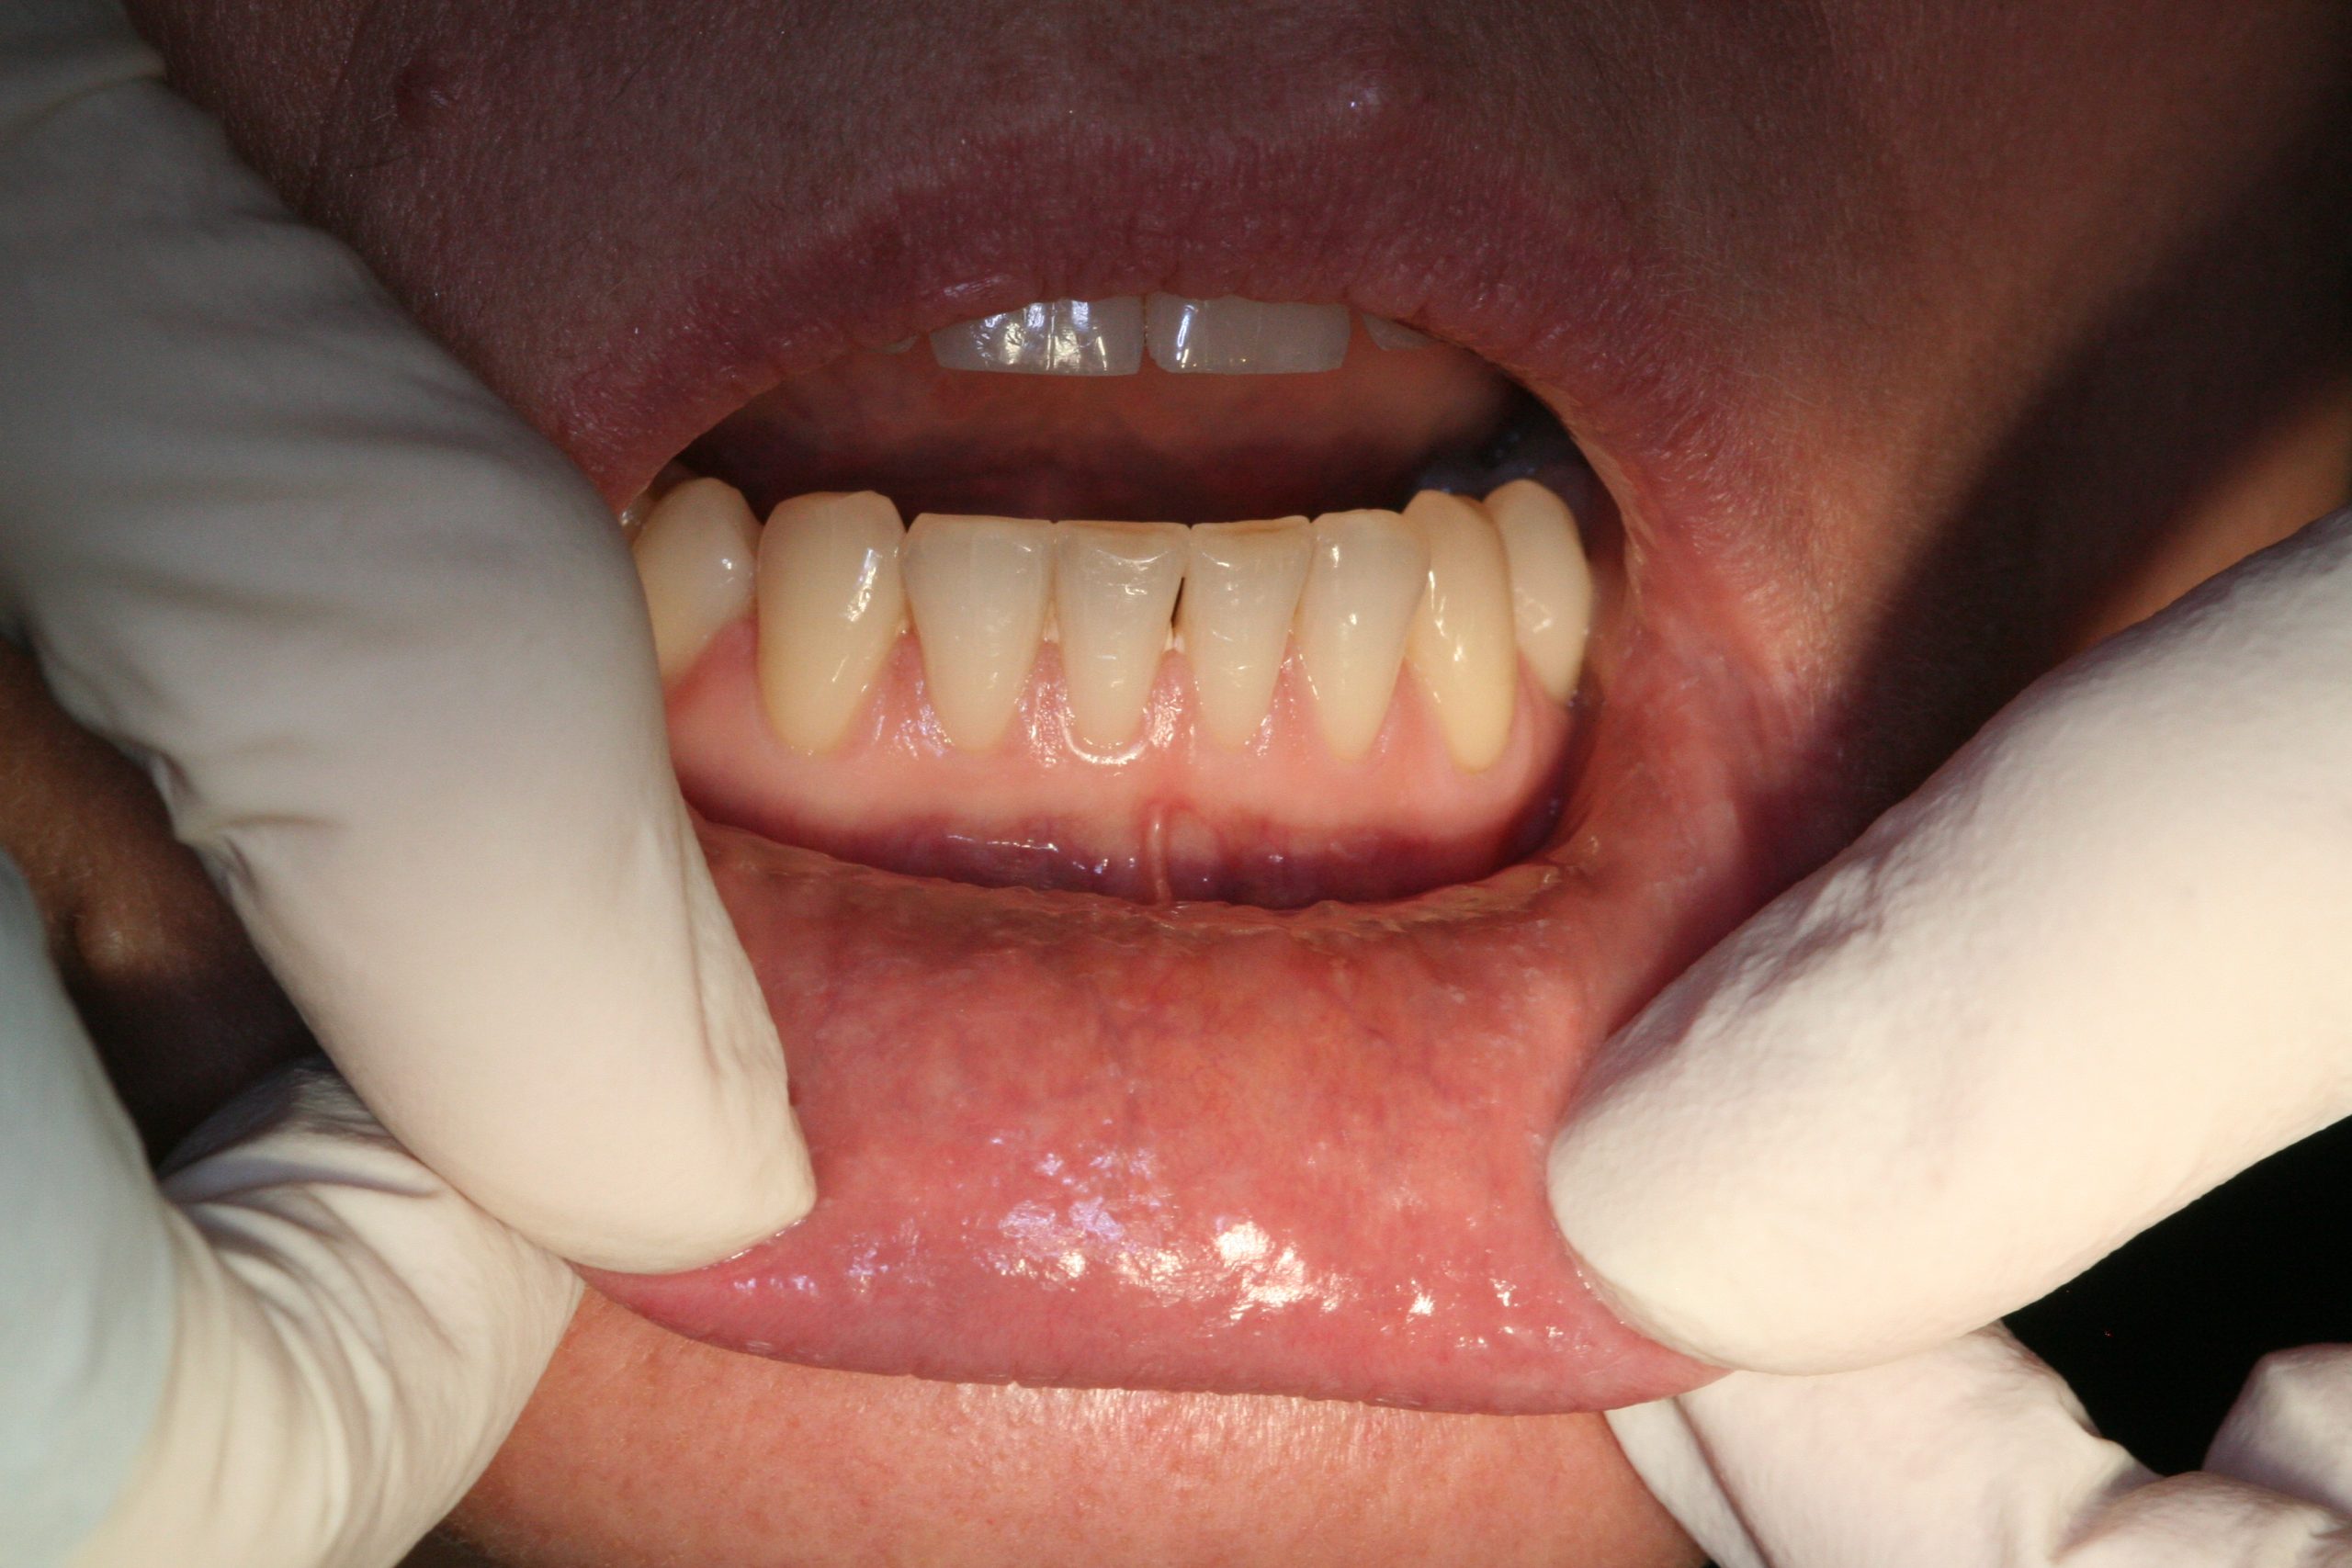
- Next, observe the maxillary and mandibular sulci on one side
- Then, retract the cheek and examine the buccal mucosa on that side. Look for changes in colour and texture
- Repeat stages two and three on the other side
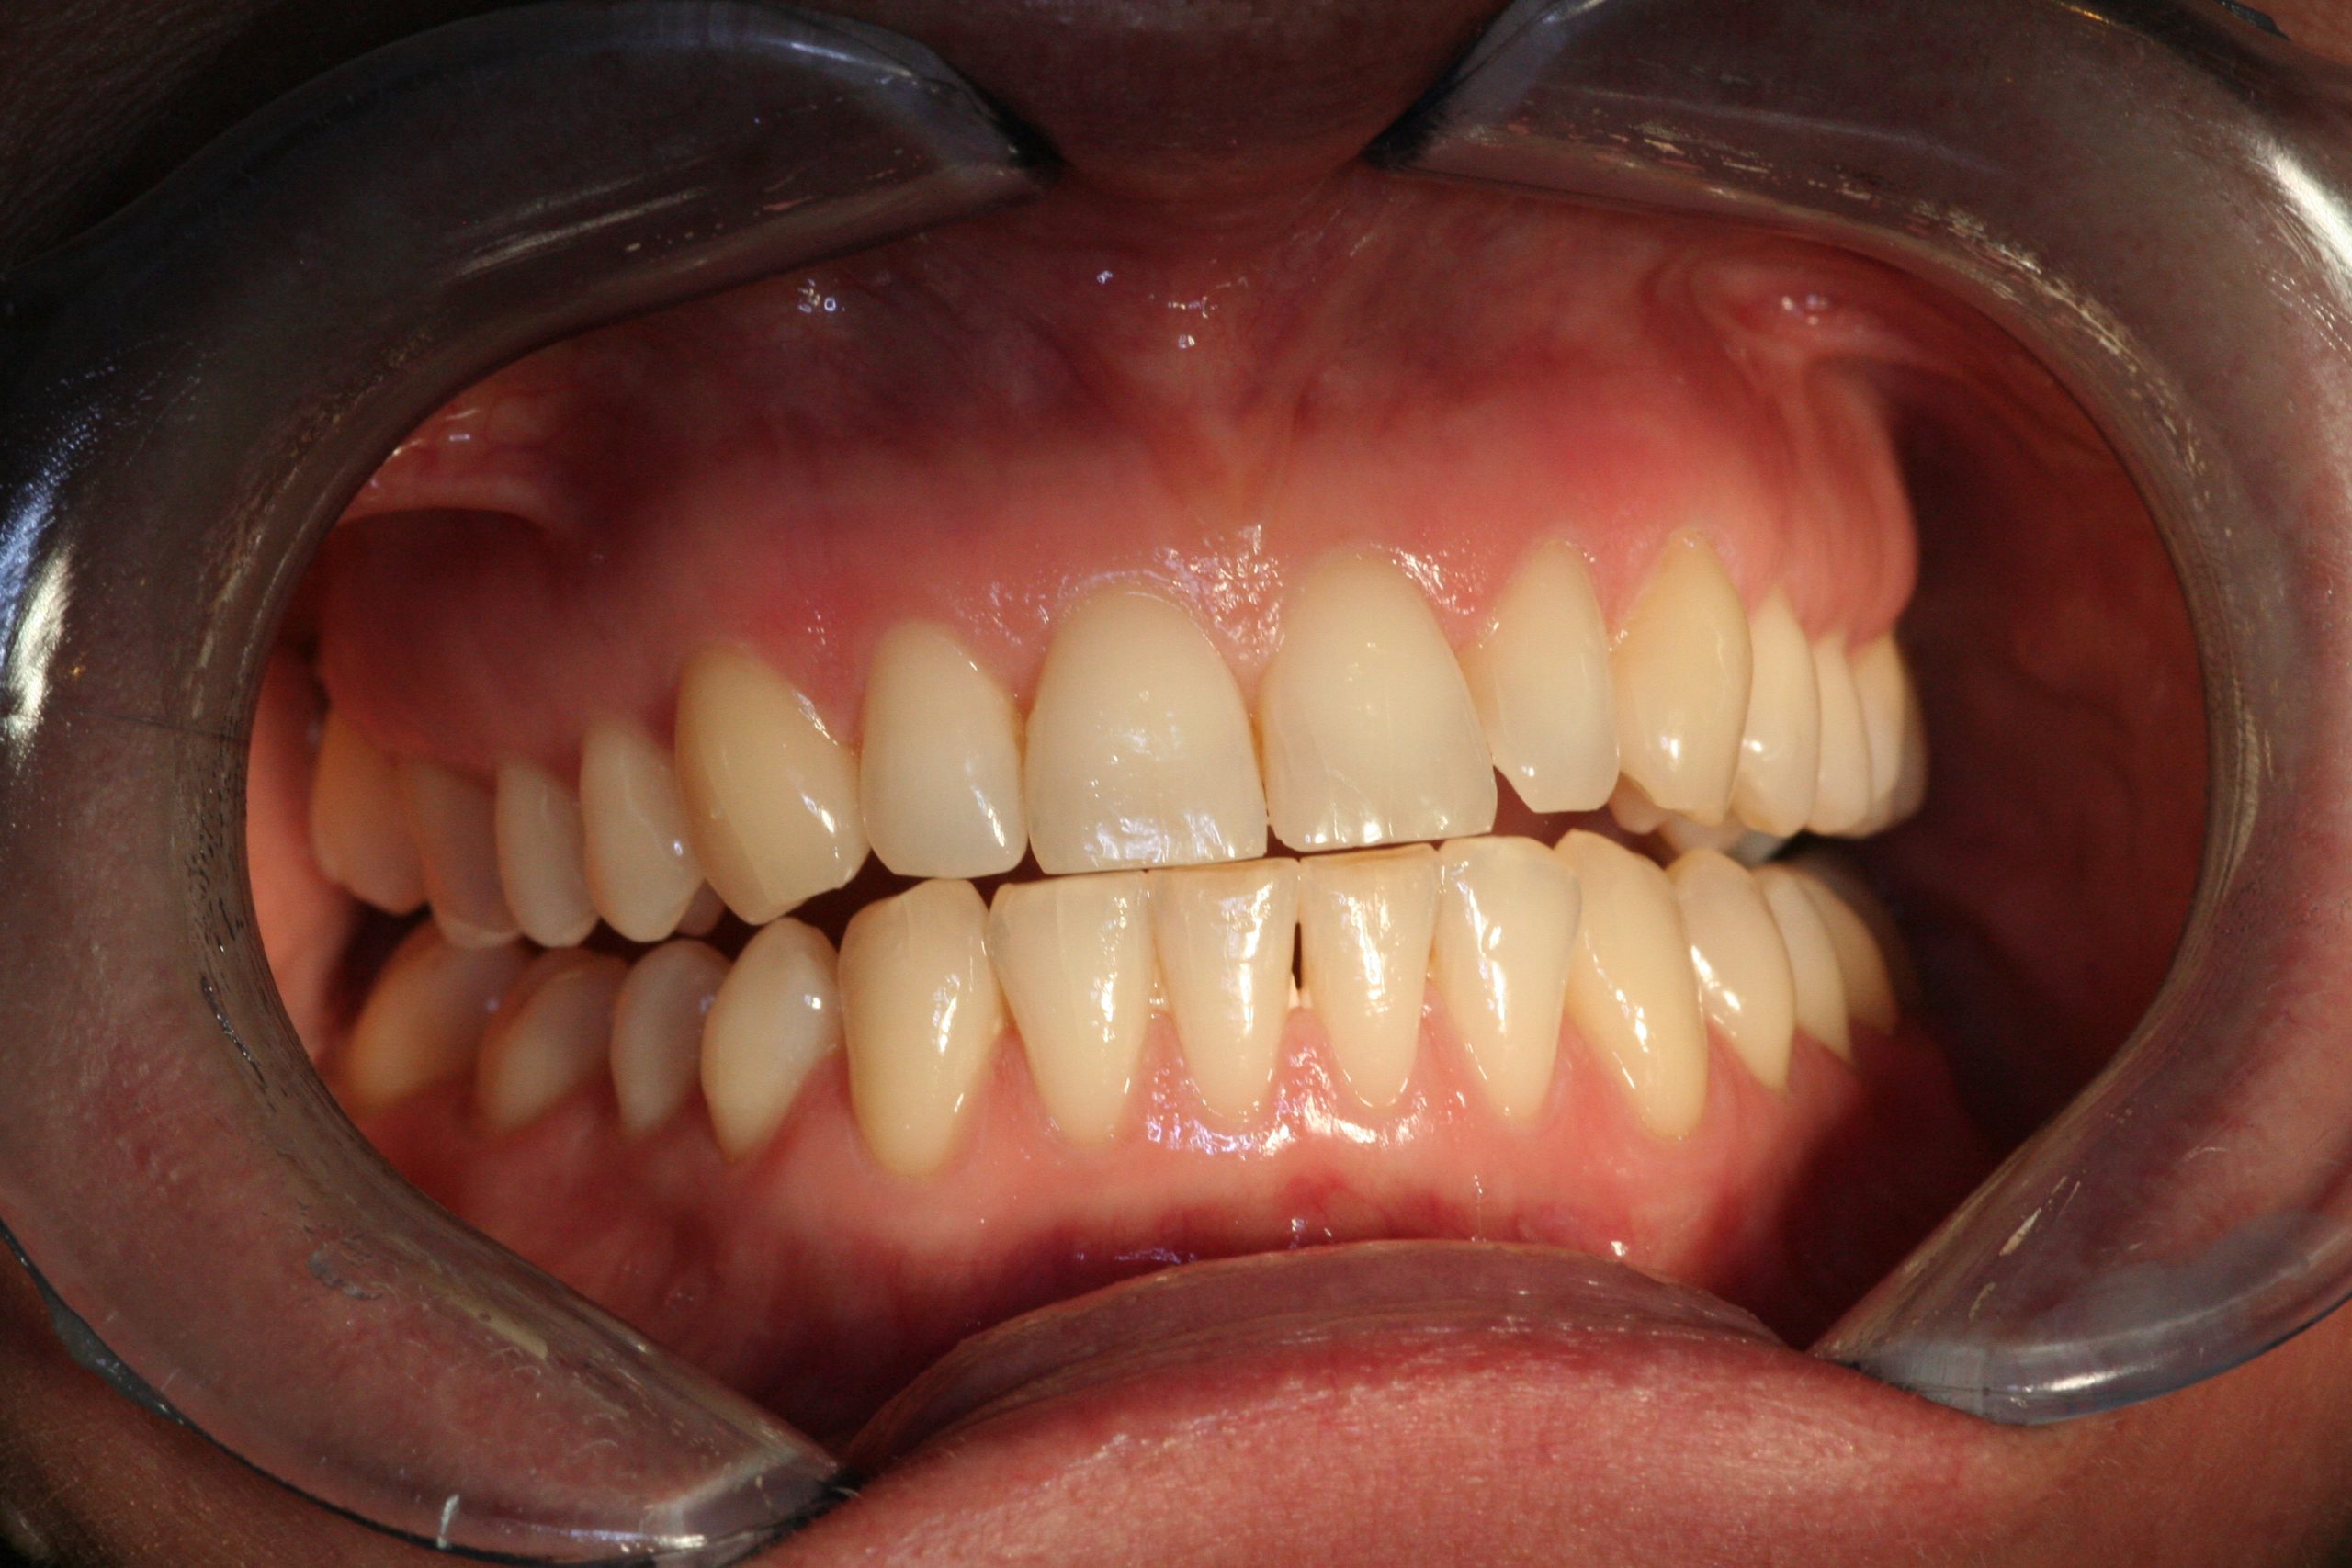
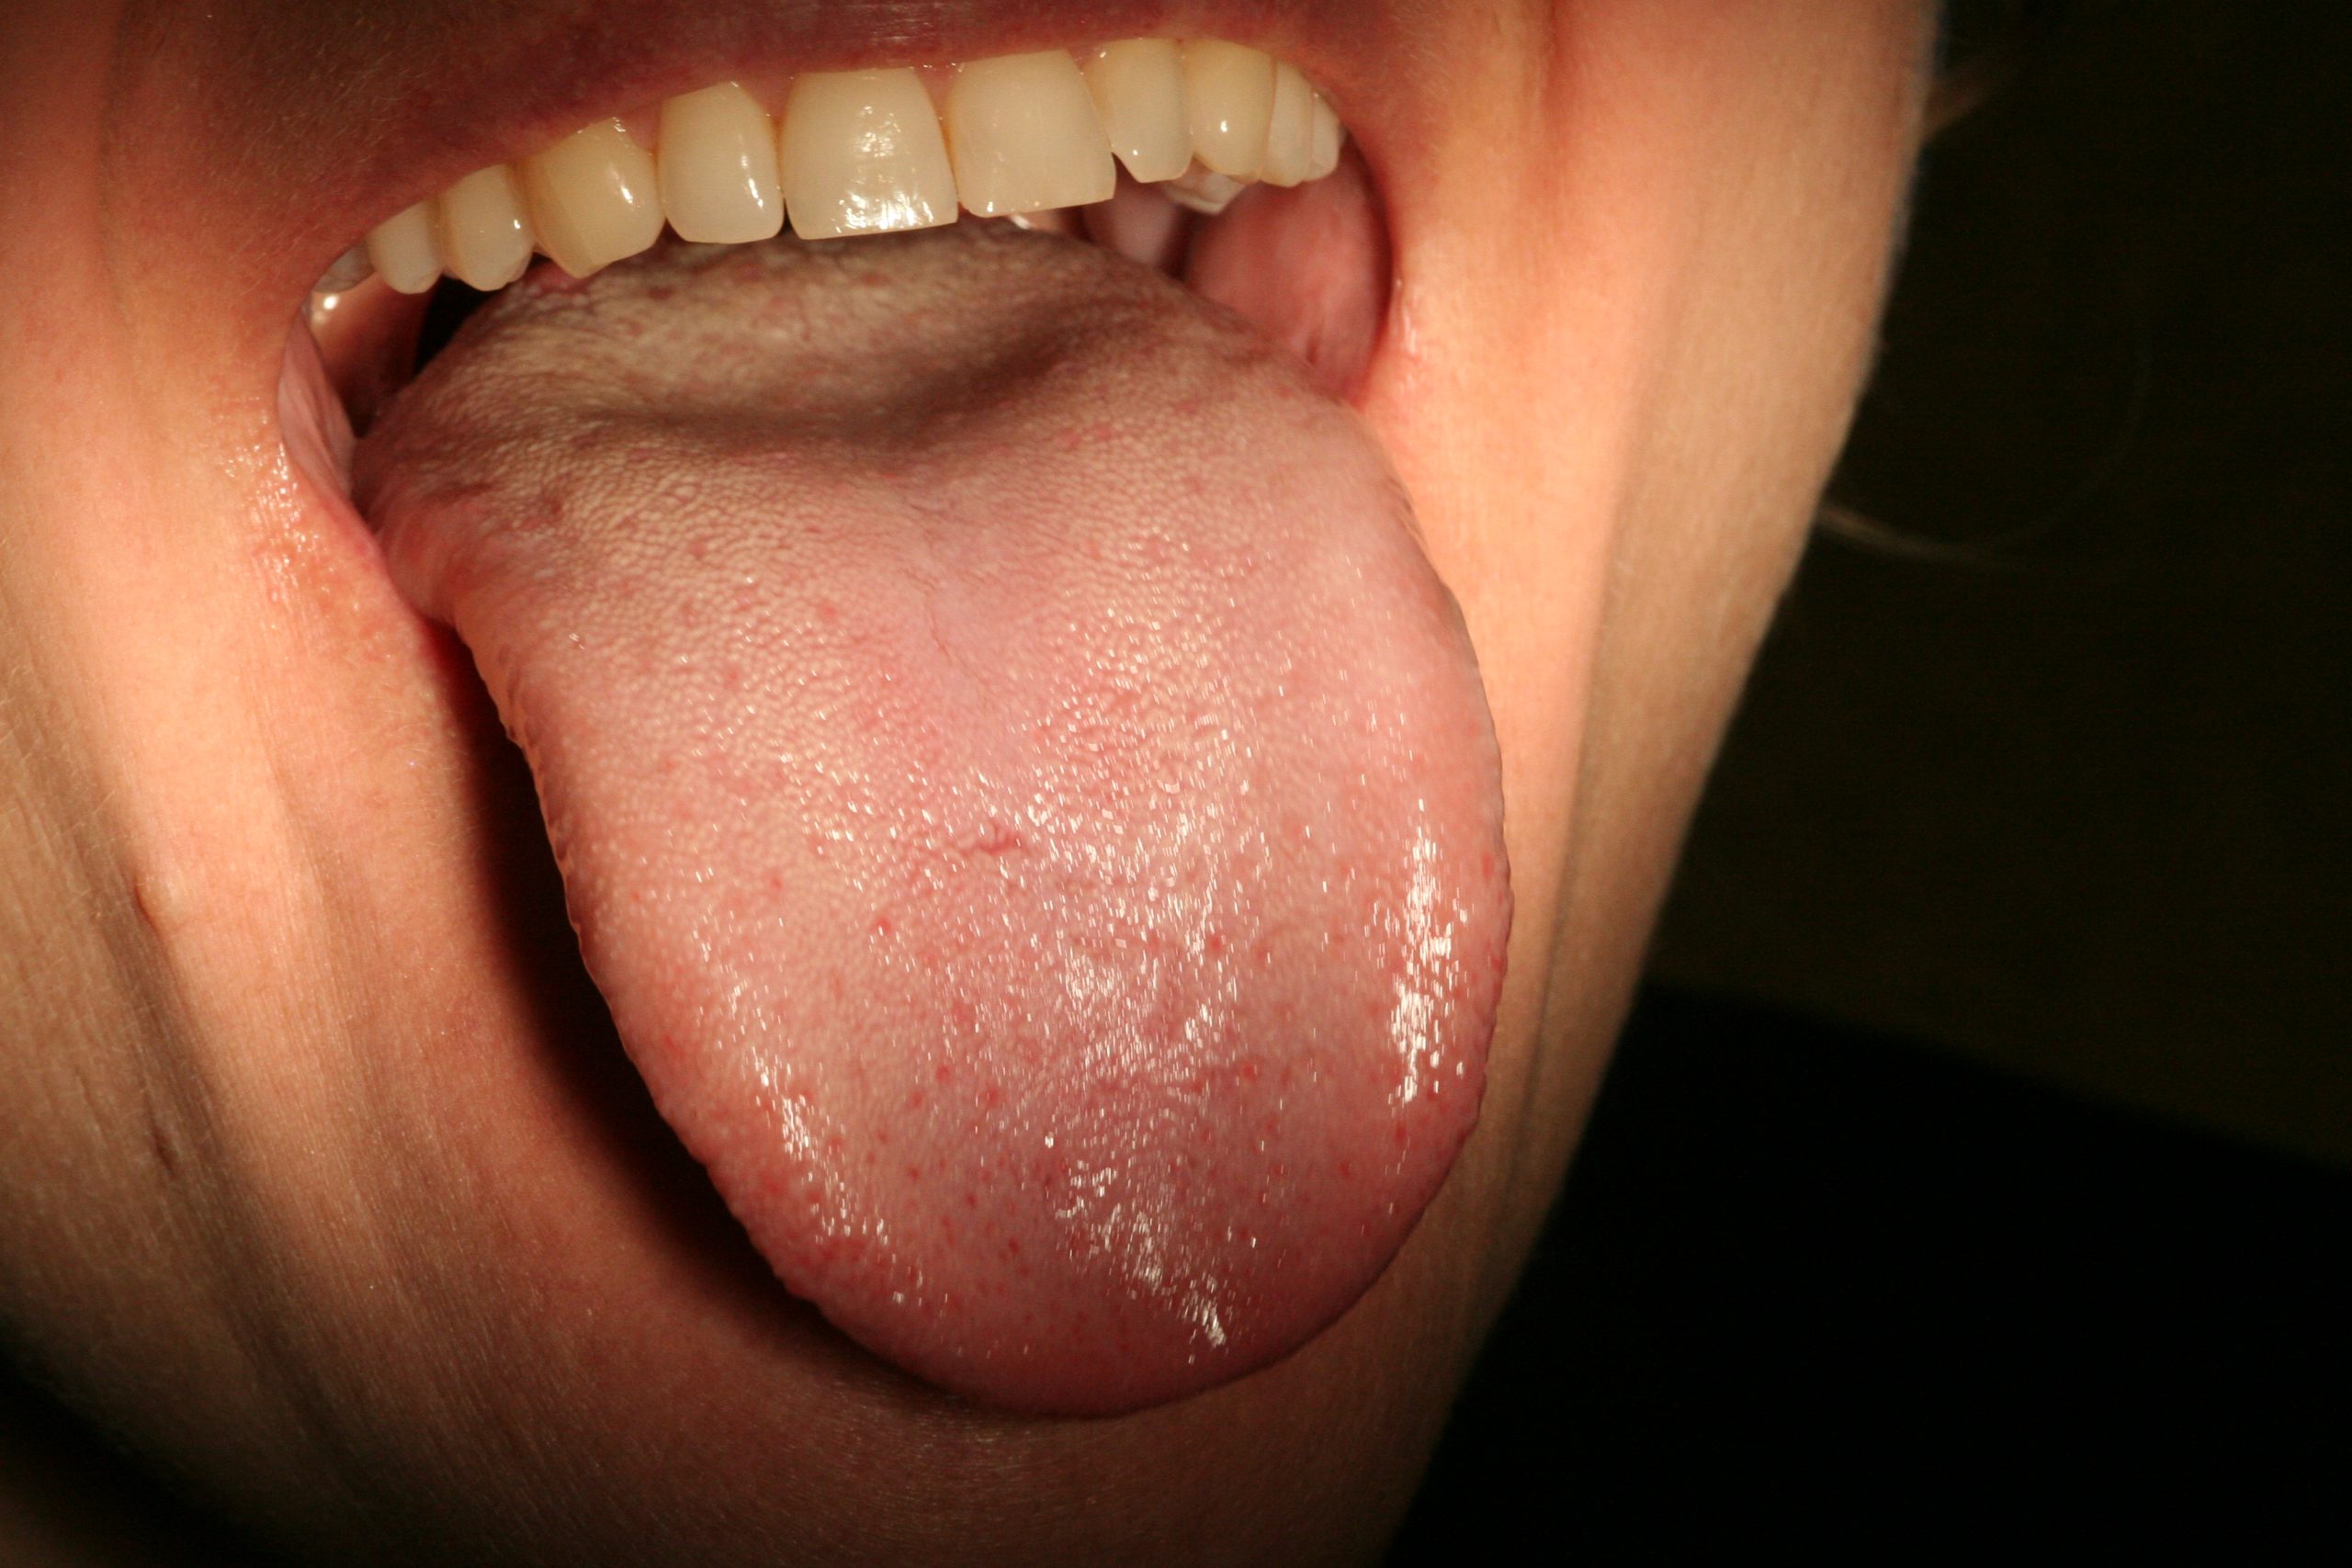
- Then, examine the tongue at rest and protruded for changes in colour, texture, symmetry, mobility and distribution of papillae
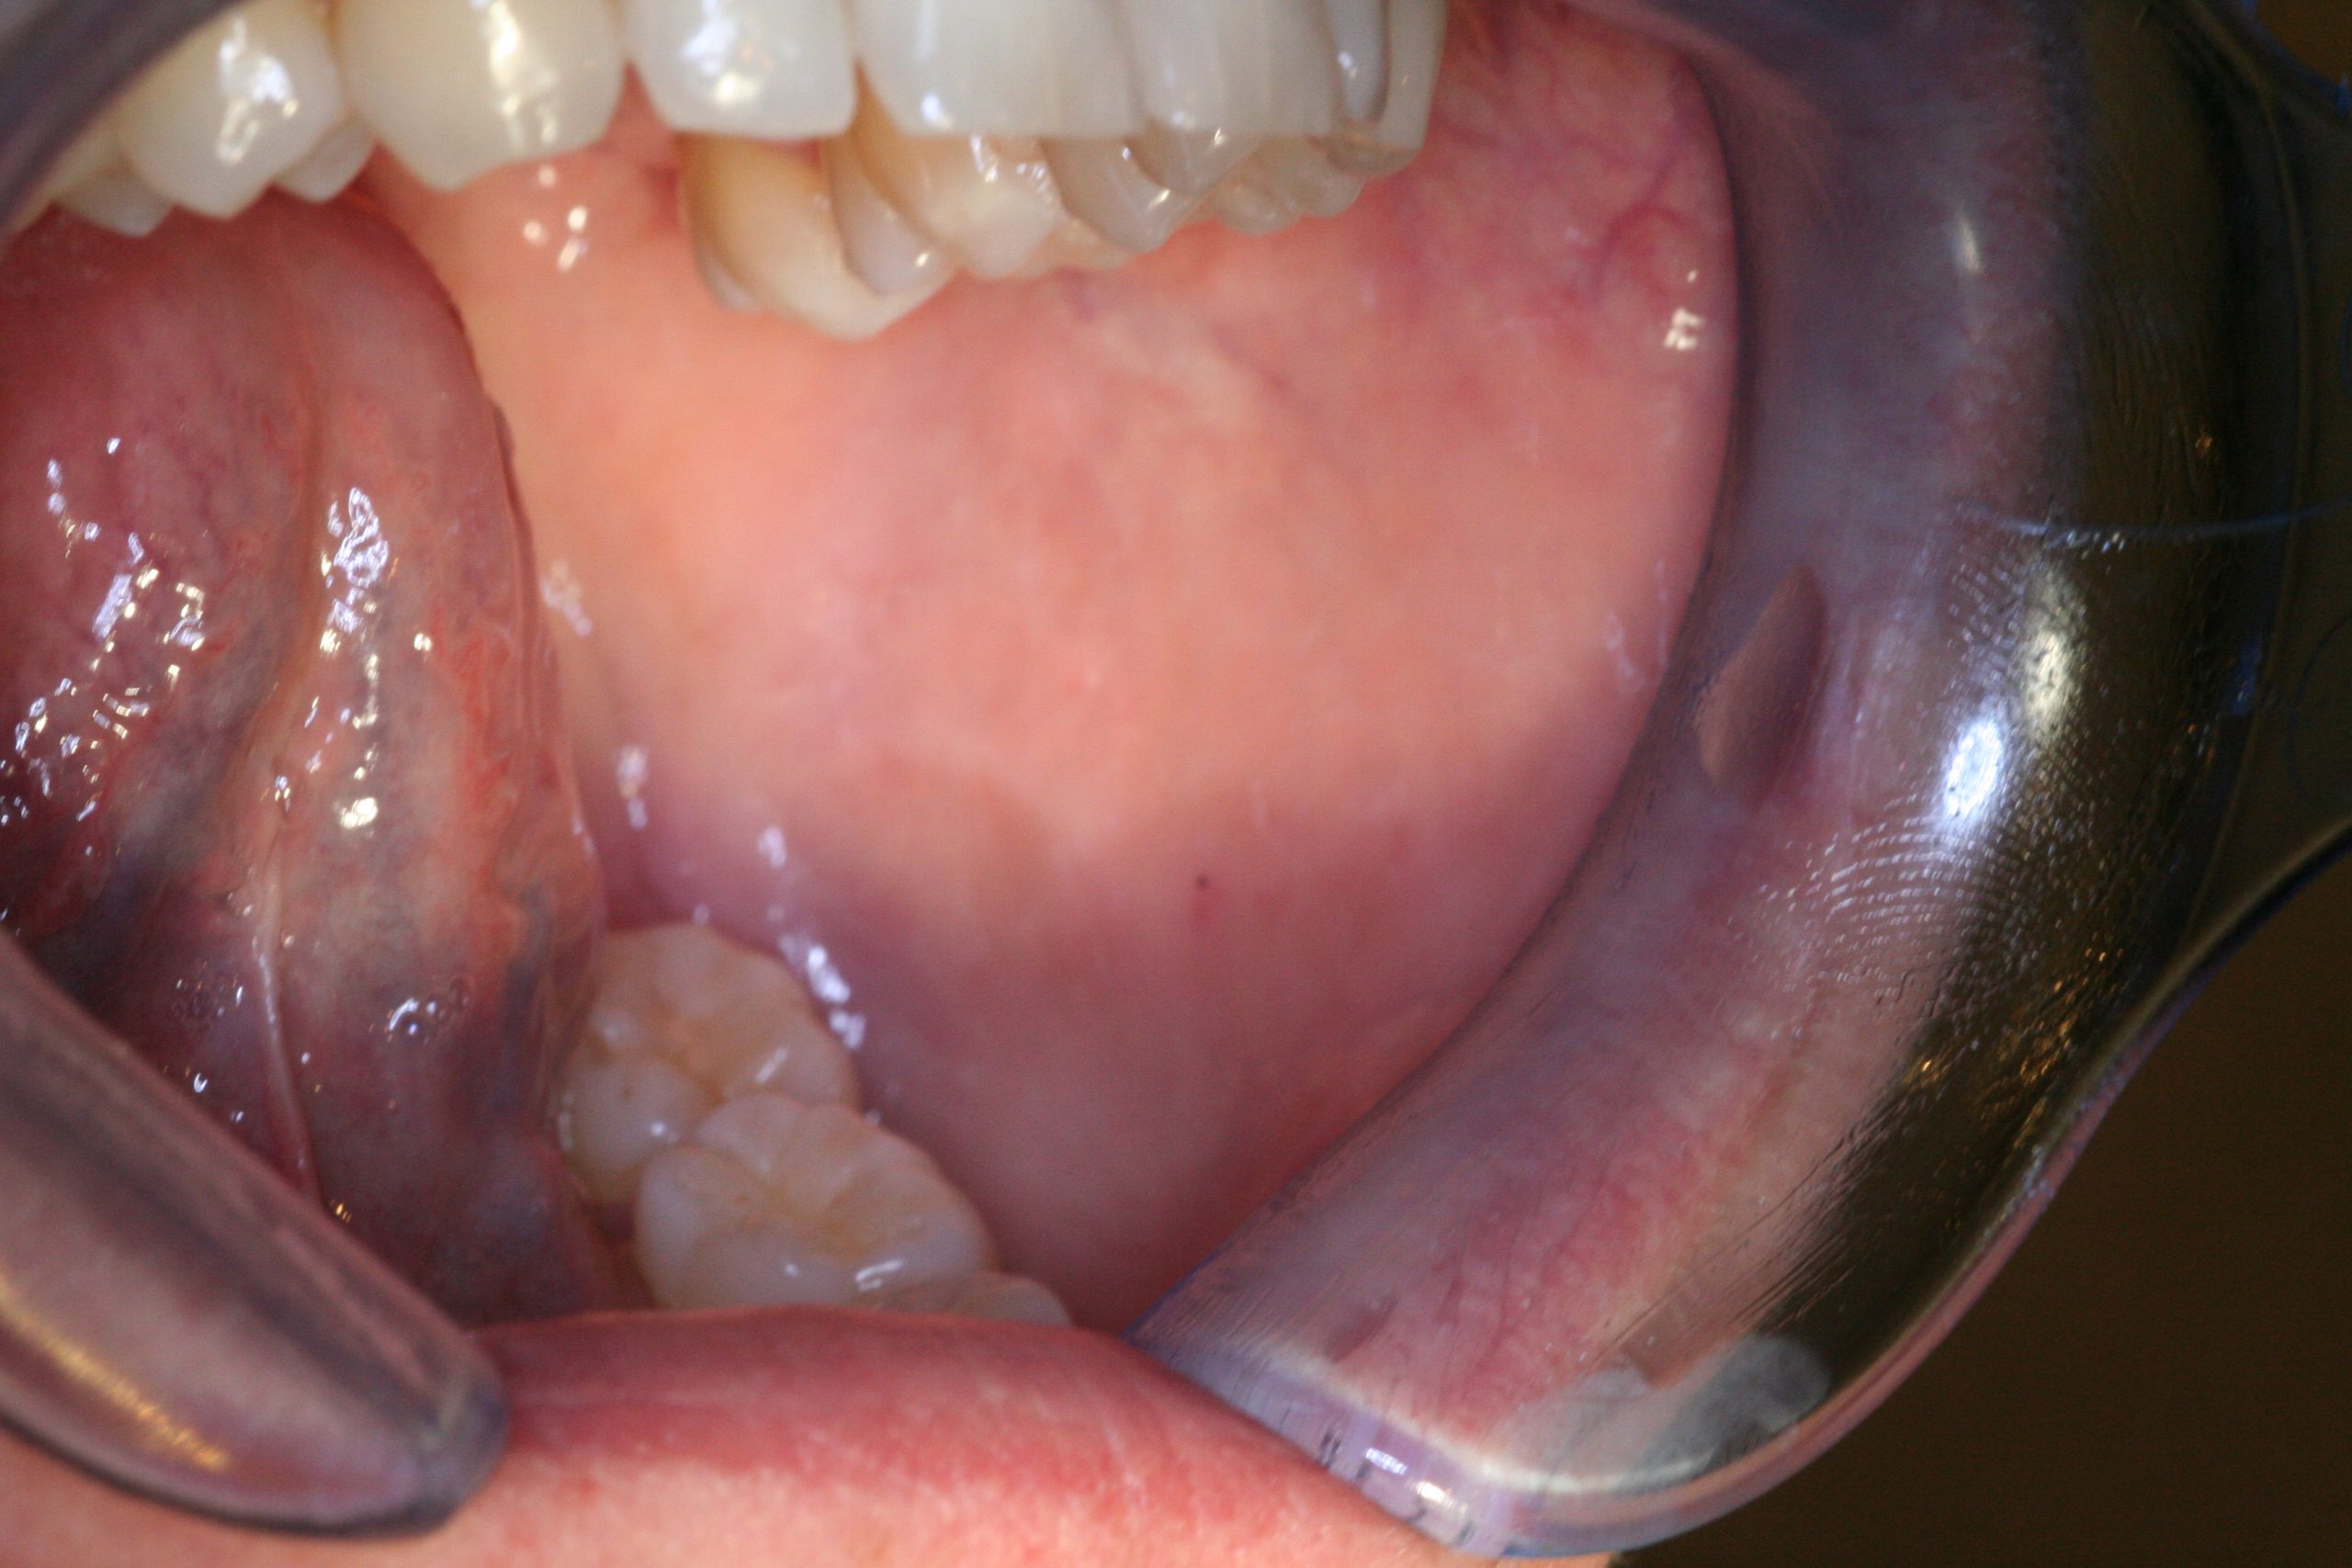
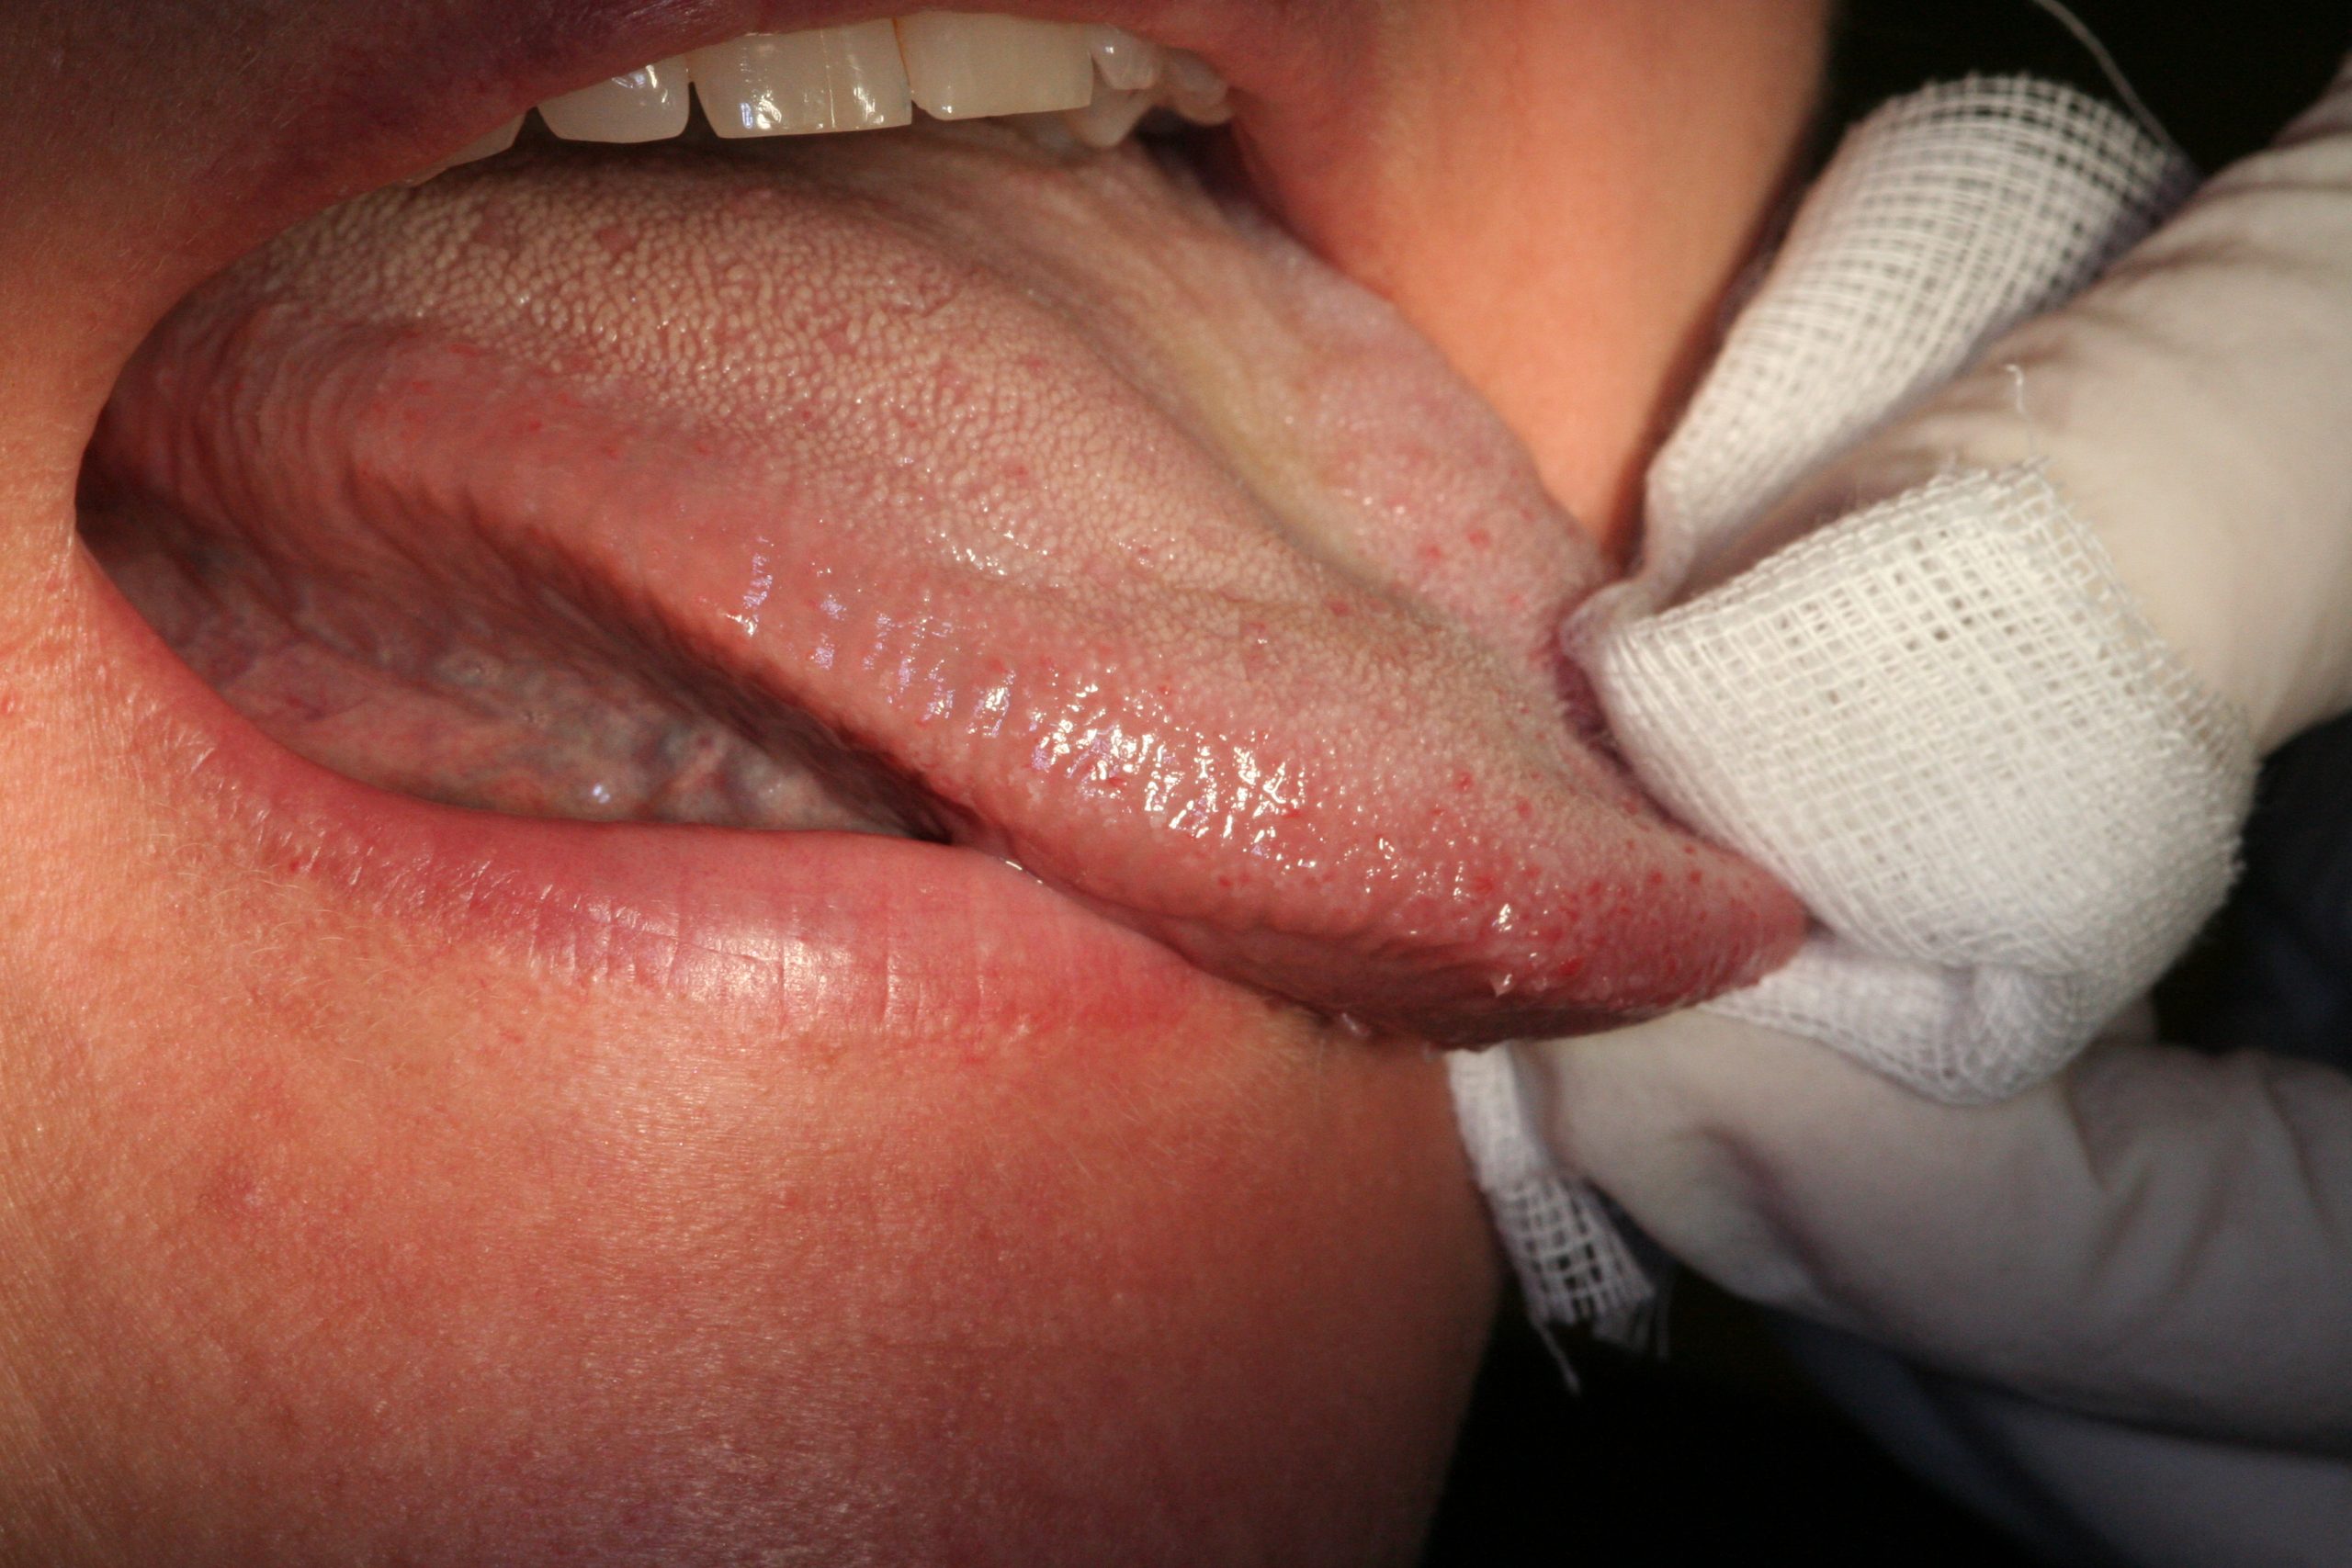
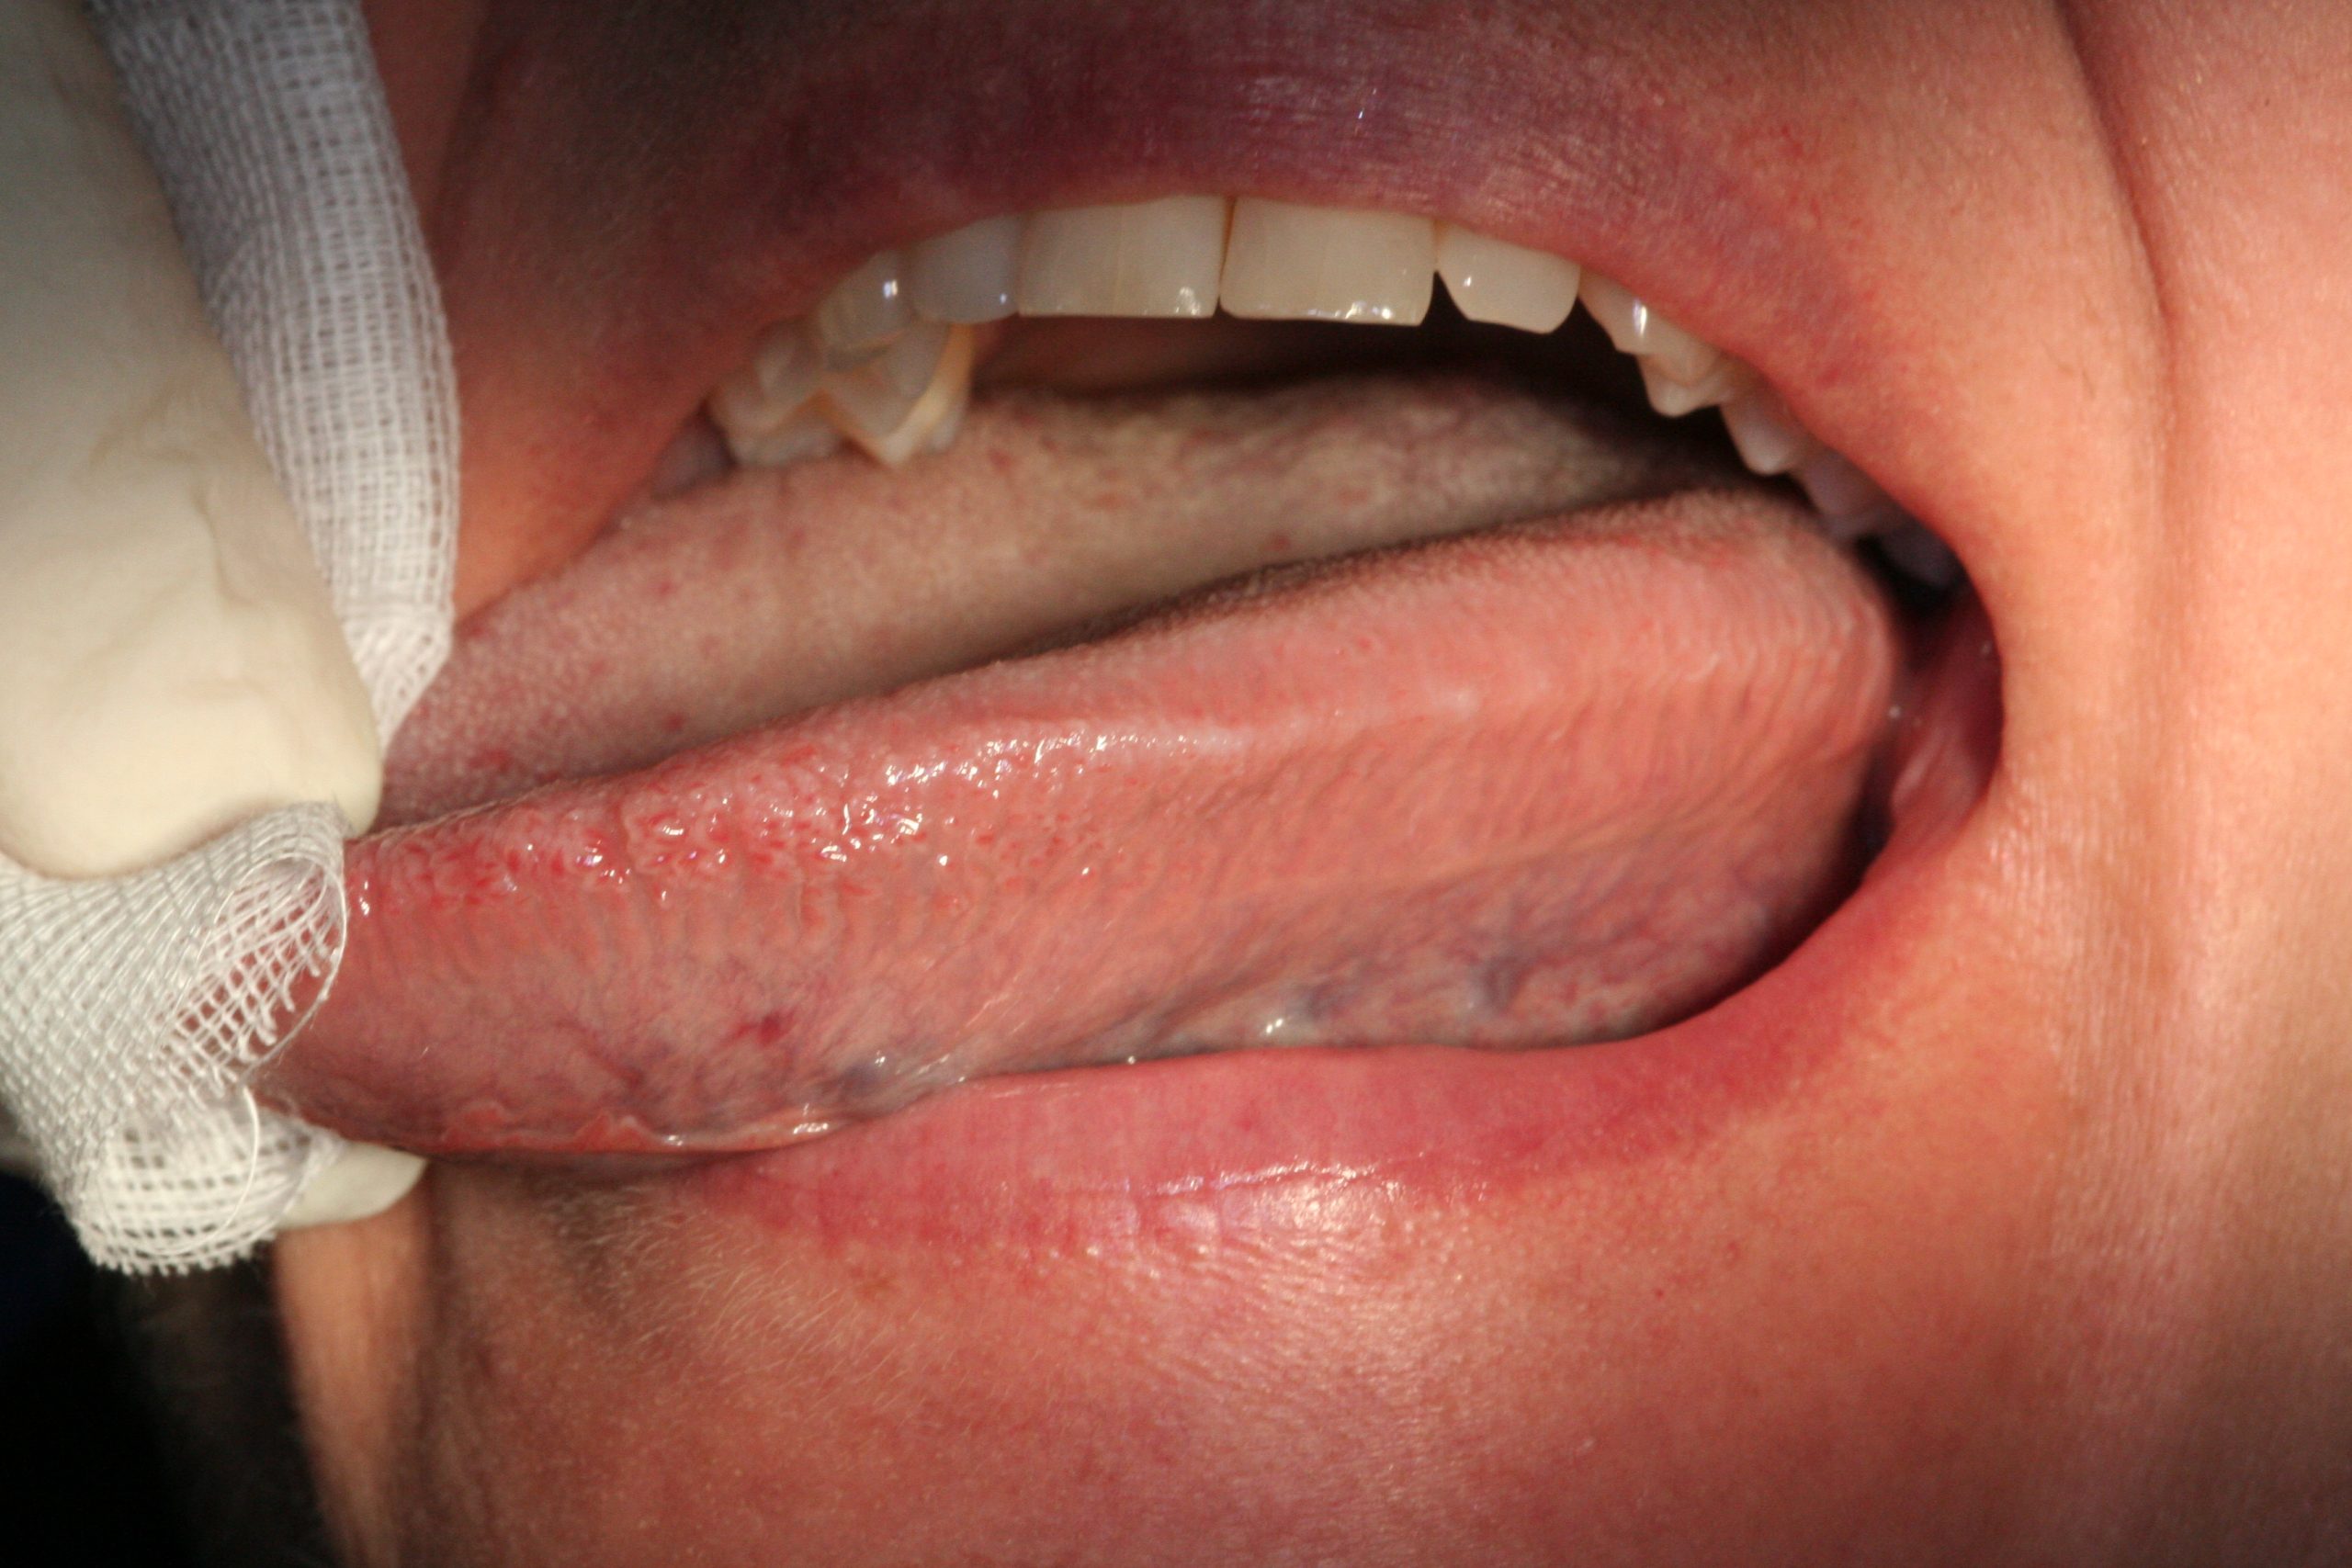
- Holding the tip of the tongue and alternately retracting the cheeks, inspect and palpate the lateral borders of the tongue
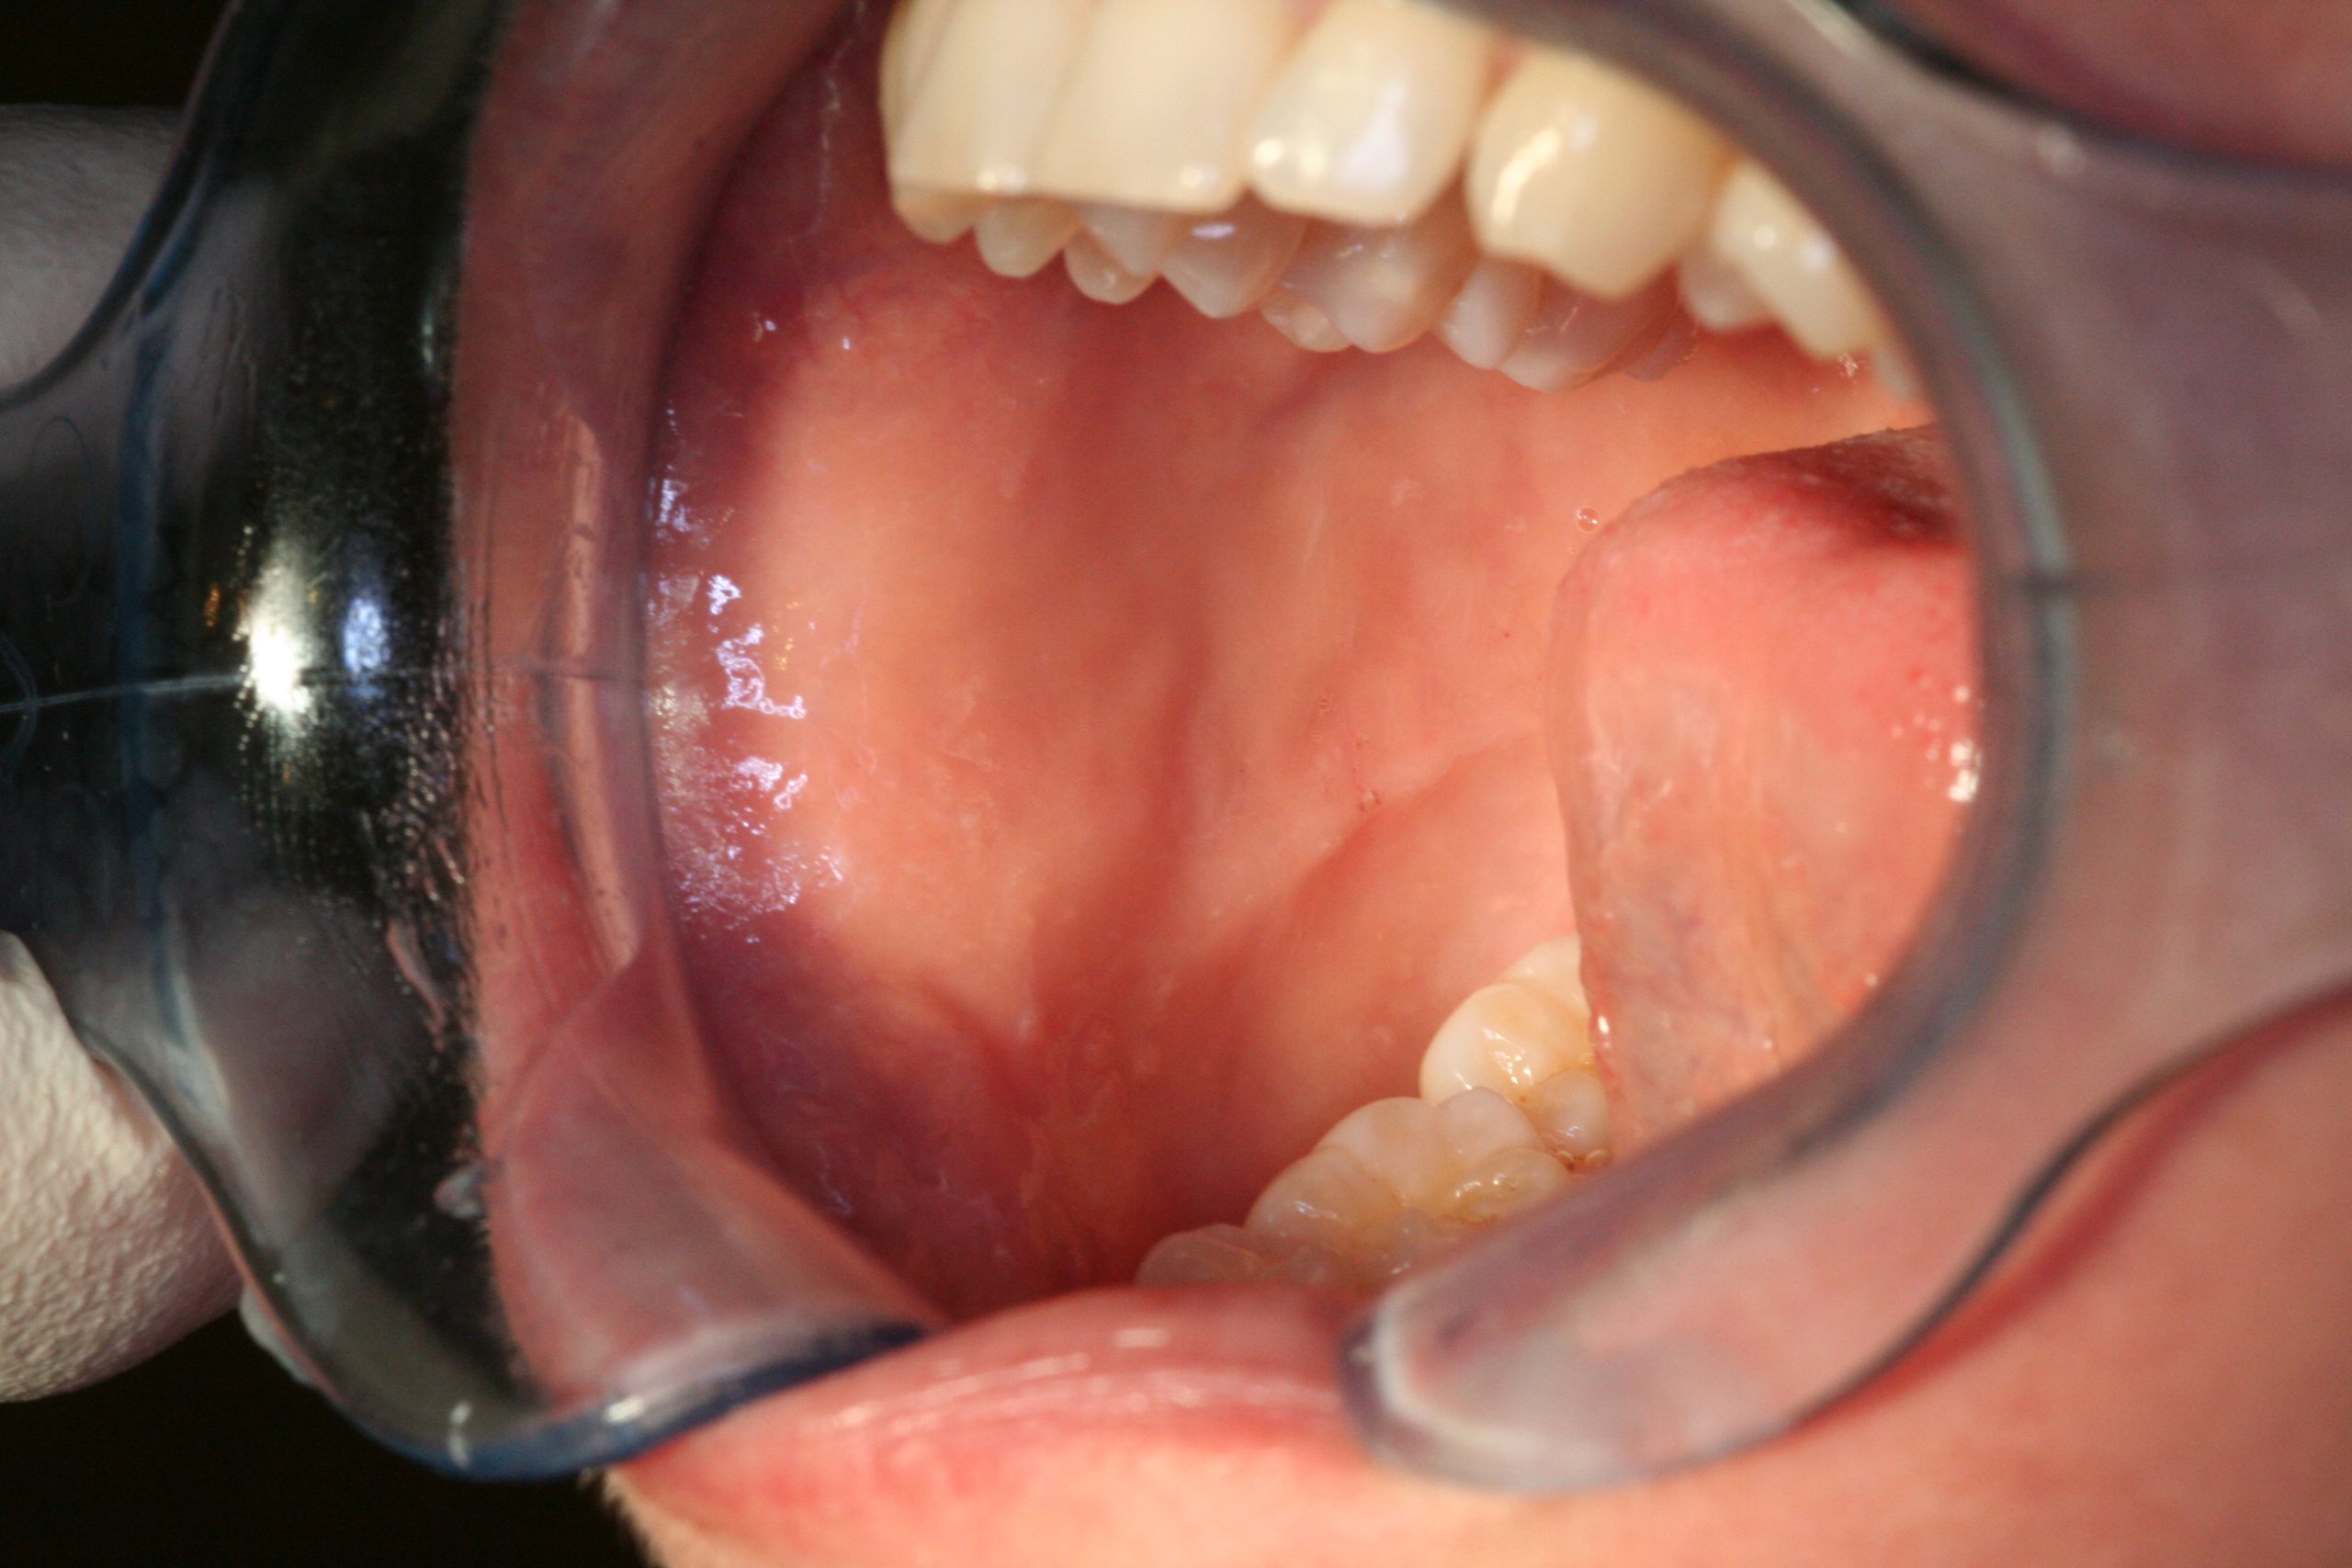
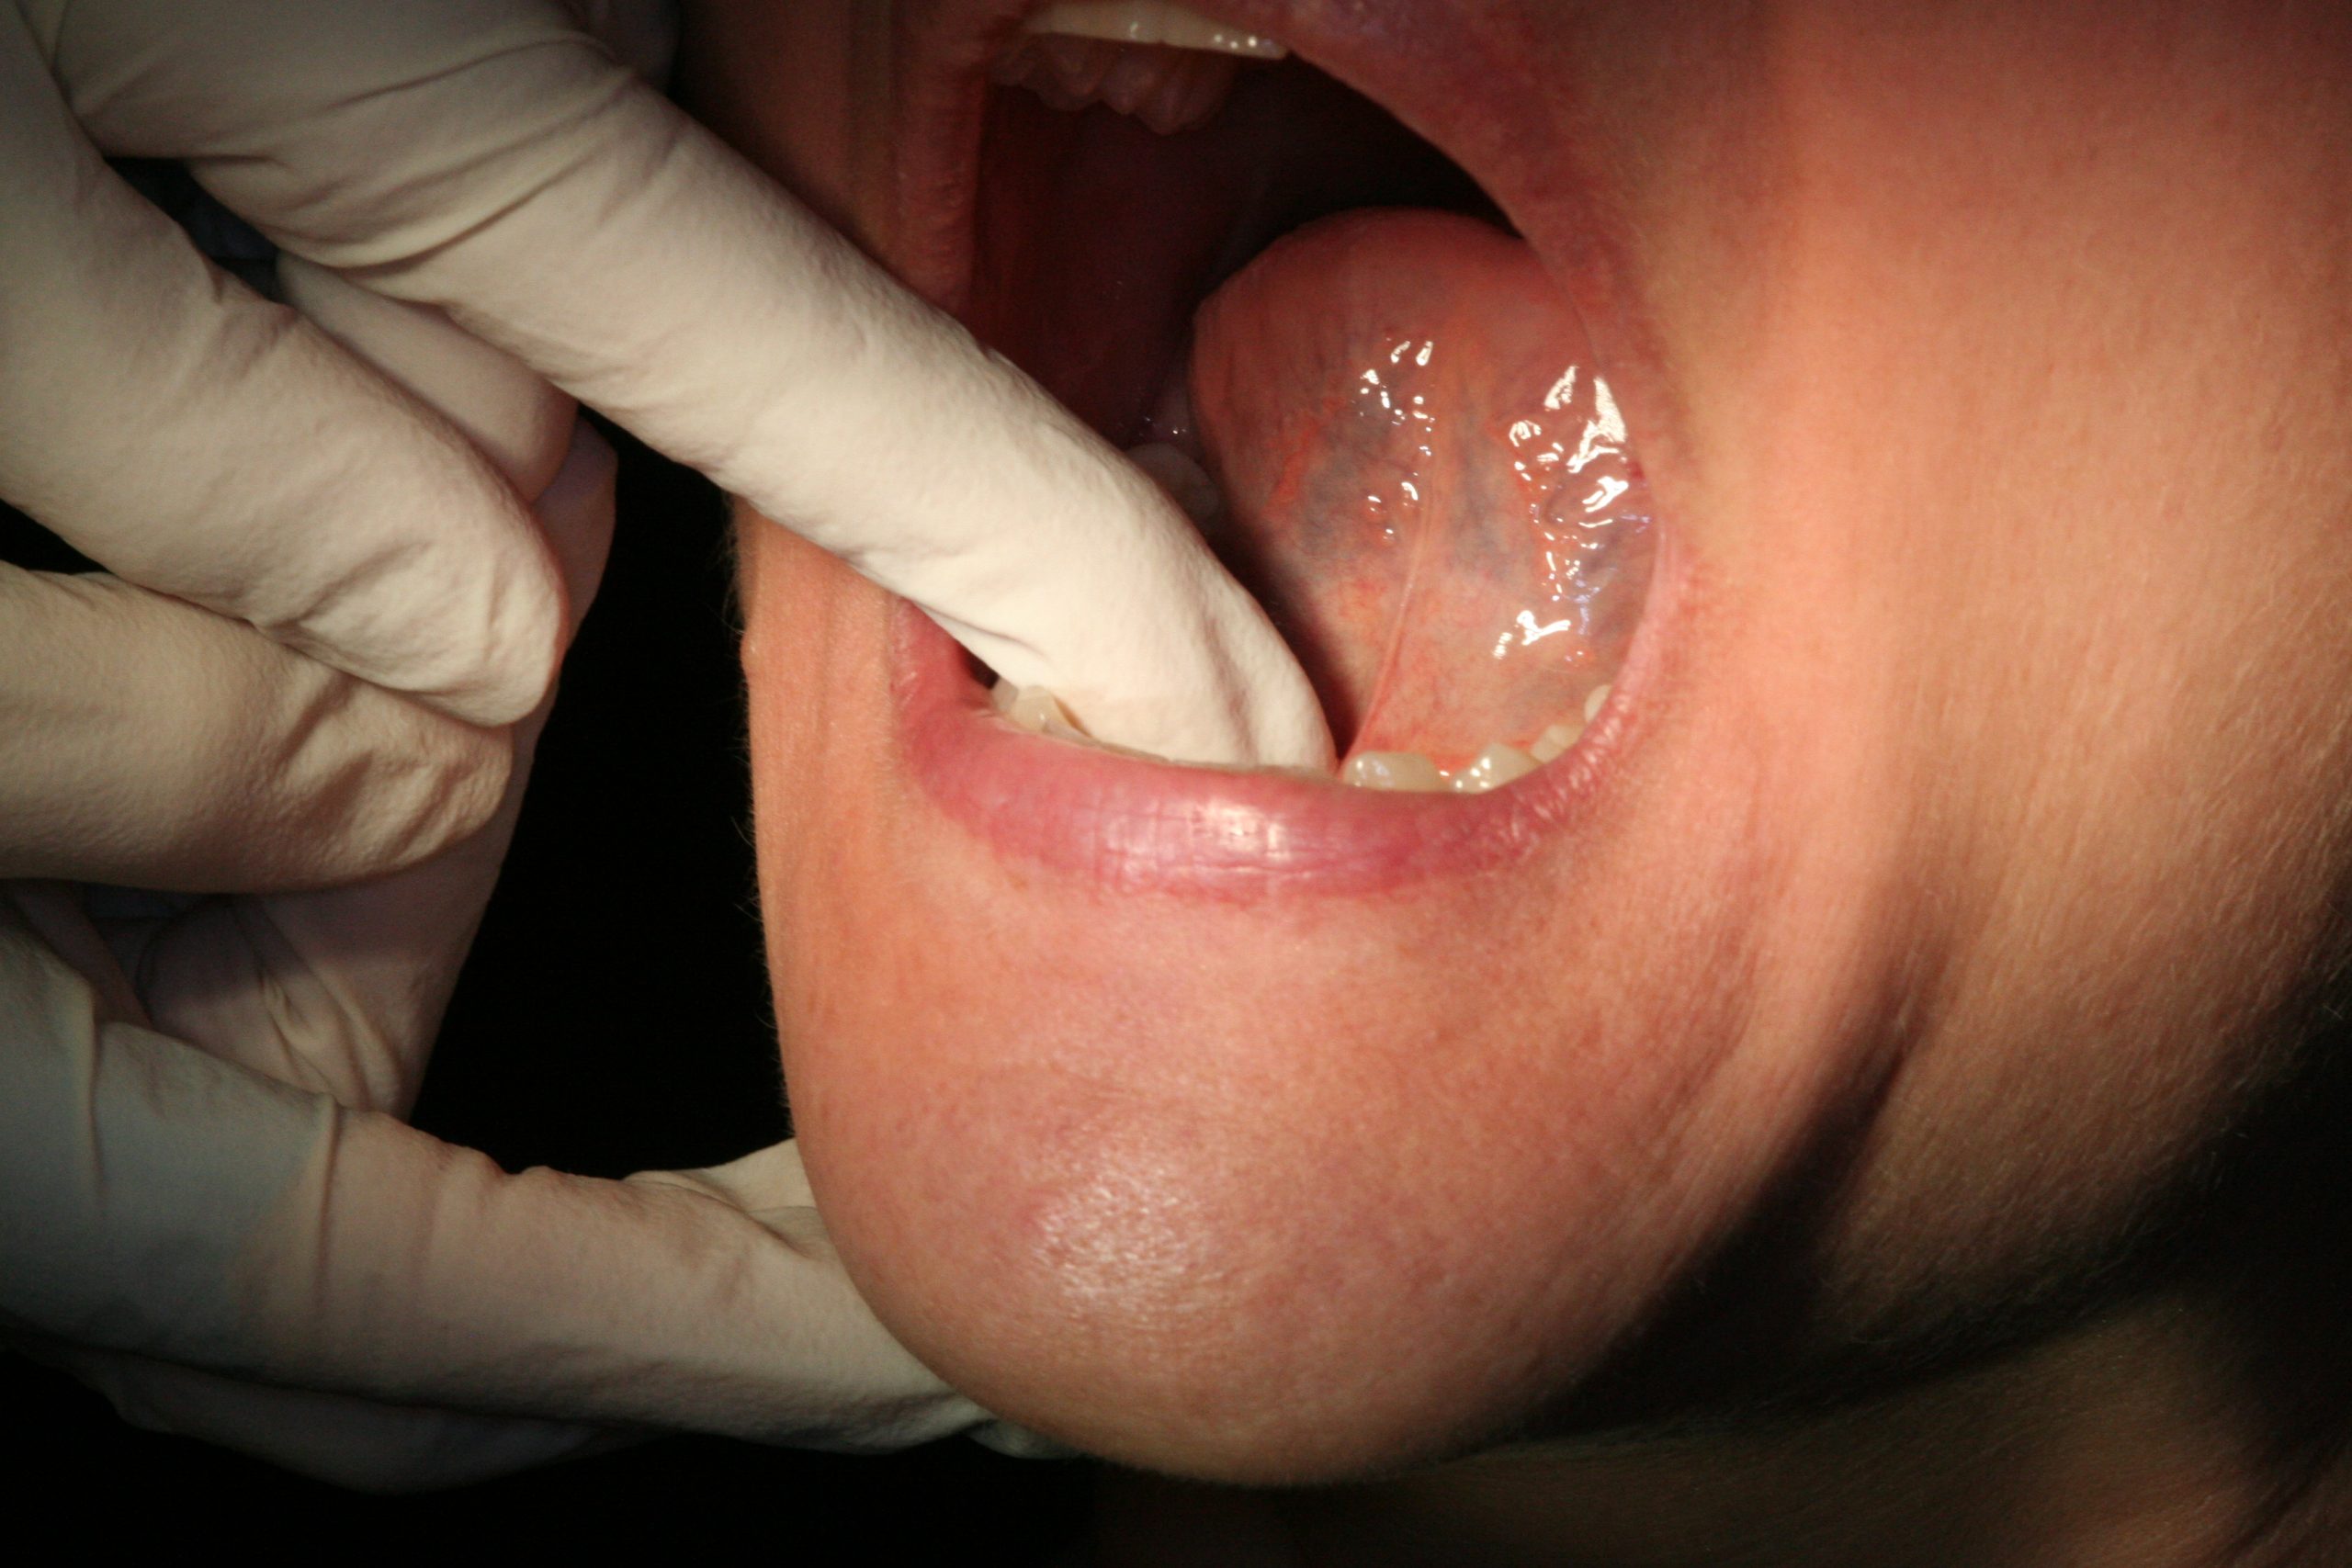
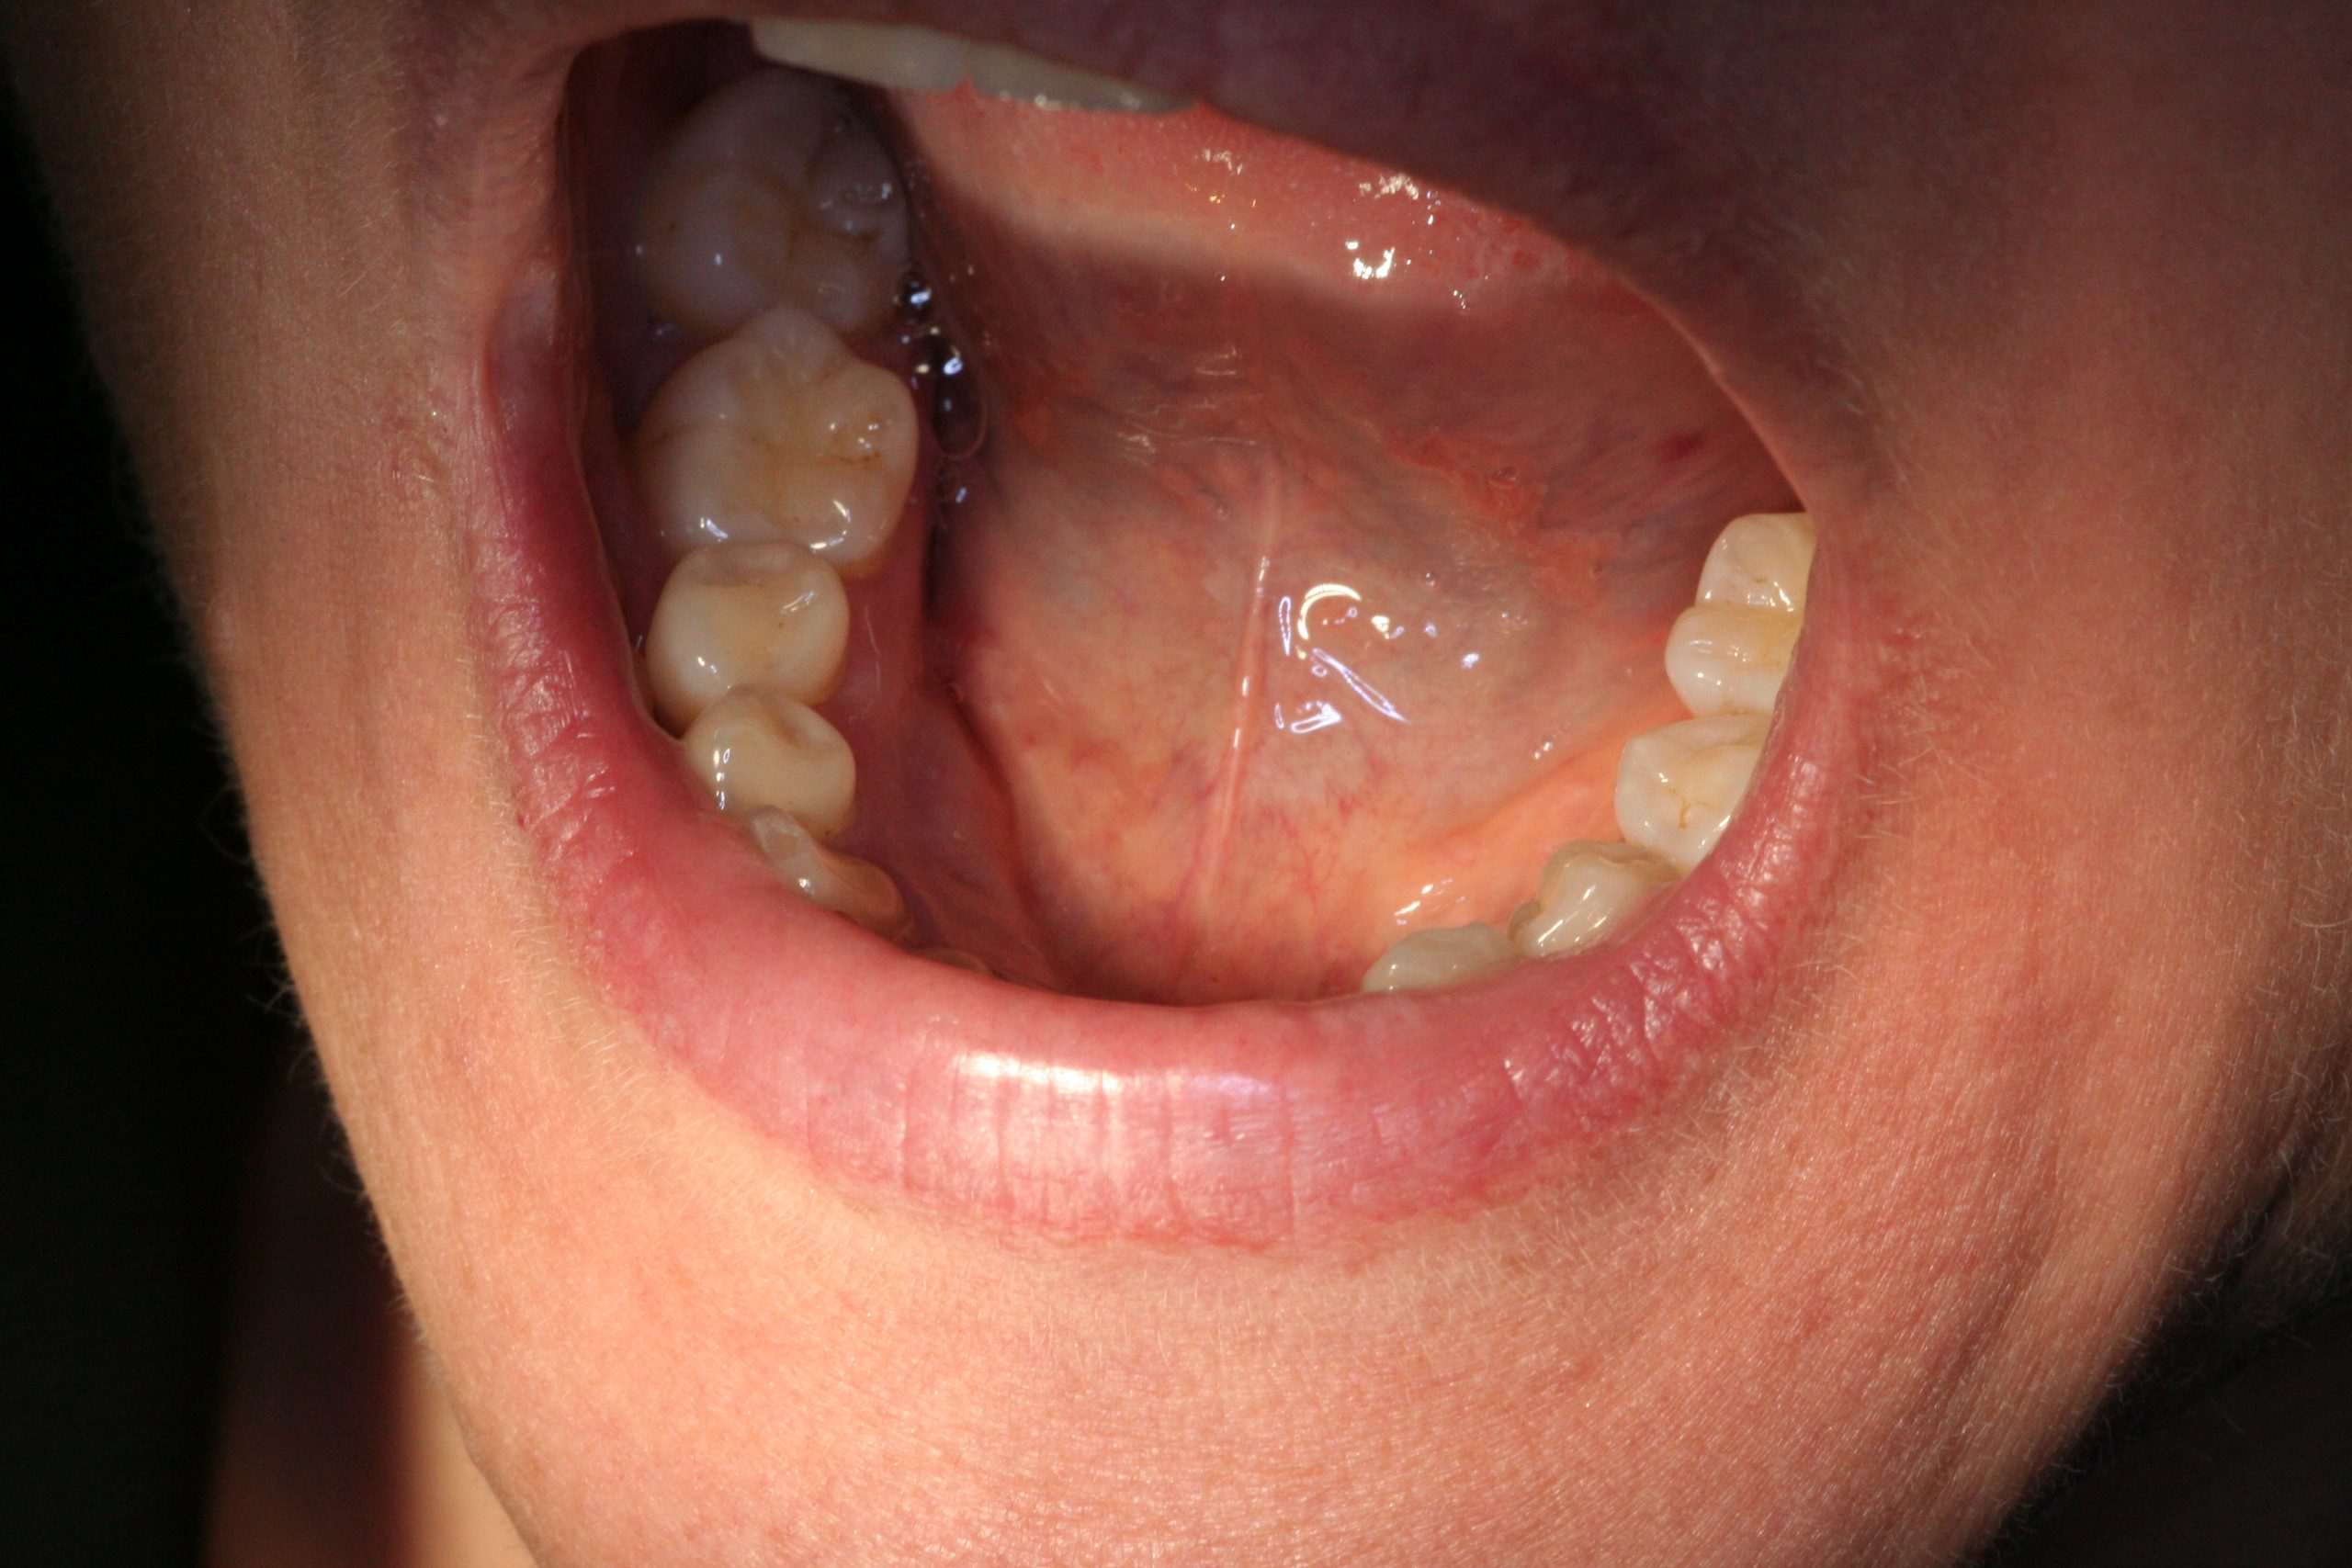
- Lift the tongue and inspect and palpate the ventral surface and the floor of the mouth
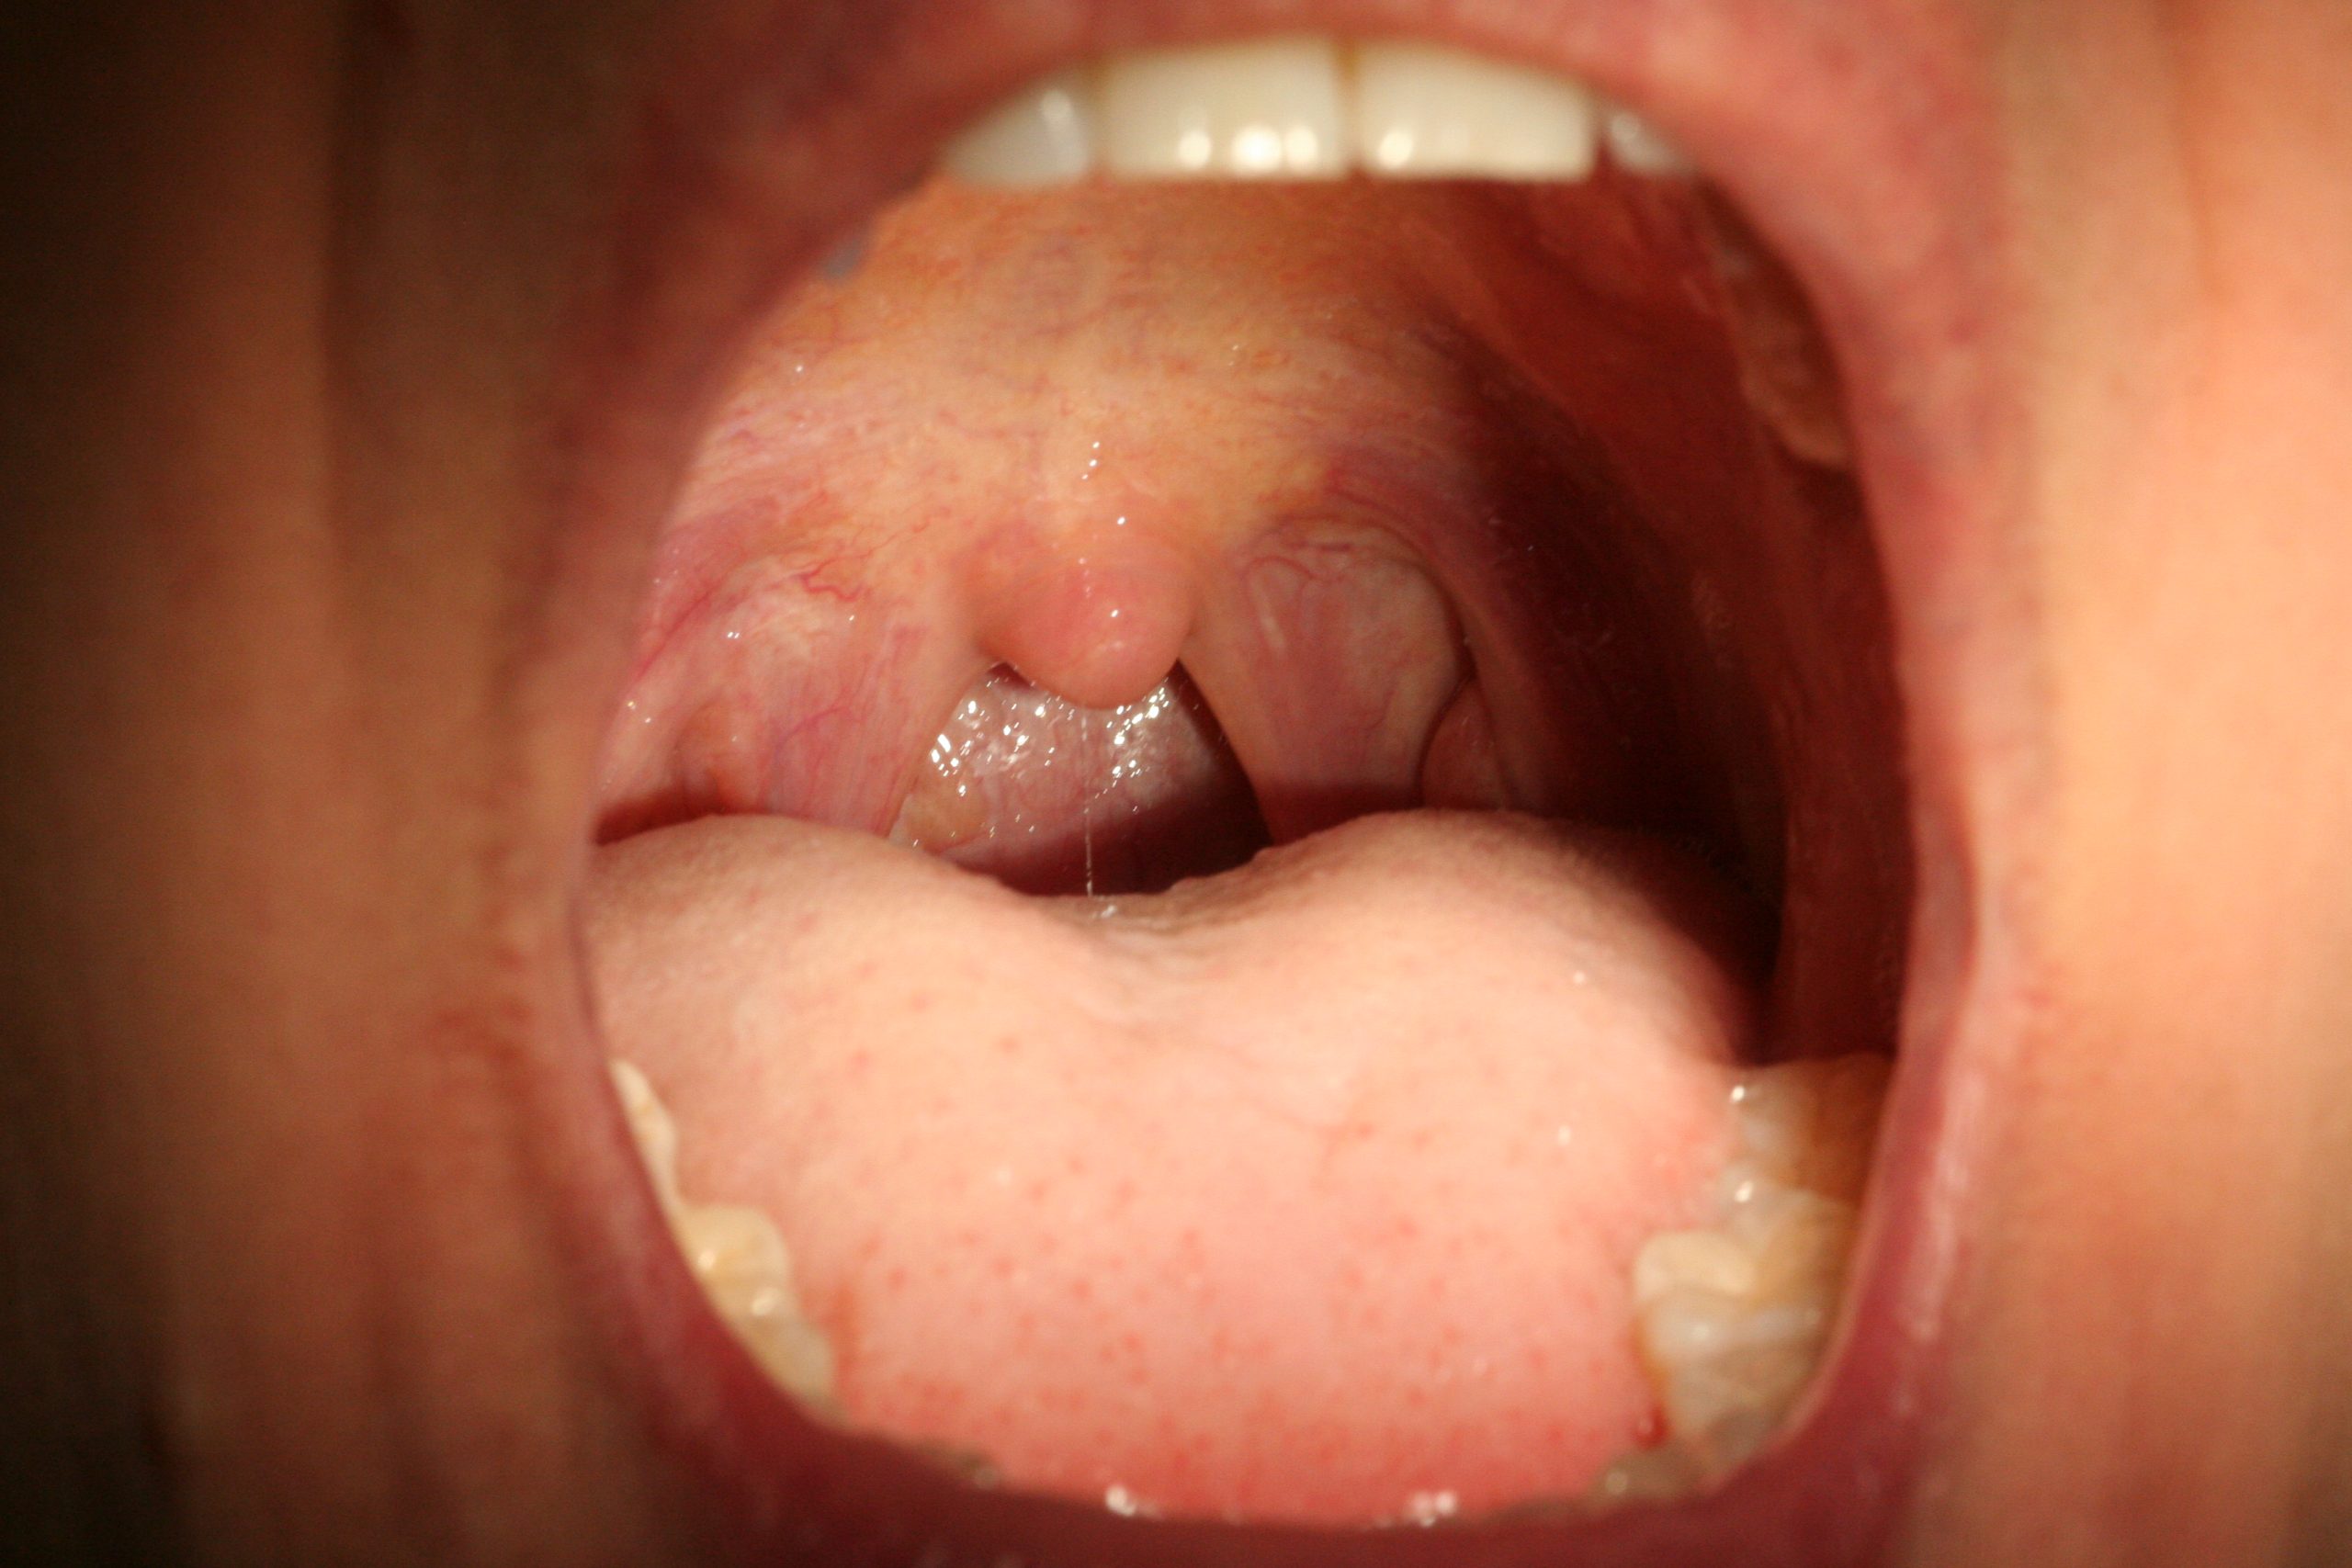
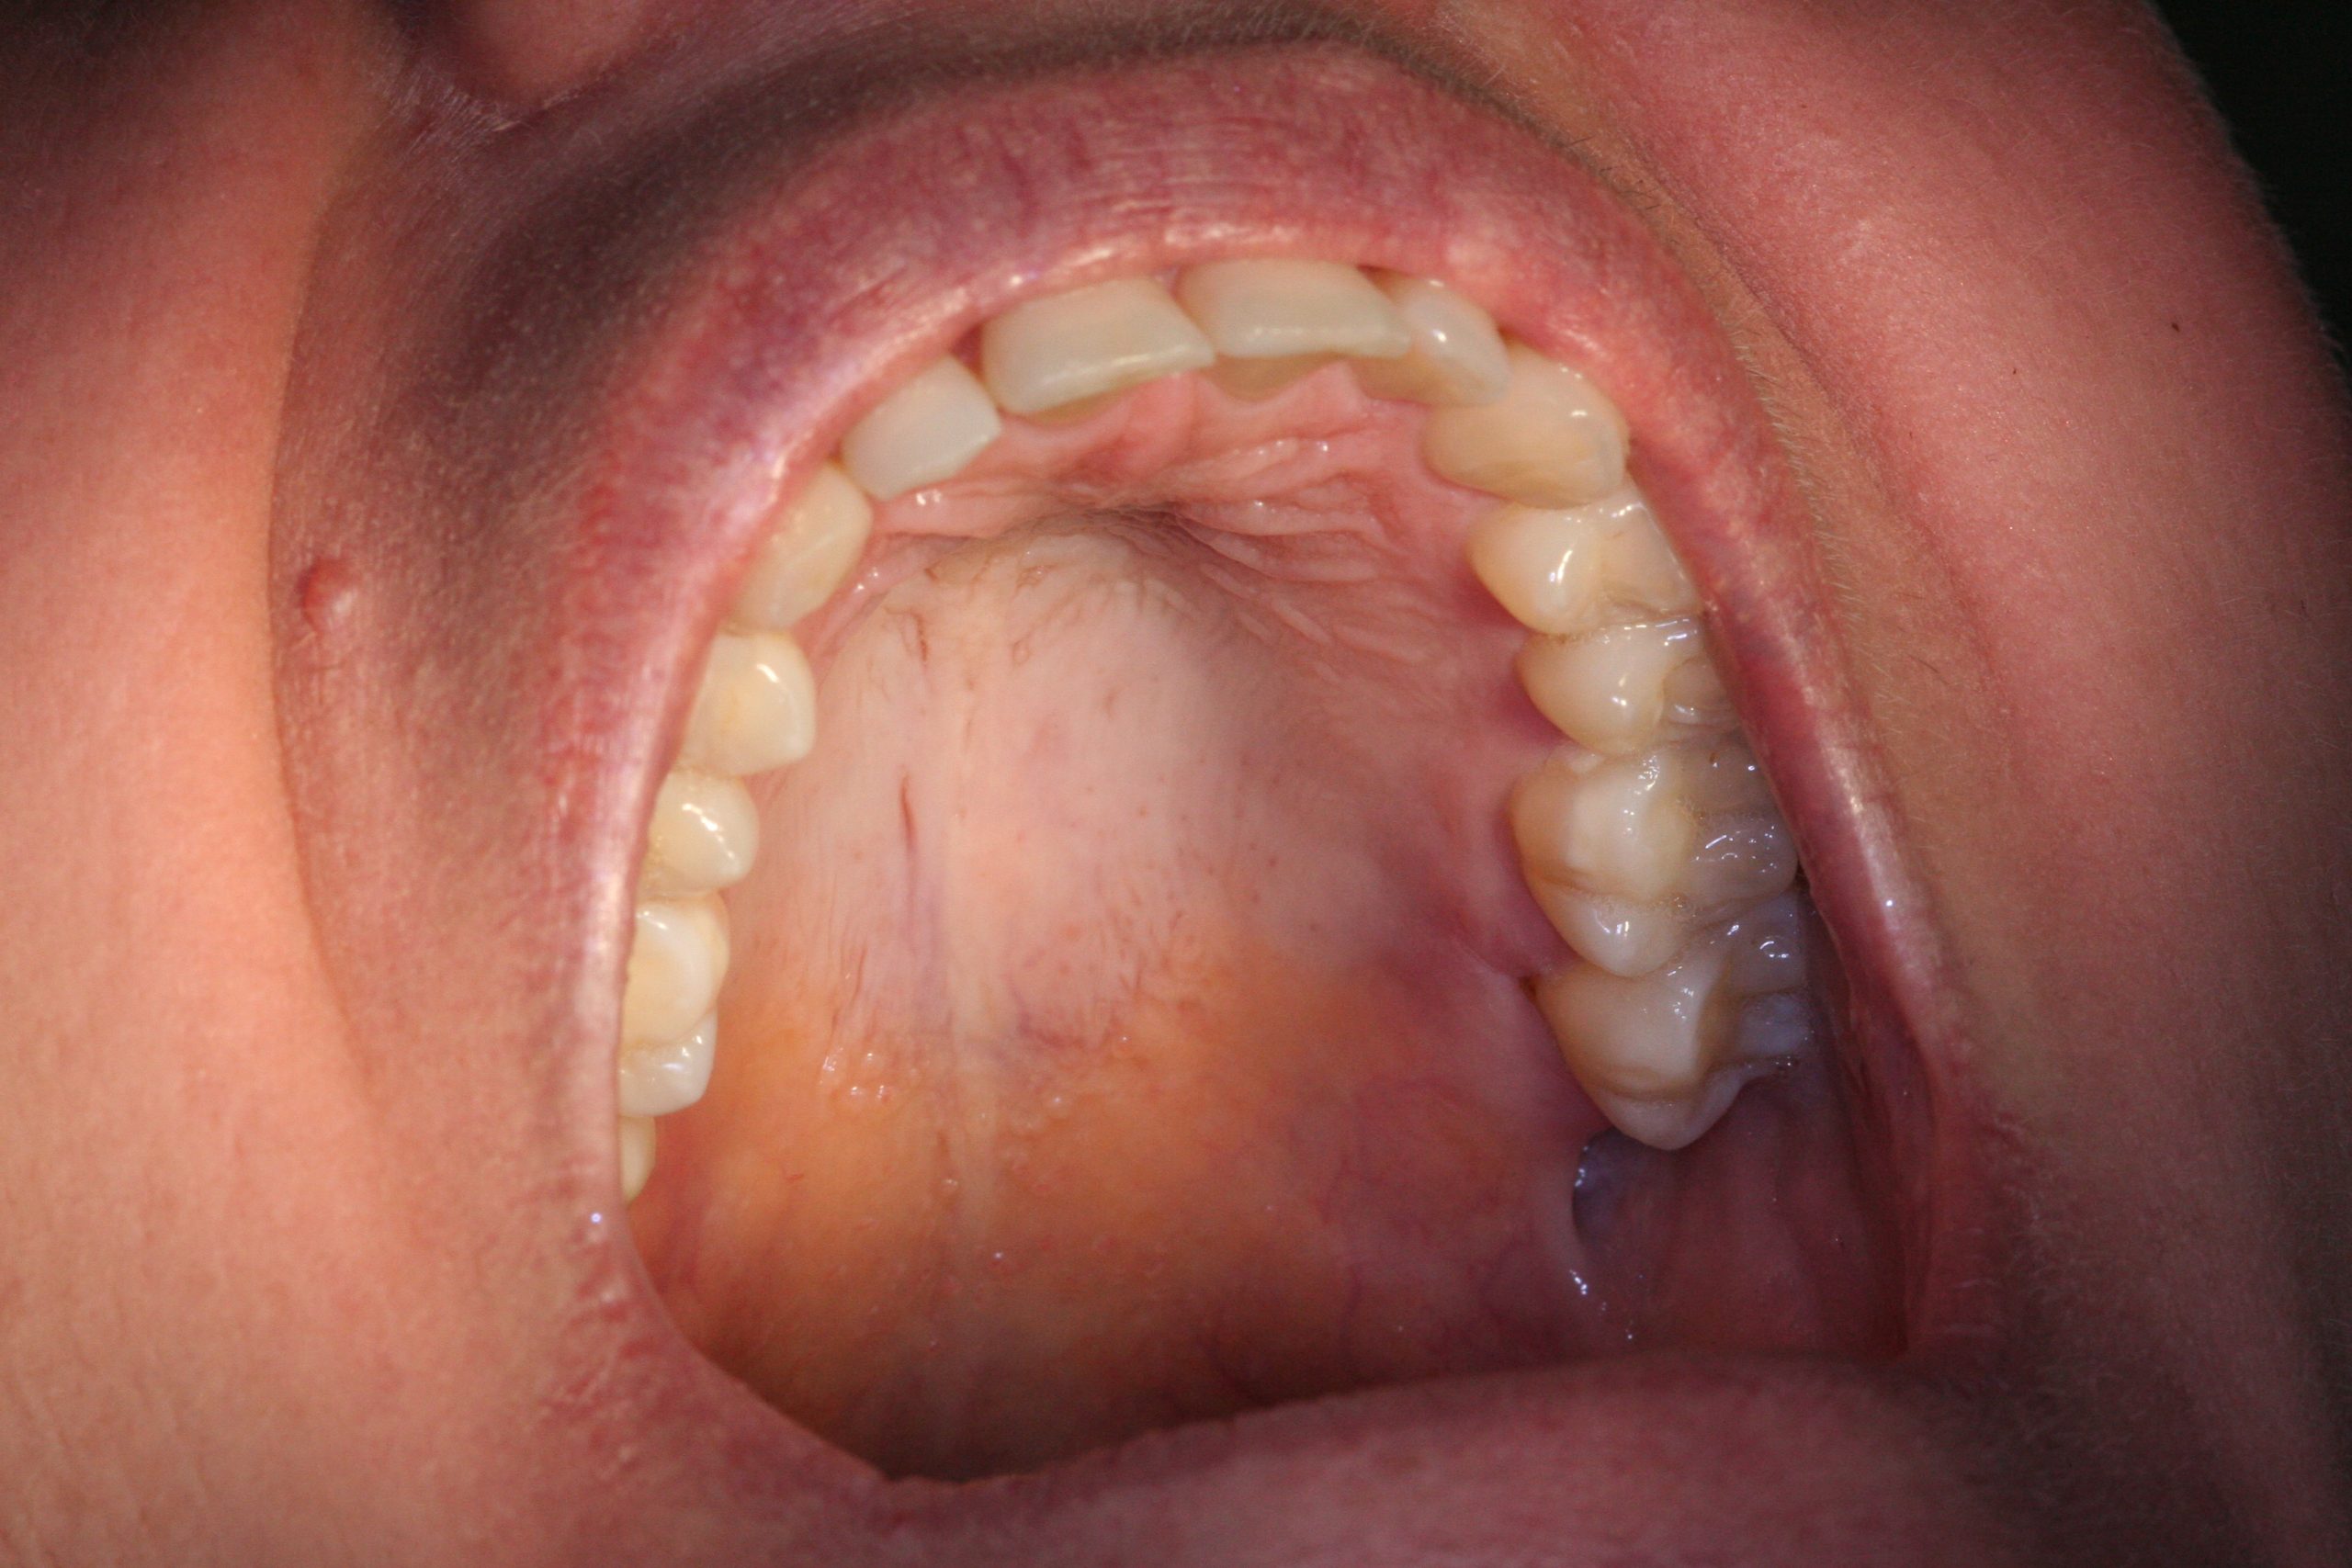
- Depress the tongue and examine the soft and hard palates. Ask the patient to say ‘Ah’ and inspect the oropharynx, uvula and pillars of the fauces. All accessible structures and soft tissues should be palpated.
For educational resources, visit www.mouthcancerfoundation.org.

