Dr Alex Carruthers talks through a dual arch composite veneer case using the injection-mould technique that led to life-changing results.
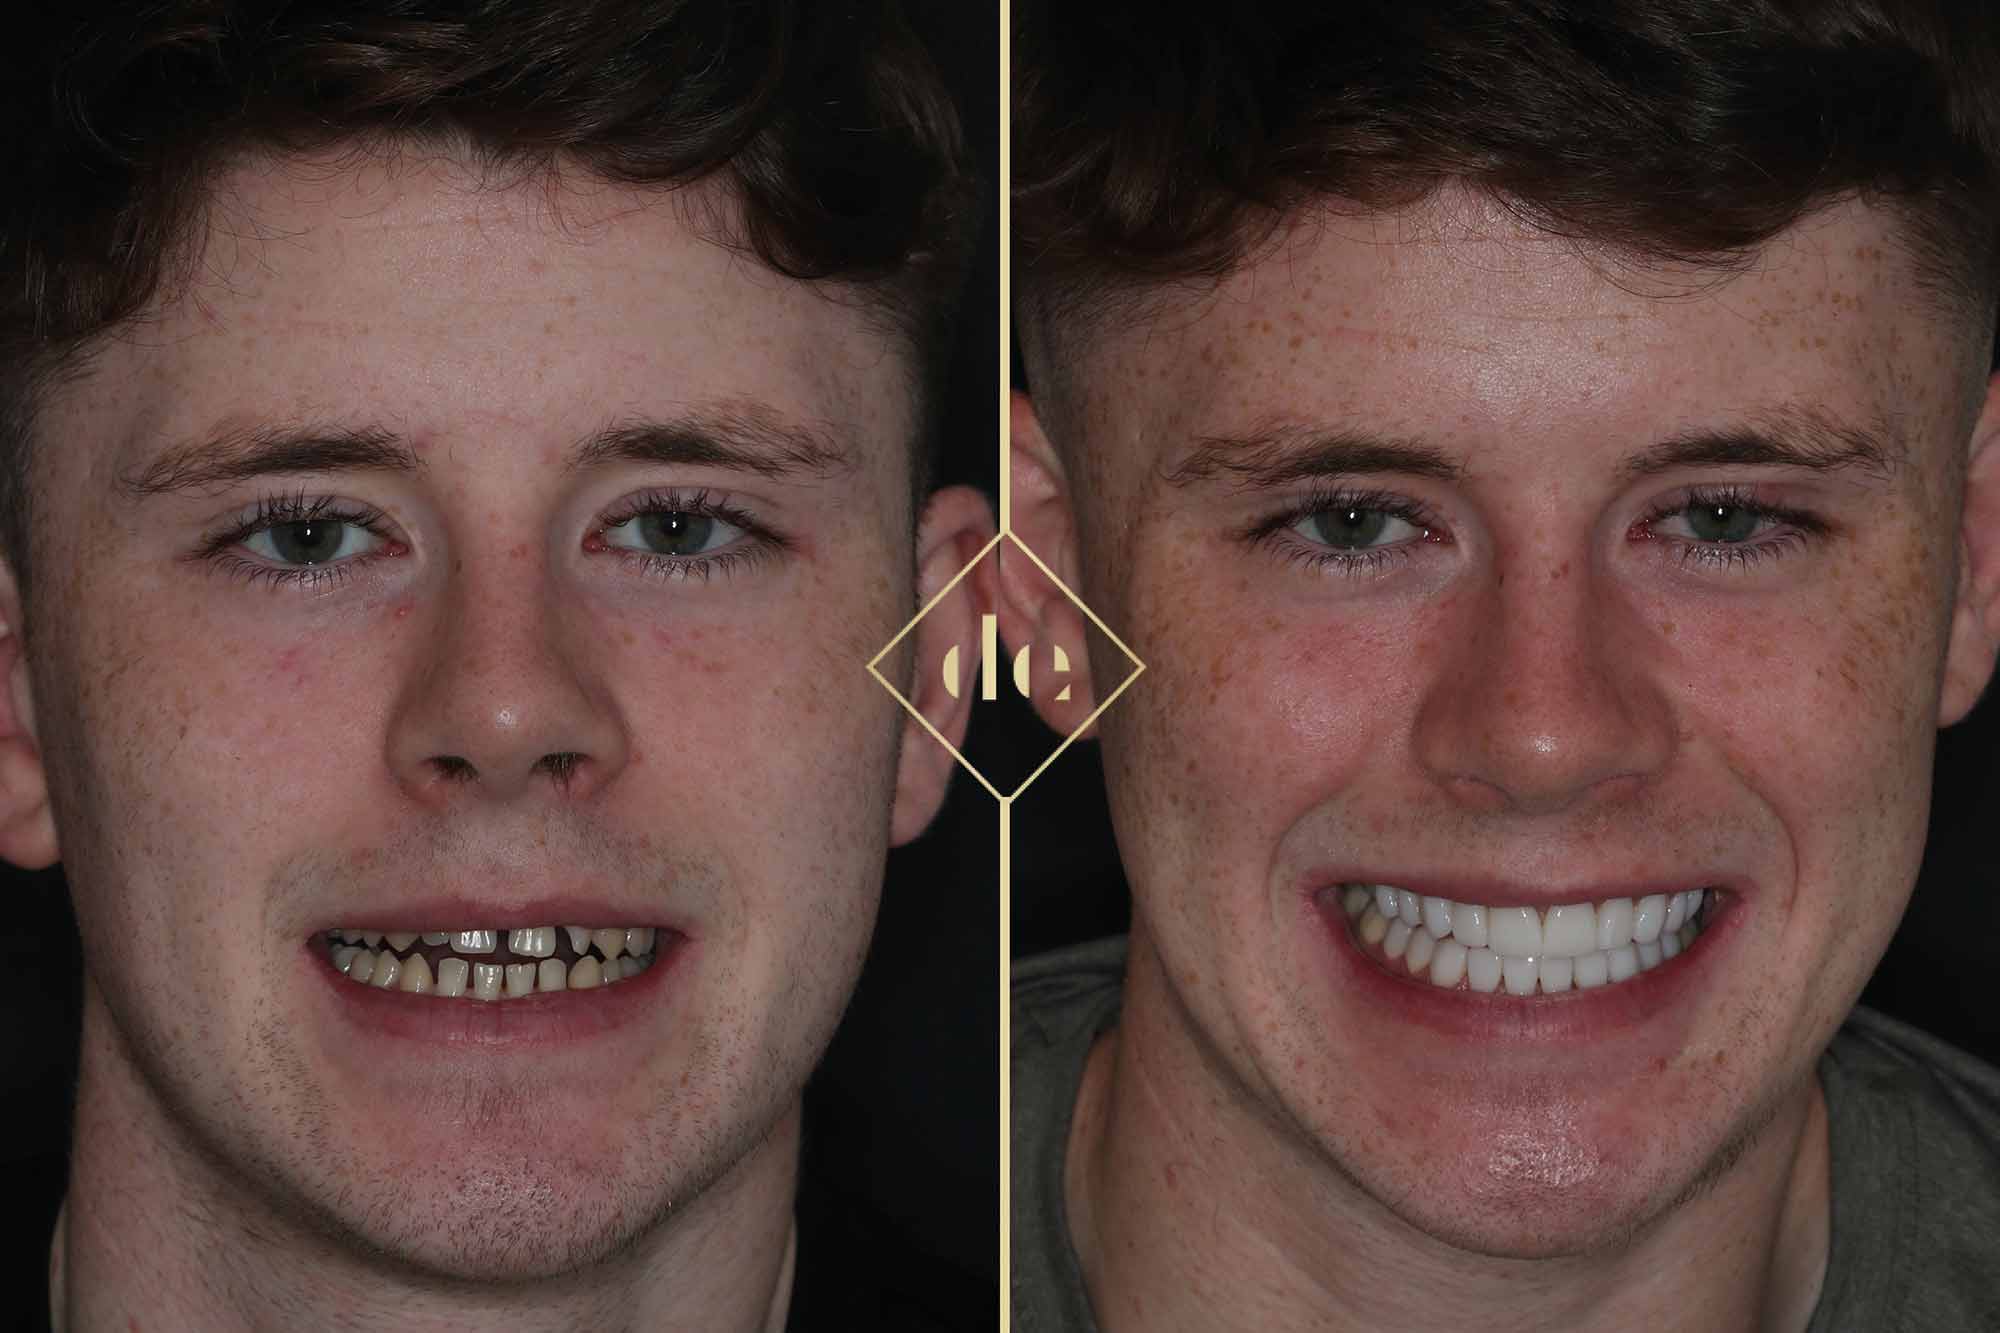
This patient presented at consultation having wanted to improve his smile since he was a teenager.
He was familiar with my work through Instagram, and knew a previous patient who had their smile transformed at the clinic. His main concerns were the size of his teeth and the spacing that he has had ever since he was a child.
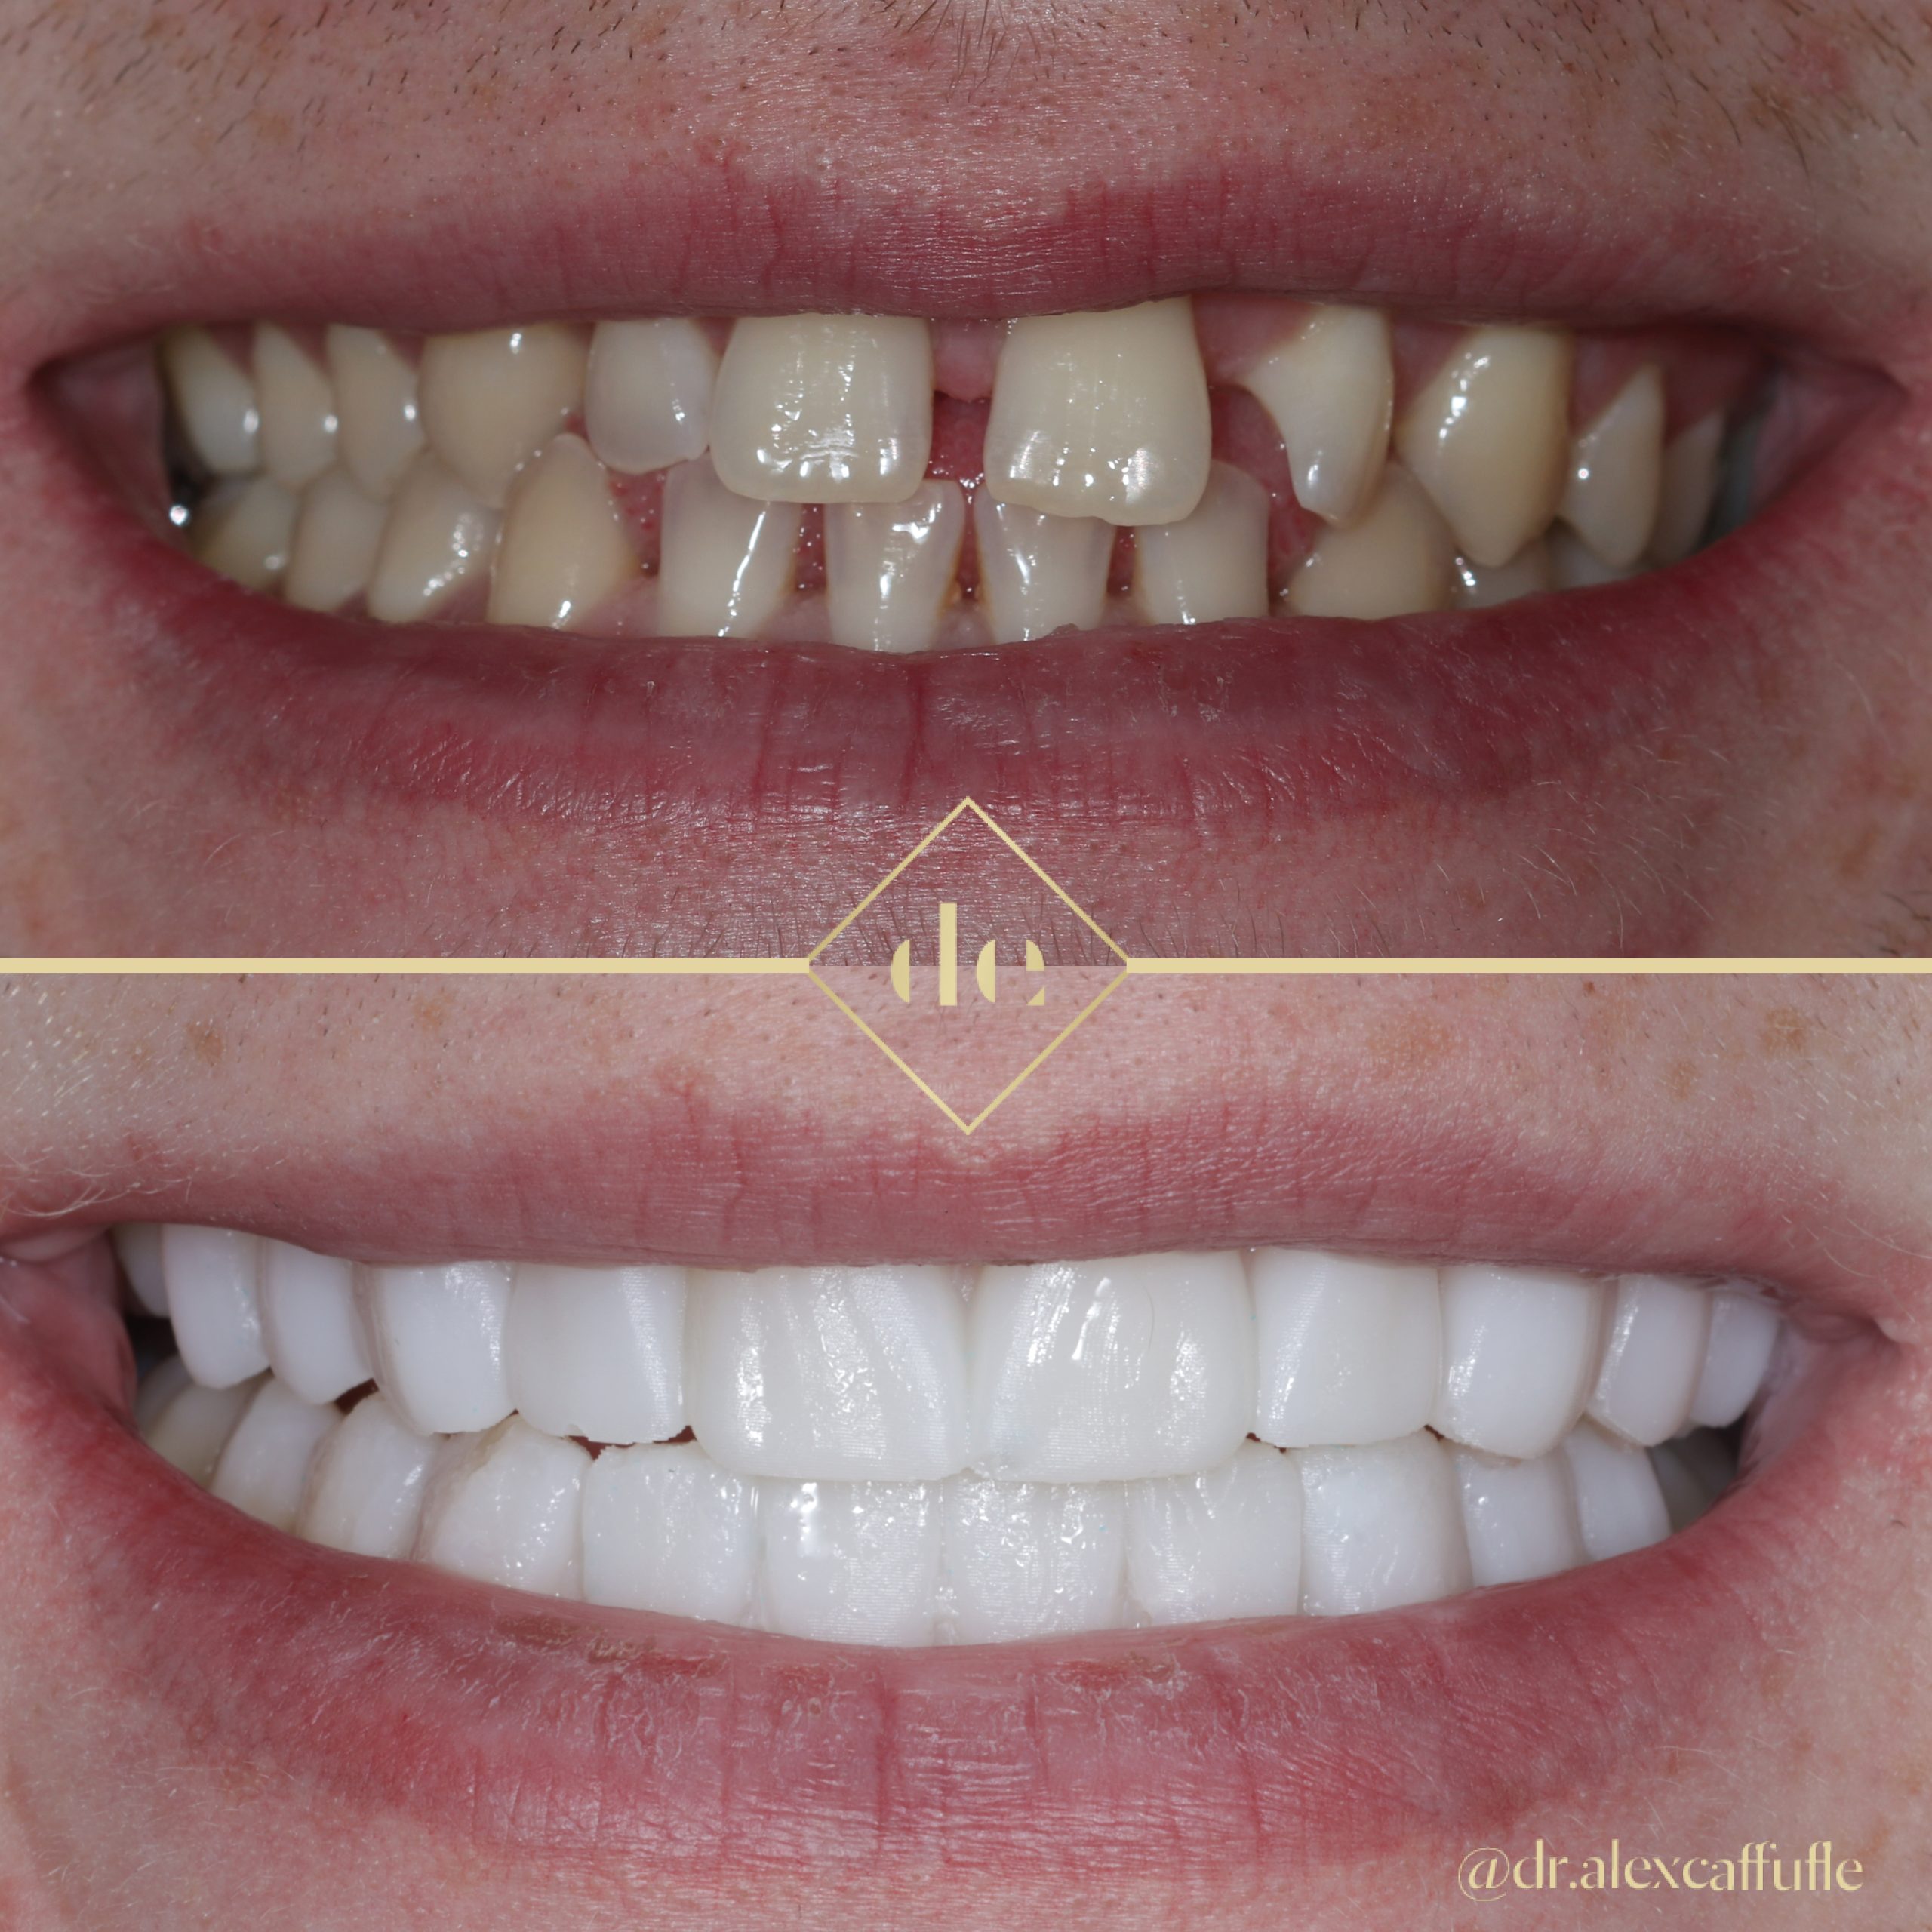
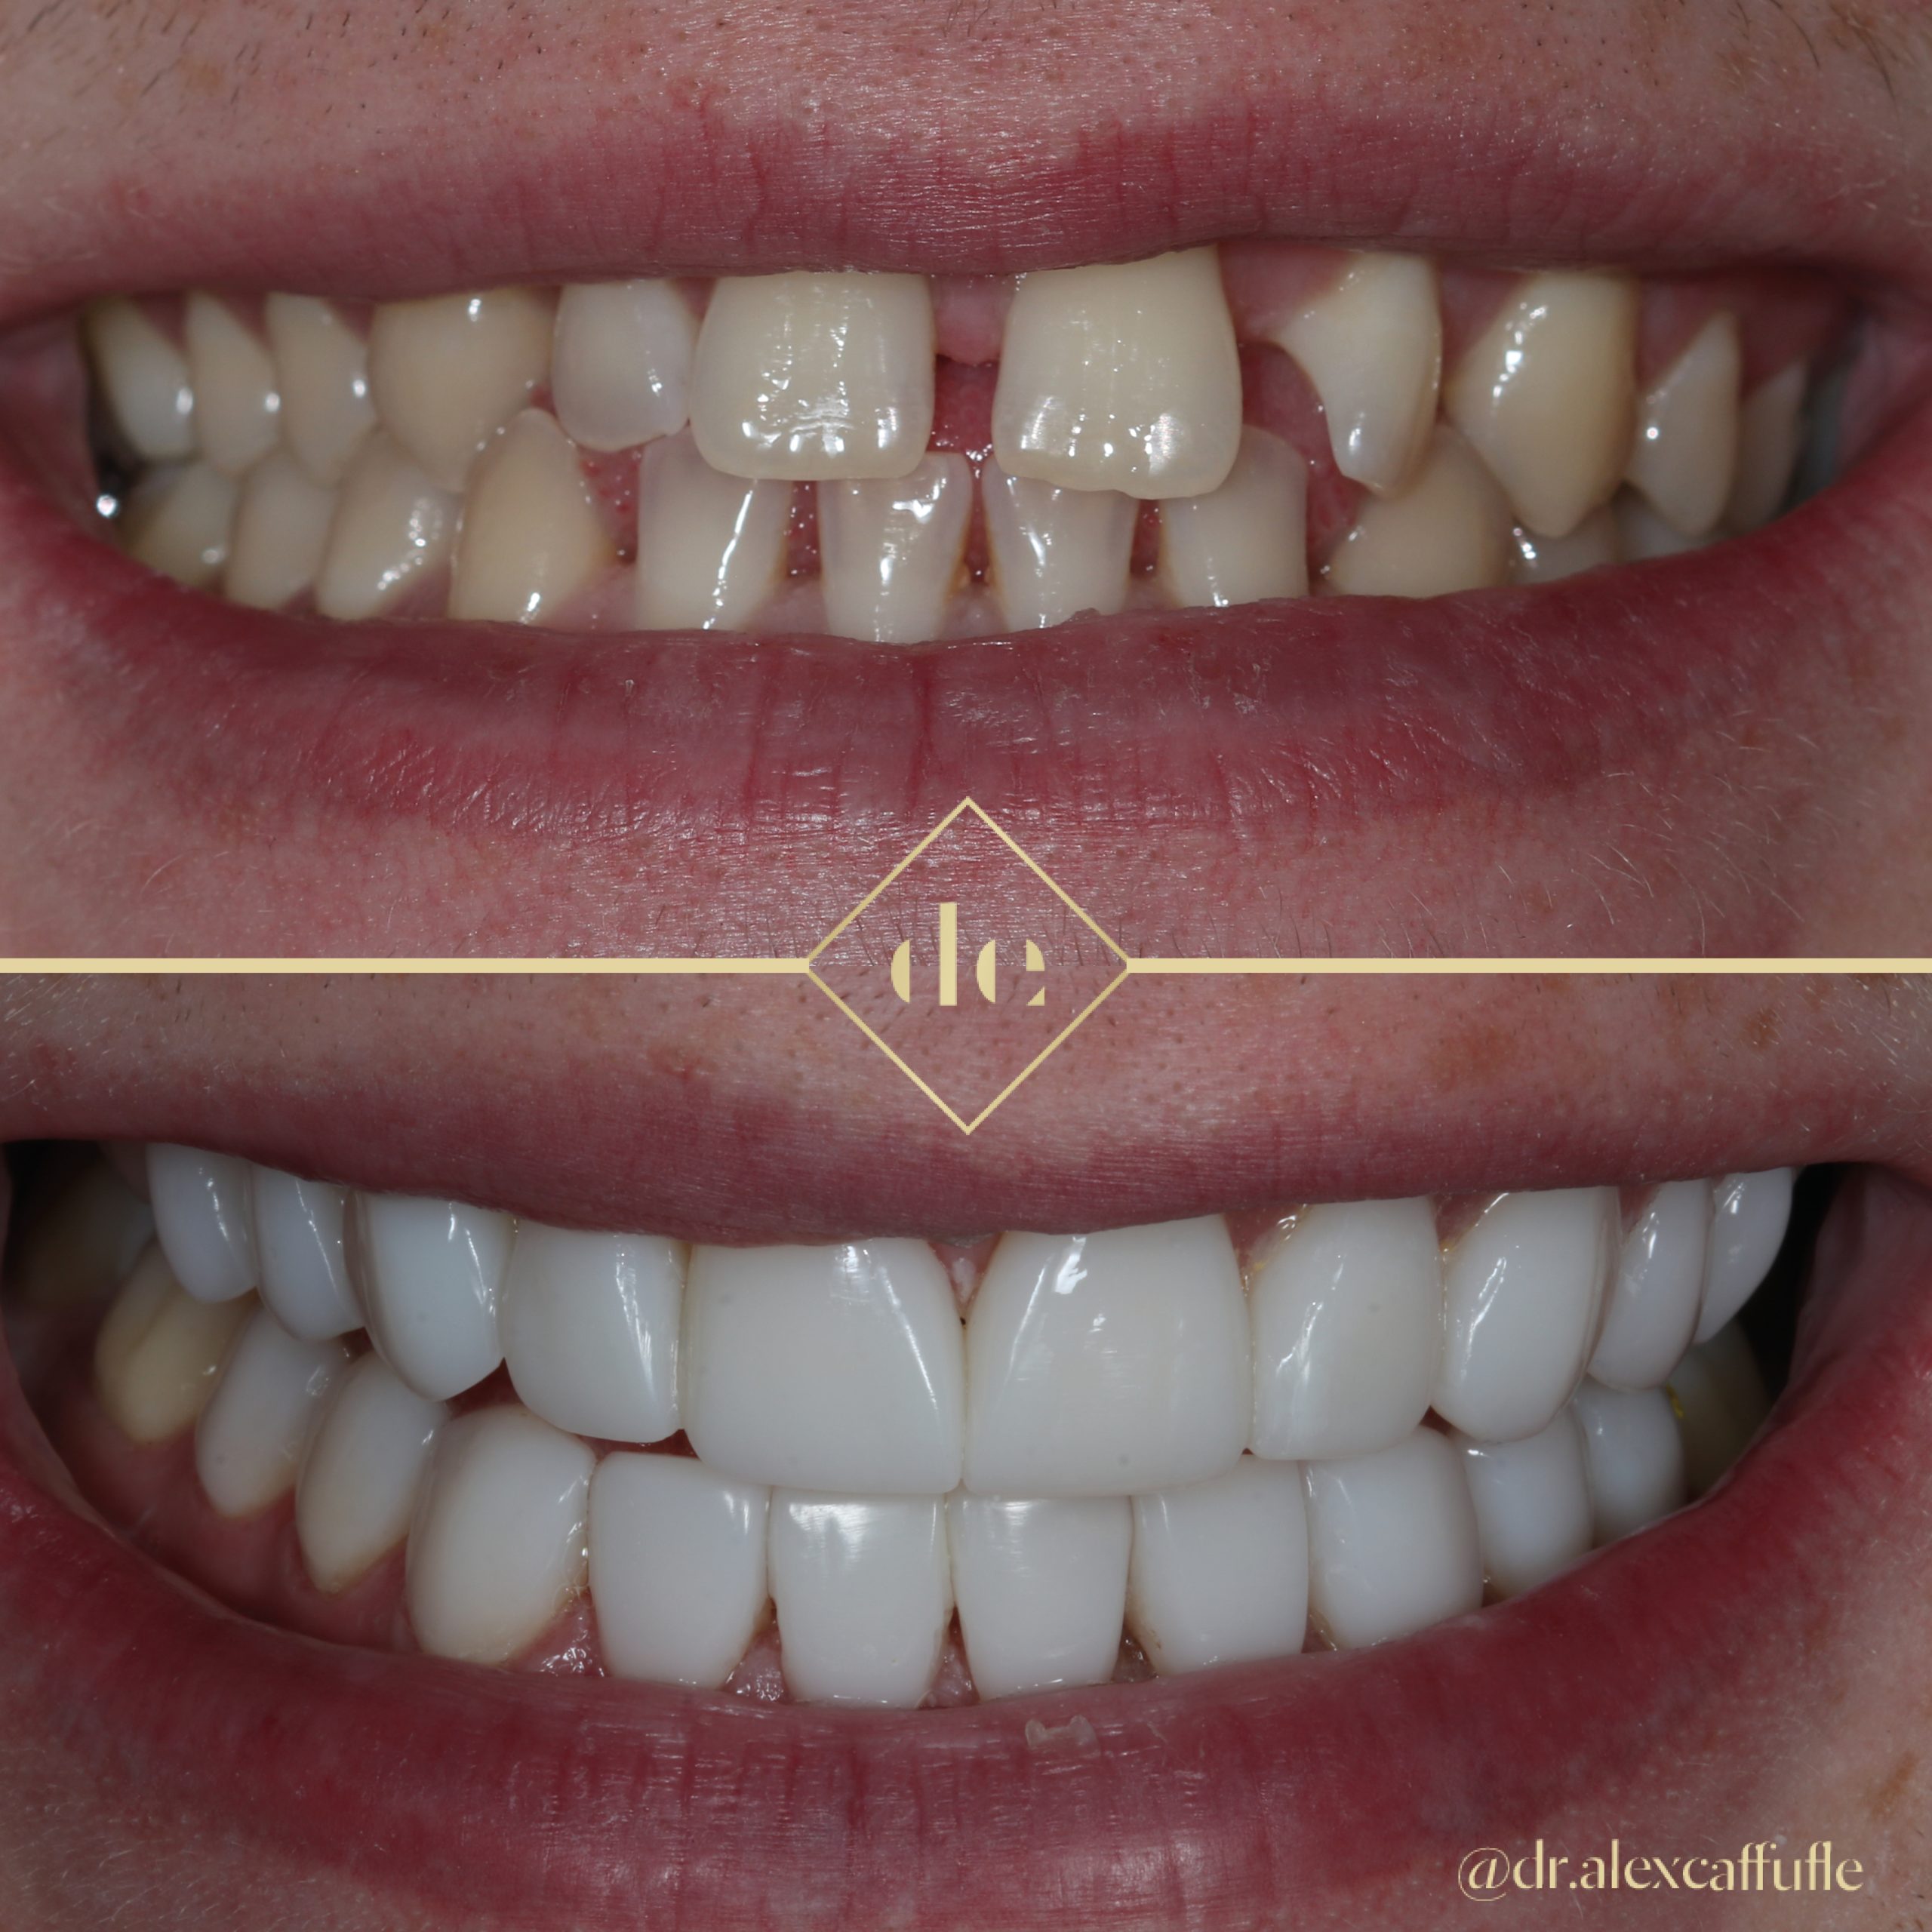
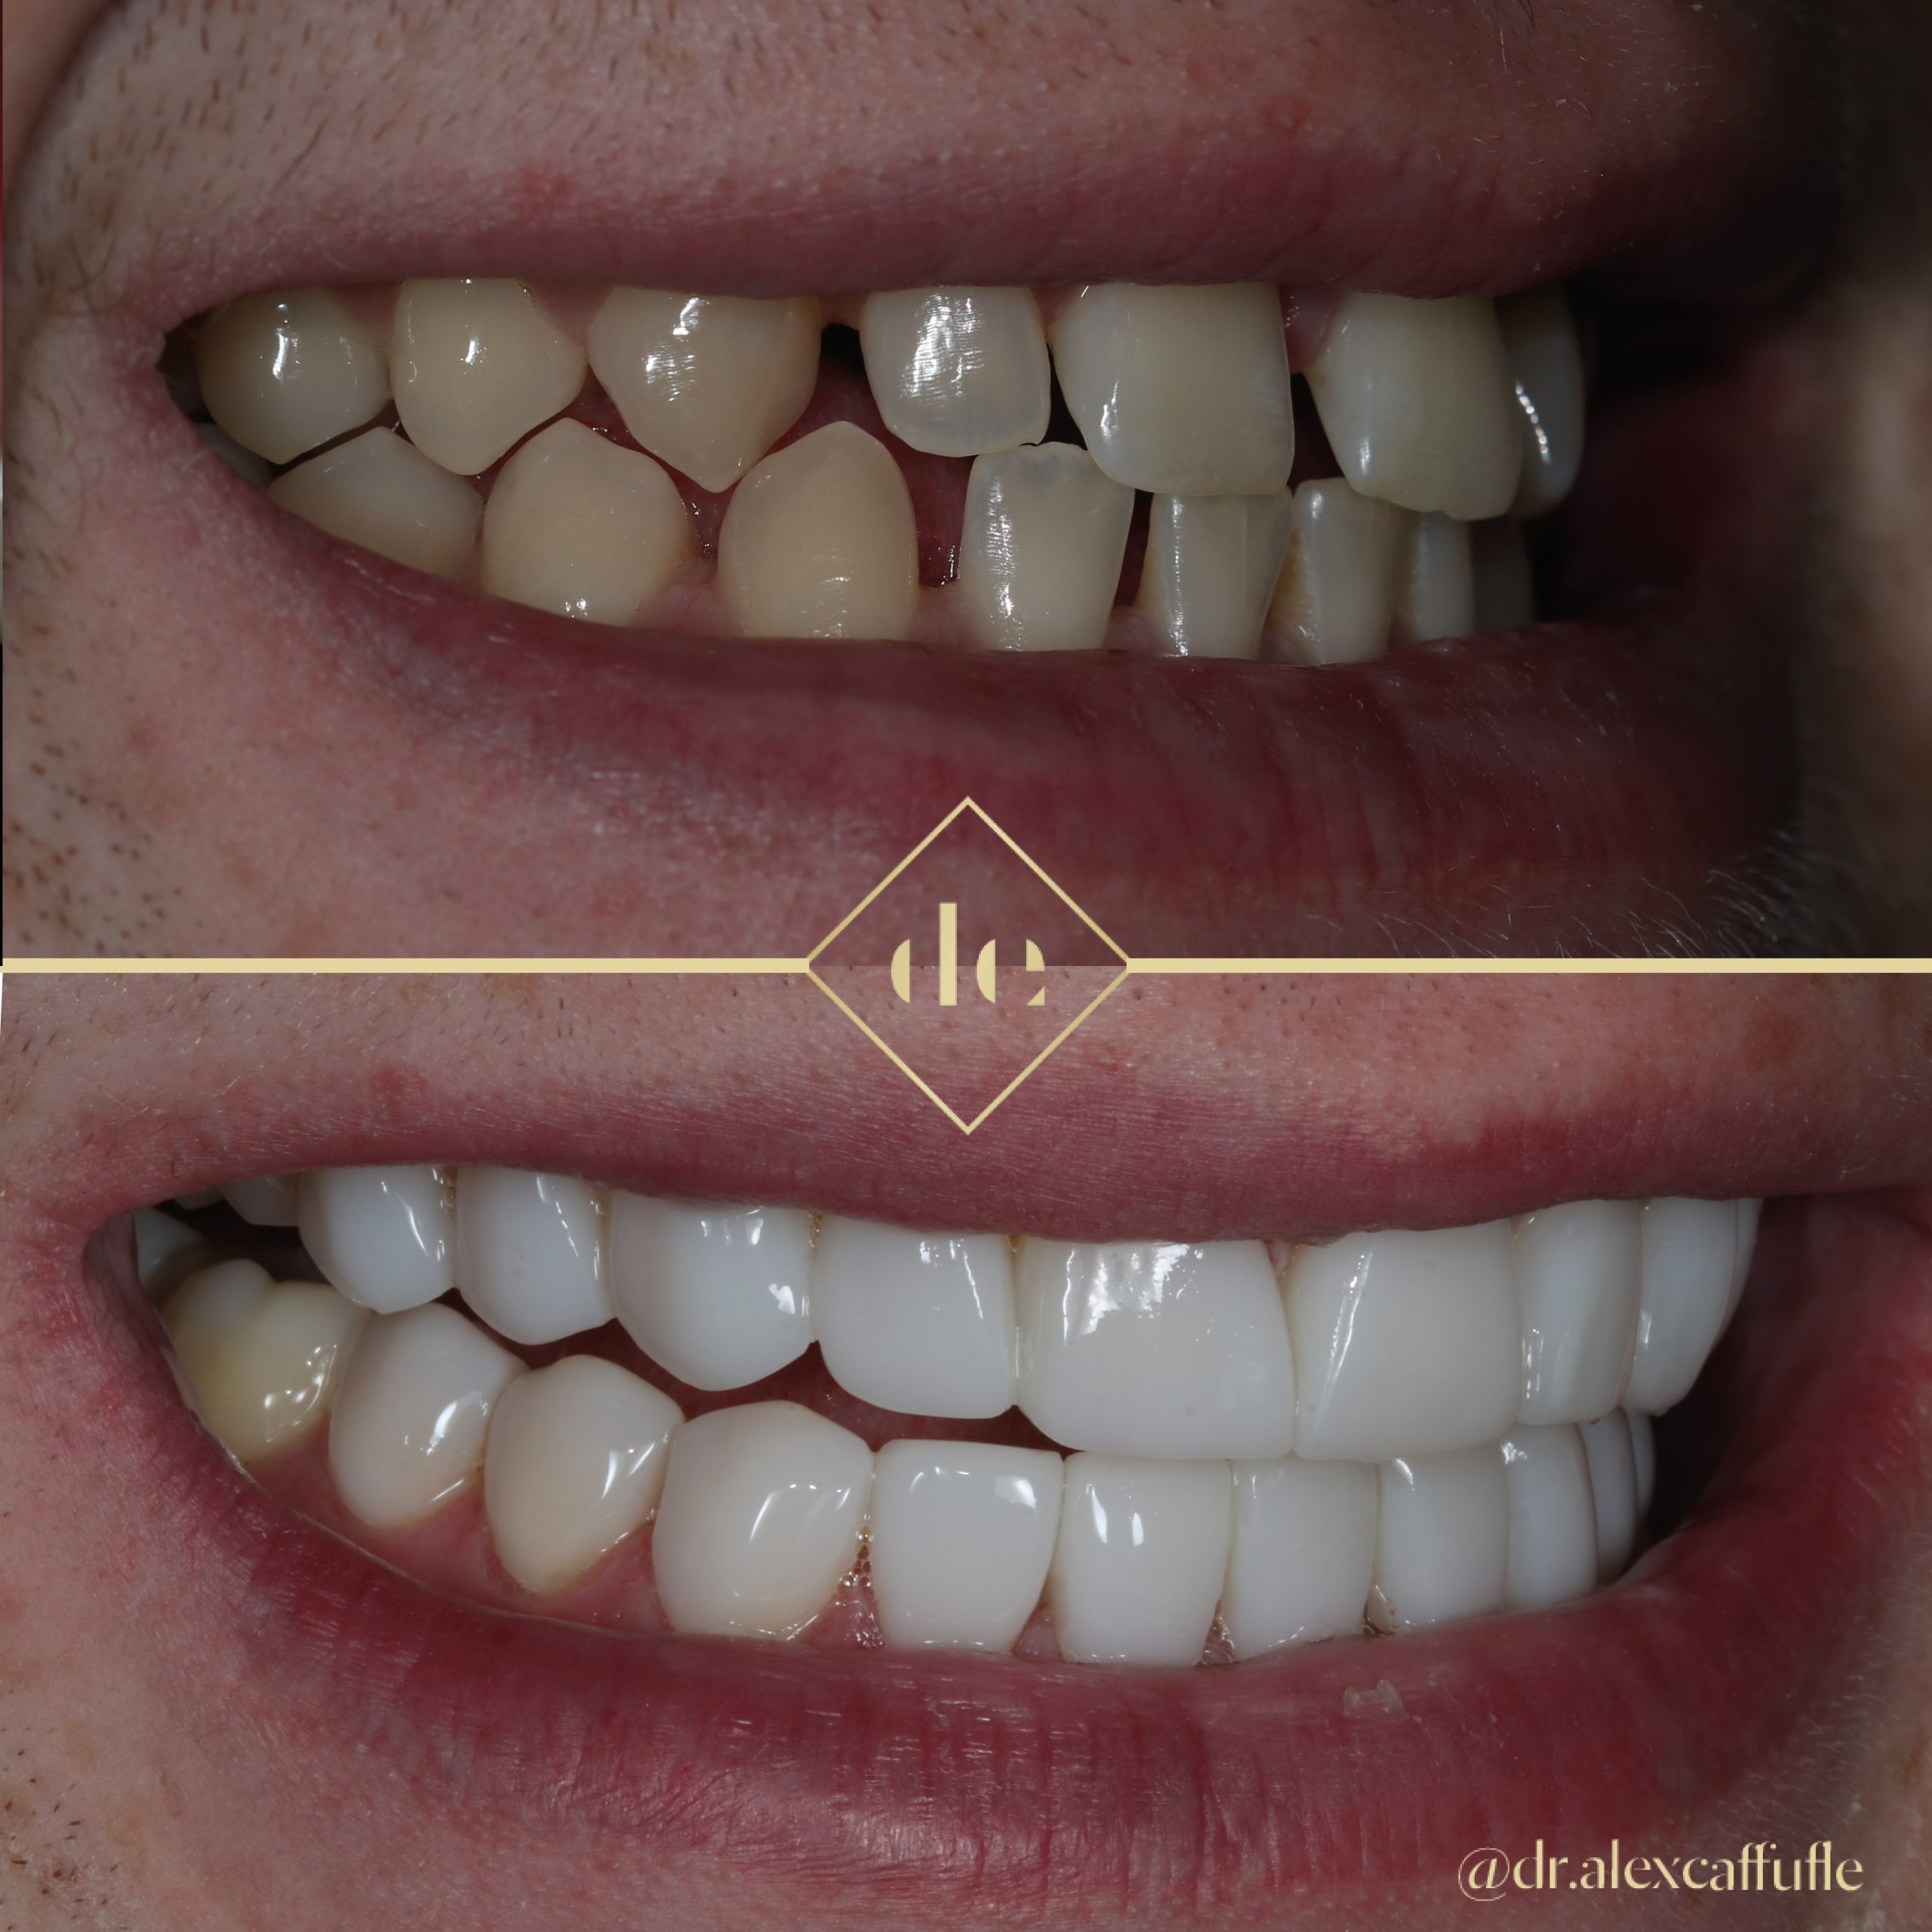
He felt as though his teeth were too small for his mouth and he was becoming more self-conscious of his smile as a result. You can see these spaces in Figure 1.
As part of the consultation, a full set of clinical photographs were taken, along with radiographic records, dental examination and periodontal charting. Although a regular attender at his own GDP he was aware that he was high risk of caries due to frequency of snacking and carbonated drinks.
Although his desire was for an aesthetic improvement, he also wanted to maintain healthy dentition and soft tissues.
Following discussion of the stabilisation work needed, inclusive of restorations and simple hygiene work, we planned a dual arch composite veneer case, through the Avant Garde Protocol, using the injection-mould technique. This allowed the patient to trial his smile and confirm that the design achieved everything he wanted.
A digital scan was taken using the 3shape Trios scanner and sent to our in-house lab with a prescription to start the journey for a motivational mock up. Due to the size and spacing of the teeth this was an additive case to improve the aesthetics and symmetry within the smile.
Second appointment
High-resolution resin models were 3D printed and a mock-up stent was provided by the laboratory. This allowed the patient to test drive his smile, see how the spaces had been closed, and length added incisally for symmetry and aesthetic balance.
As this was a dual arch, 20 unit case, the mock up was completed for both upper and lower teeth; his occlusion and guidance was checked, and areas of soft tissue modification with gum lasering were highlighted for the optimal result.
We assessed these areas specifically in relation to his biotype and biological width and agreed to complete this prior to his bonding appointment, alongside his stabilisation work.
Over an additional two appointments, his restorations were completed on the posterior teeth and his laser gum contouring completed. He was also given bespoke tooth whitening trays and a Millionaire Smile Pro whitening kit to complete prior to his bonding appointment.
Composite veneer workflow
I discussed with the patient to complete the upper and lower smile makeover on two separate appointments to allow some time to adapt to new occlusion. The upper arch was completed first with the use of a microhybrid composite for polishability and strength. The workflow executed was the same for both upper and lower teeth, but below shows the workflow on the lower arch.
Bothupper and lower 10 teeth were prepared with air abrasion, removing any smear layer residing on the teeth, isolated with PTFE tape (medium thickness) and etched the exposed teeth for 60 seconds.
Next, the adhesive coating was applied. After curing, use of heated composite capsules allowed for injection of the composite into the stents provided by the laboratory in the isolation stents. I used the C-Flo heater (Bryant Dental) at 60 degrees for optimal flow of the composite into the stents.
These stents allow very minimal gingival excess. Any gingival flash removed with a 12-blade scalpel moving away from the gingival margins keeping to the design. This process was then repeated on the other 5 teeth.
Polishing
My favourite part of this process is taking the time to finalise the new composite veneers. I removed the composite sprue incisally with coarse to fine polishing discs and followed this with an Enhance polishing cone to remove the outer layer making sure not to overheat the composite.
The oxygen inhibition layer was removed with a glycerine layer over the composite and individually cured. After rinsing, Optragloss polishing wheels (Ivoclar) was used with water spray to finish the high shine to the composite veneers.
Transformation time
Finally, the patient’s occlusion was checked thoroughly in excursions and final photographic records were taken. The patient achieved a beautiful and reliable final result, which we anticipate lasting five to seven years.
The patient was delighted with the outcome and said the result was life changing for him. It was going to help him grow in confidence with his smile and day to day life.
For more information visit www.avantgardedentistry.co.uk

