Combining digital and analogue methods, Stefan Strigl presents a digital press design crown case in which time was of the essence.
The 26-year-old patient presented to our attention with acute gingivitis involving his upper incisors and canines caused by plaque accumulation around crowns with unsatisfactory marginal closures.
After the patient underwent oral hygiene therapy, it was suggested that the six crowns be remade even if they had been recently made.
The work had to be completed quickly as the patient worked abroad and his time availability was very limited.
Digital design
After reshaping the crown abutments, we moved on to the provisional so that the patient could get an idea of the shape and the position of the finished work (Figure 1).
Once the impressions had been received and the models made (Figure 2), we moved on to the scanning.
For this case we chose to apply the digital press design technique (Figure 3).
Digital press design is a unique innovation of Ivoclar Vivadent, an important solution with an efficient workflow for increased productivity.
Implementing this method requires a 3Shape scanner with dedicated software – the digital press design add-on. This combines the advantages of CAD/CAM technology with the efficiency of press technology.
Scanning the master model with removable stumps (Geller technique) and with the antagonist in occlusion, the marginal borders and axes of the single crowns were detected for insertion of the single crowns (Figure 5).
The software offers us a wide range of anatomical shapes of which we chose the most appropriate for the case (Figure 6).
Once the digital modelling is finished, we continue to the finalisation (Figure 7).
 Figure 2: By making this type of model you can see the margins of closure perfectly as well as the gingiva; obviously we need a perfect impression


Modifications and checks
After having designed all the crowns, the system proposes the ideal pivoting according to the parameters required by the IPS e.max Press Multi system (Figures 8 to 10).
Next we see the management of the enamel/dentin colour transition, which we can further modify.
The software proposes the correct positioning inside the pressing cylinder with a control template that simulates the real Sprue Guide, visible both from the front view and from the top view in a circular sense inside the cylinder (Figures 11 to 13).
Another possibility offered by the software is with the model inside the cylinder (Figure 14).
Once the modelling has been completed and the crowns have been checked, the STL file is created and imported into the CAM. As well as this, the milling strategy and the nesting within the appropriate wax disc is chosen (Figure 15).
After the CAM software has calculated the milling strategy, we import our file into the CNC control panel (Figure 16).
Once the milling has been completed the edge closure is checked (Figures 18 and 19).
 Figures 8-10: Digital impressions with view of the dentin and enamel


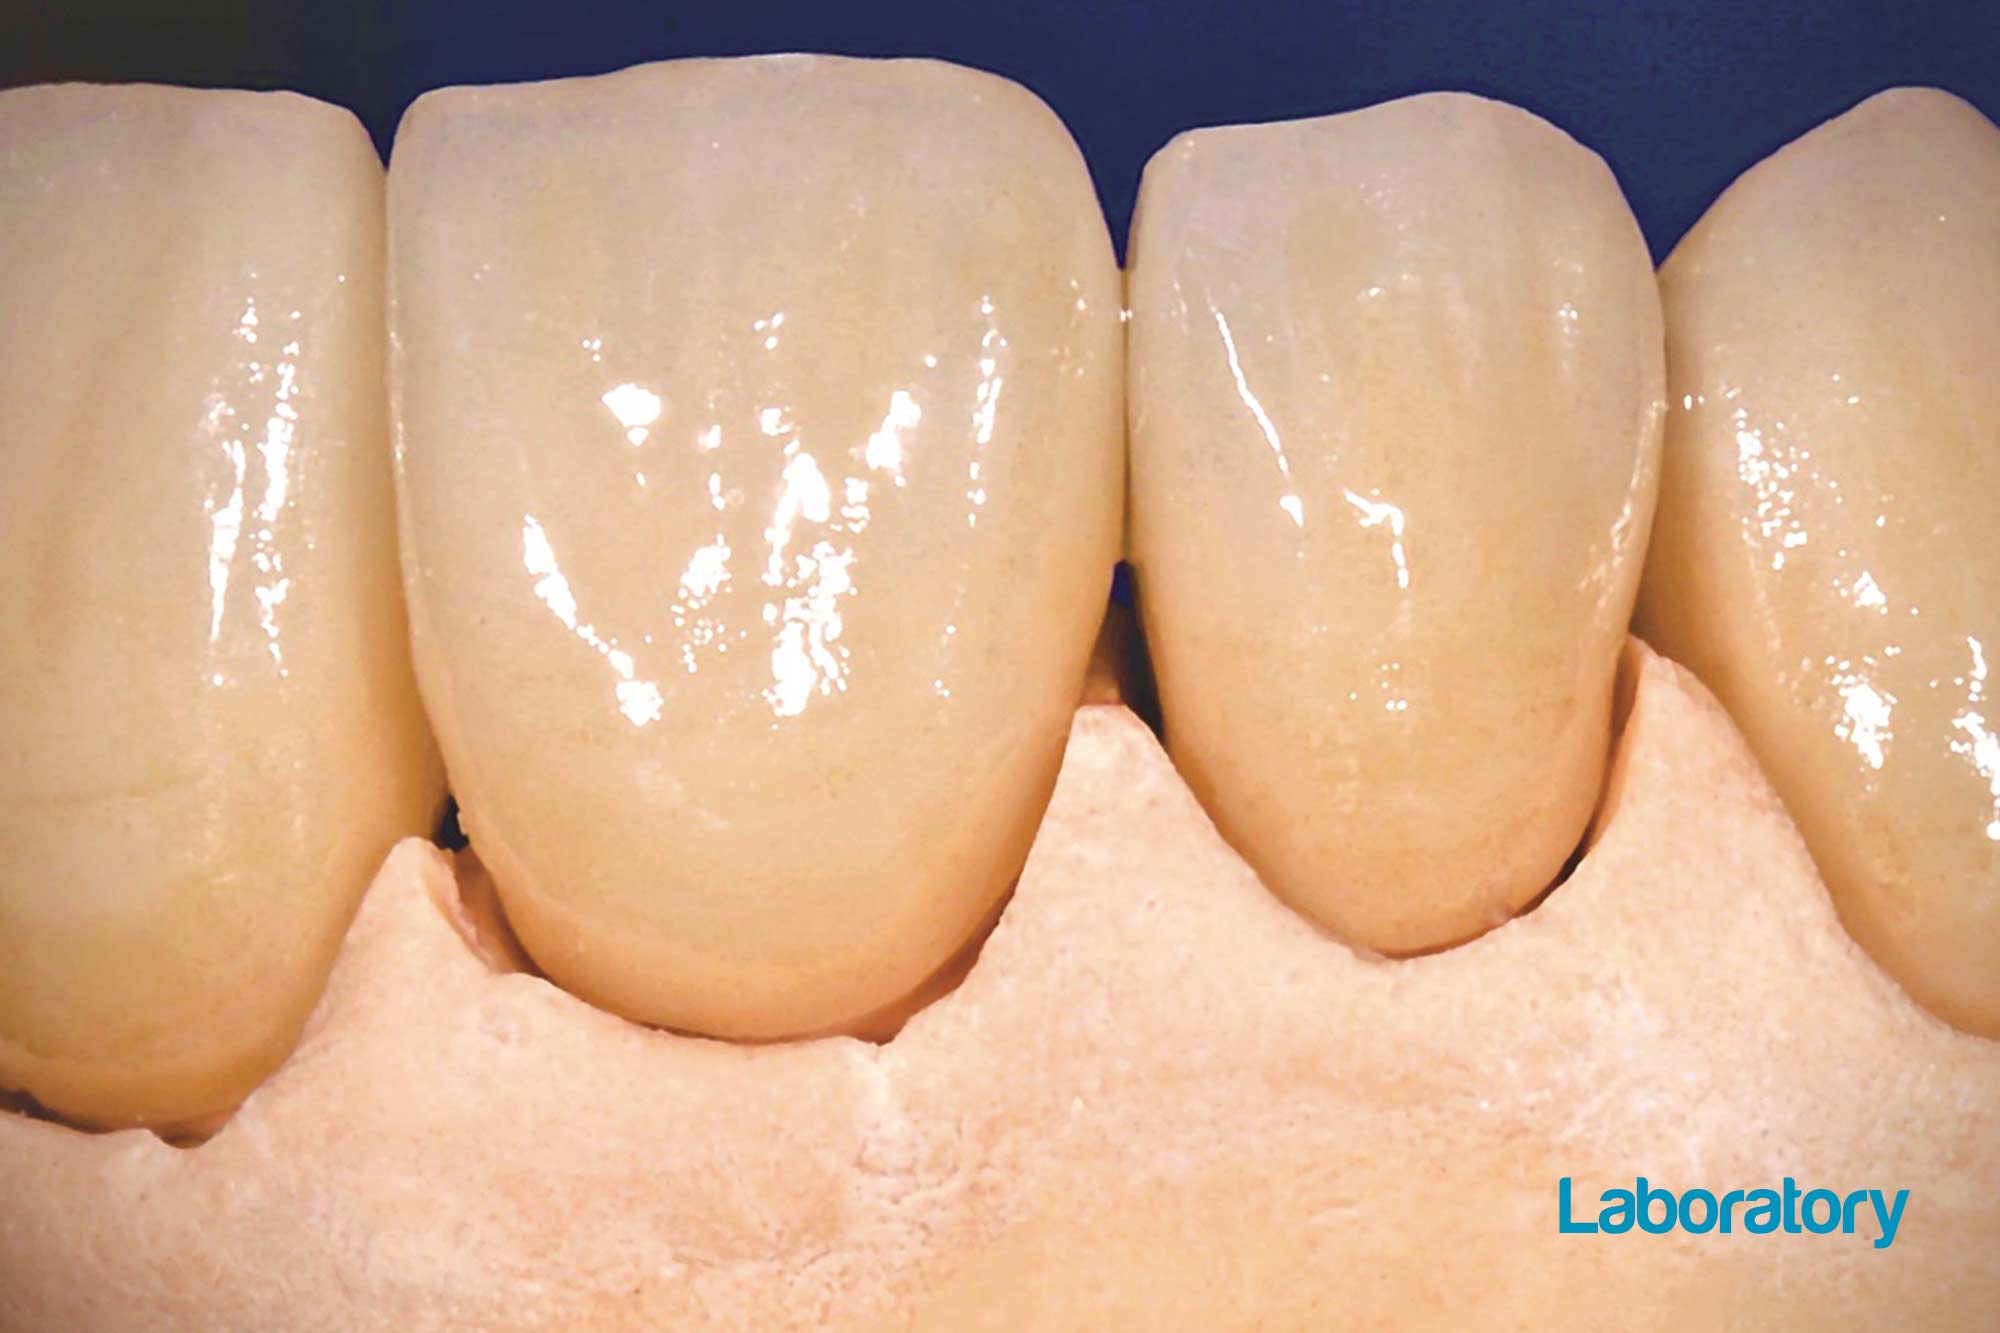
You can see that we have achieved a precise and excellent result (Figure 20).
Finishing touches
For restorations placed on the cylinder base, we can see that the position is the same as the digital one (Figures 21 and 22).
After removing the investment ring from the preheating furnace, it is placed in the press furnace EP 5010, and the IPS e.max Press Multi ingot is inserted (Figure 24).
Following pressing, the parameters with the press values, time, path and temperature of the investment ring are displayed on the furnace screen. (Figure 25).
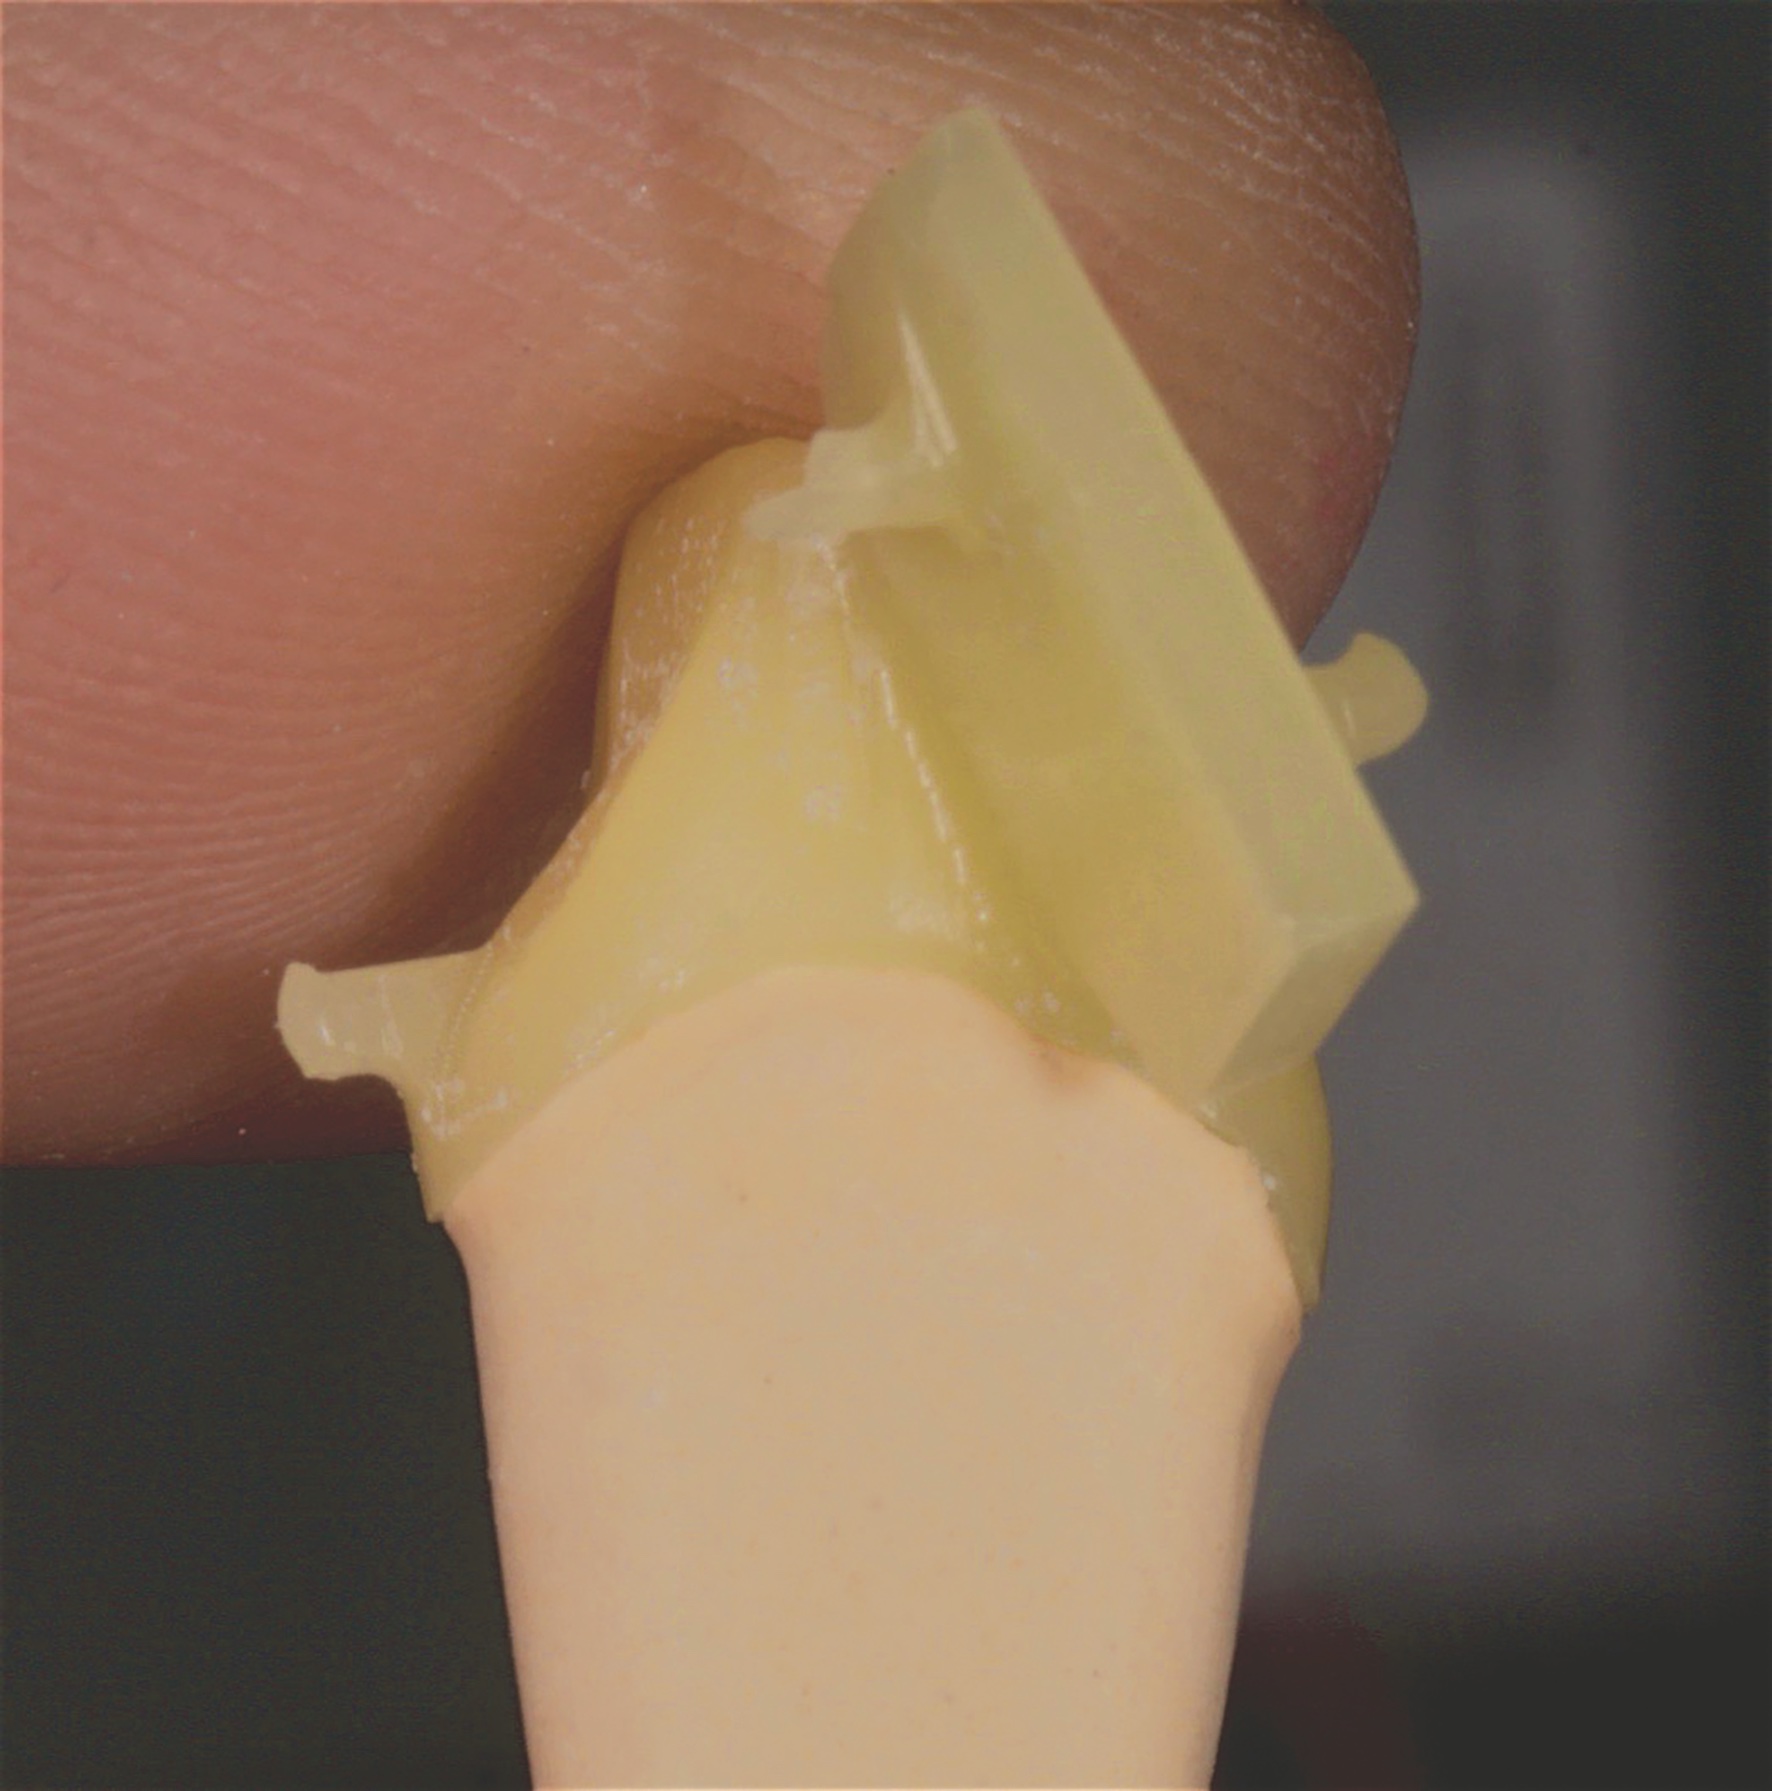
After cooling, the product is de-moulded.
You can see the surface is clean thanks to the high quality of the wax.
The gradual and natural transition of dentin and enamel is immediately apparent (Figure 26).
Once the plates have been cut and the contact points have been finished, we check that the restorations fit on the model and perfectly reflect the shape obtained digitally (Figures 27 and 28).
 Figures 21 and 22: Position perfect on the cylinder base that perfectly mirrors the digital one


We move on to the fabrication of the surface texture and the characterisation of the restorations after checking the functional movements (lateral and proximal).
It is important at this point that the aesthetic appearance should be improved by painting the areas of the middle third of the cervical area and the posterior region with IPS Ivocolor.
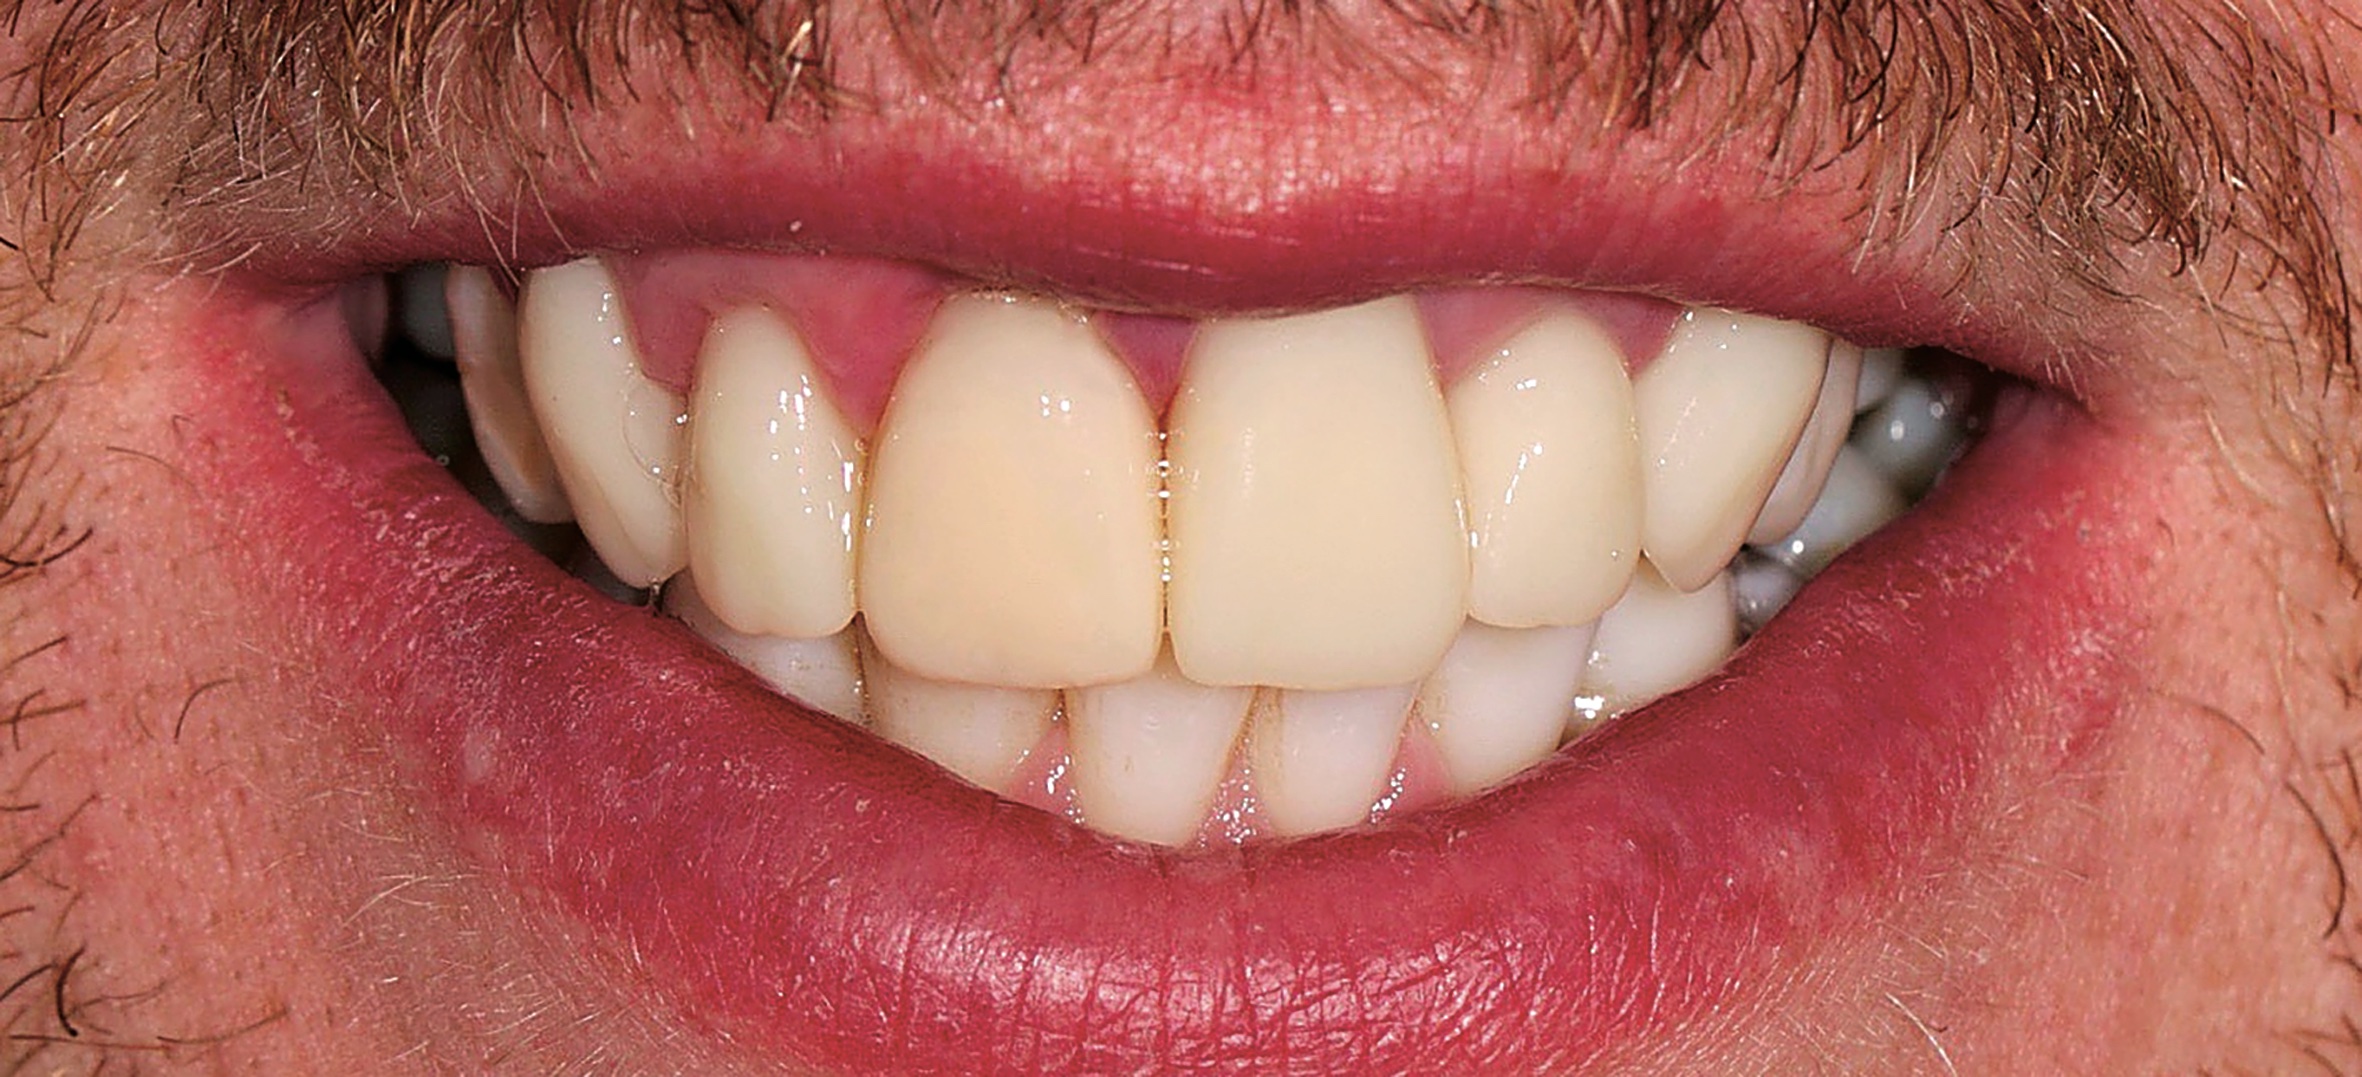
The end result
The restoration is complete. (Figures 29 to 32).
 Figures 27-28: The crowns fit perfectly on the model and are finished in a short time


The restorations are adhesively cemented. The restorations are cemented, and the result is particularly aesthetic and garnered full patient satisfaction.
Apologies for the lack of final intraoral photo, but the patient had to return to work abroad and cancelled the appointment for the final photos.
In this type of work, we have perfectly married the digital and analogue methods and yielded particular advantages such as efficient execution time, excellent workflow, excellent precision and more than satisfactory aesthetics for the patient.
Follow Dentistry.co.uk on Instagram to keep up with all the latest dental news and trends.

