 Andre Gaul RDT gives a step-by-step overview of the design and fabrication process of printed occlusal splints.
While biocompatible 3D printable resins have been available in Europe for some time now, they are only slowly becoming legal for sale on this side of the globe.
One such product is Keystone Industries Keysplint Soft. It is intended for the manufacture of thermo flexible occlusal splints and nightguards.
Since then, many of my fellow colleagues and clients are wondering if the end product is comparable to a traditionally made splint. I could take the manufacturer at its word and say ‘yes’. However, I like to see for myself and so does my employer.
Since I have access to the product and equipment needed, I decided to give it a go and share my results.
With myself as the test subject, I went ahead and made an occlusal splint, using the following tools and material:
- Shining 3D’s DS-EX desktop scanners
- Flashforge’s Hunter DLP 3D printer
- Exocad’s Dentalcad software and Splint module
- And for the printable material, the aforementioned Keystone Industries Keysplint Soft.
What follows is an overview of the whole process, culminating in a finished product and my verdict.
 Figure 1: Impressions taken with Denplus lmprescan


Impressions and design
I began by taking my upper and lower impressions along with a bite registration using Denplus Inc. Imprescan, a scannable VPS impression material (Figure 1).
I didn’t manage to capture my 3rd molars in the impression so the splint will end at the distal of the 2nd molars, no biggie.
From there, we could either go straight to scanning or pour the models in stone and scan them, on or off an articulator.
In the latter case, the models could be set in static occlusion or with the splint gap pre-set with the incisal needle, the DSEX scanner can handle both. I opted to scan the impressions and bite record since my goal is to test the complete digital approach. I still intended to pour models in dental stone, but only to see the difference in the fit of the splint between stone models and printed models.
The scanning workflow for two impressions and a bite record is straight forward with the DS-EX’s Clinic Mode. It essentially consists of scanning all three in a row and ends with the software performing the automatic alignments of both impression scans with the bite record scan, resulting in both models in occlusion (Figures 2 to 5).
To design the splint, I used Exocad’s Splint and Virtual Articulator modules. The latter allows to mount the case on a virtual articulator of your choice, in this case, a Panadent PCH, and perform the jaw movements to insure the prescribed guidance (Figures 6 to 8).
 Figure 6: Working with Exocad's Virtual Articulator


Building the models
Once I completed the design, I went straight into Exocad Model Creator to build my models (Figure 9).
Next, I imported the splint file from the Hunter’s preparation or ‘slicing’ software, Flash Dlprint, a simple yet powerful tool, included with the 3D printer. Because I wanted to test the printer’s accuracy across its entire print surface, I laid out three splints (Figure 10).
At 100um layer thickness, this layout took one hour and 20 minutes to print, using the Hunter’s Fast mode. Yes, the Hunter can print at 50um or 25um layer thickness, but for a splint, there’s no real need for that since there isn’t any fine detail.
Reducing the layer thickness in this case would only double or quadruple the printing time. You may argue that the layer lines will be more visible and that the part will be less accurate. It is true that the layer junctions are more visible, but you need to be looking at it from extremely close to see them, and, keep in mind that, in the end, the splints are polished to a shine, effectively eliminating those lines.
As for accuracy, a layer thickness of 100um should not adversely affect the printed splint’s fidelity to the digital design.
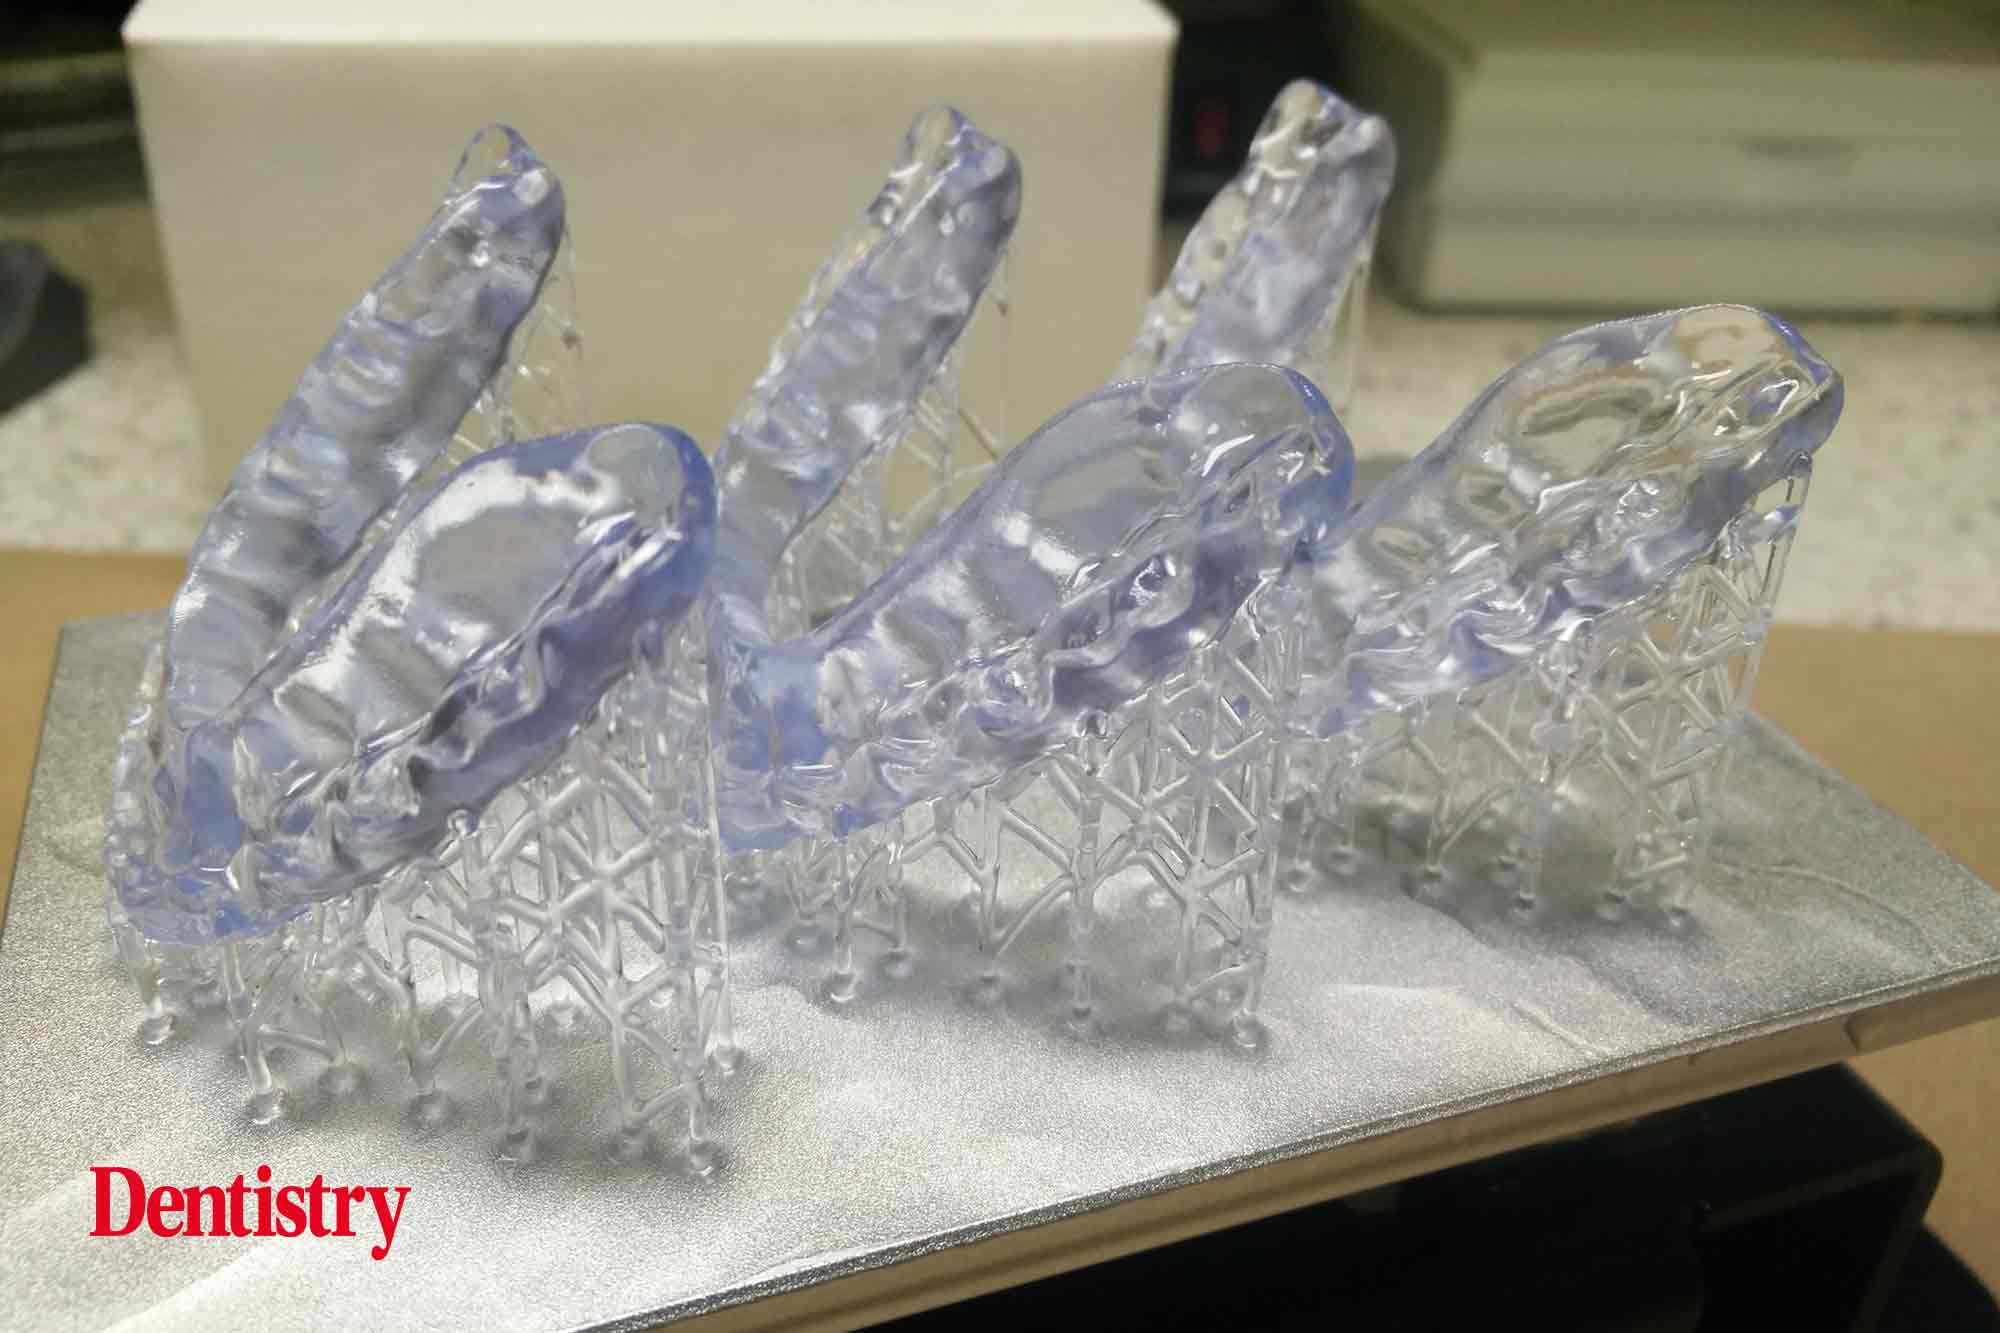
Figures 11 and 12 show our successful prints, still attached to the build plate.
 Figure 9: Completed upper and lower models


Everything looked good so far…
Follow Dentistry.co.uk on Instagram to keep up with all the latest dental news and trends.

