Peter Antosch ODT and Dr Carsten Hörr present a bruxism case whereby full mouth crowns are CAD/CAM manufactured and then cemented.
CAD design of the final crowns
Using the CAD software (Figure 12), we were able to round off and refine the areas on the temporary crowns that had been ground and modified intraorally. As a result, this left the remaining areas unchanged.
Figure 13 shows the areas that were adjusted intraorally in green and the remaining unchanged areas in blue. The plan was to fabricate Ceramill Zolid FX crowns on the maxillary teeth first. This is so subsequent corrections on the lower temporary crowns would mean that less corrections would be necessary for the final lower crowns.
Canine guidance with a light group function was created on the Ceramill Mind Wizard.
Milling, colouring, sintering and layering
The milled Ceramill Zolid FX (super high translucent) monolithic zirconia maxillary crowns were polished and then individually coloured with brushed-on Ceramill liquid colour before sintering. As opposed to lithium disilicate, it can be coloured before sintering. The advantage of this is that it produces a similar chroma to that of natural teeth.
The colouring liquids were available in all VITA classical shades and were applied in an alternating fashion. Liquid colours Dentin A1 + Dimmer, Dentin A2 + Dimmer, Dentin B1 + Dimmer (30% to 70%) and Violet were applied in a strategic way with dentin colours B3 and A3.5 being used in the fissure and marginal areas (Figures 14 and 15).
The crowns were immersed for 10-15 seconds in the dentine-coloured Ceramill Dimmer liquid.
Depth effect, due to the transparency effect of the Ceramill liquids, was achieved using alternating NB/C/D liquids, brown/orange liquids for fissures and interdental regions, grey/blue shade modifier liquids, and Ceramill Liquid Eye.
 Figure 12: Temporary crown adjustments in white


Finishing
Transparent lithium silicate Cerafusion from Komet was sprayed onto the final crowns, followed by glaze firing at 920°C.
Due to the superficial smoothness obtained from glazing, the abrasiveness of the monolithic zirconia crowns towards their antagonist teeth is reduced to a minimum.
The same protocol used to manufacture the final maxillary crowns was used to produce the final mandibular crowns.
Conclusion
The decision concerning the most suitable crown material should always account for safety, longevity and aesthetics. Therefore, in bruxism cases, monolithic zirconia crowns should be fabricated due to their fracture strength, thus avoiding the incidence of chipping, while still achieving an aesthetic result.
Utilising CAD/CAM software including its virtual articulator allowed us to fabricate full mouth crowns with guaranteed success.
An advantage of monolithic zirconia crowns is that they are fabricated without porosity and are homogeneous compared to other ceramics.
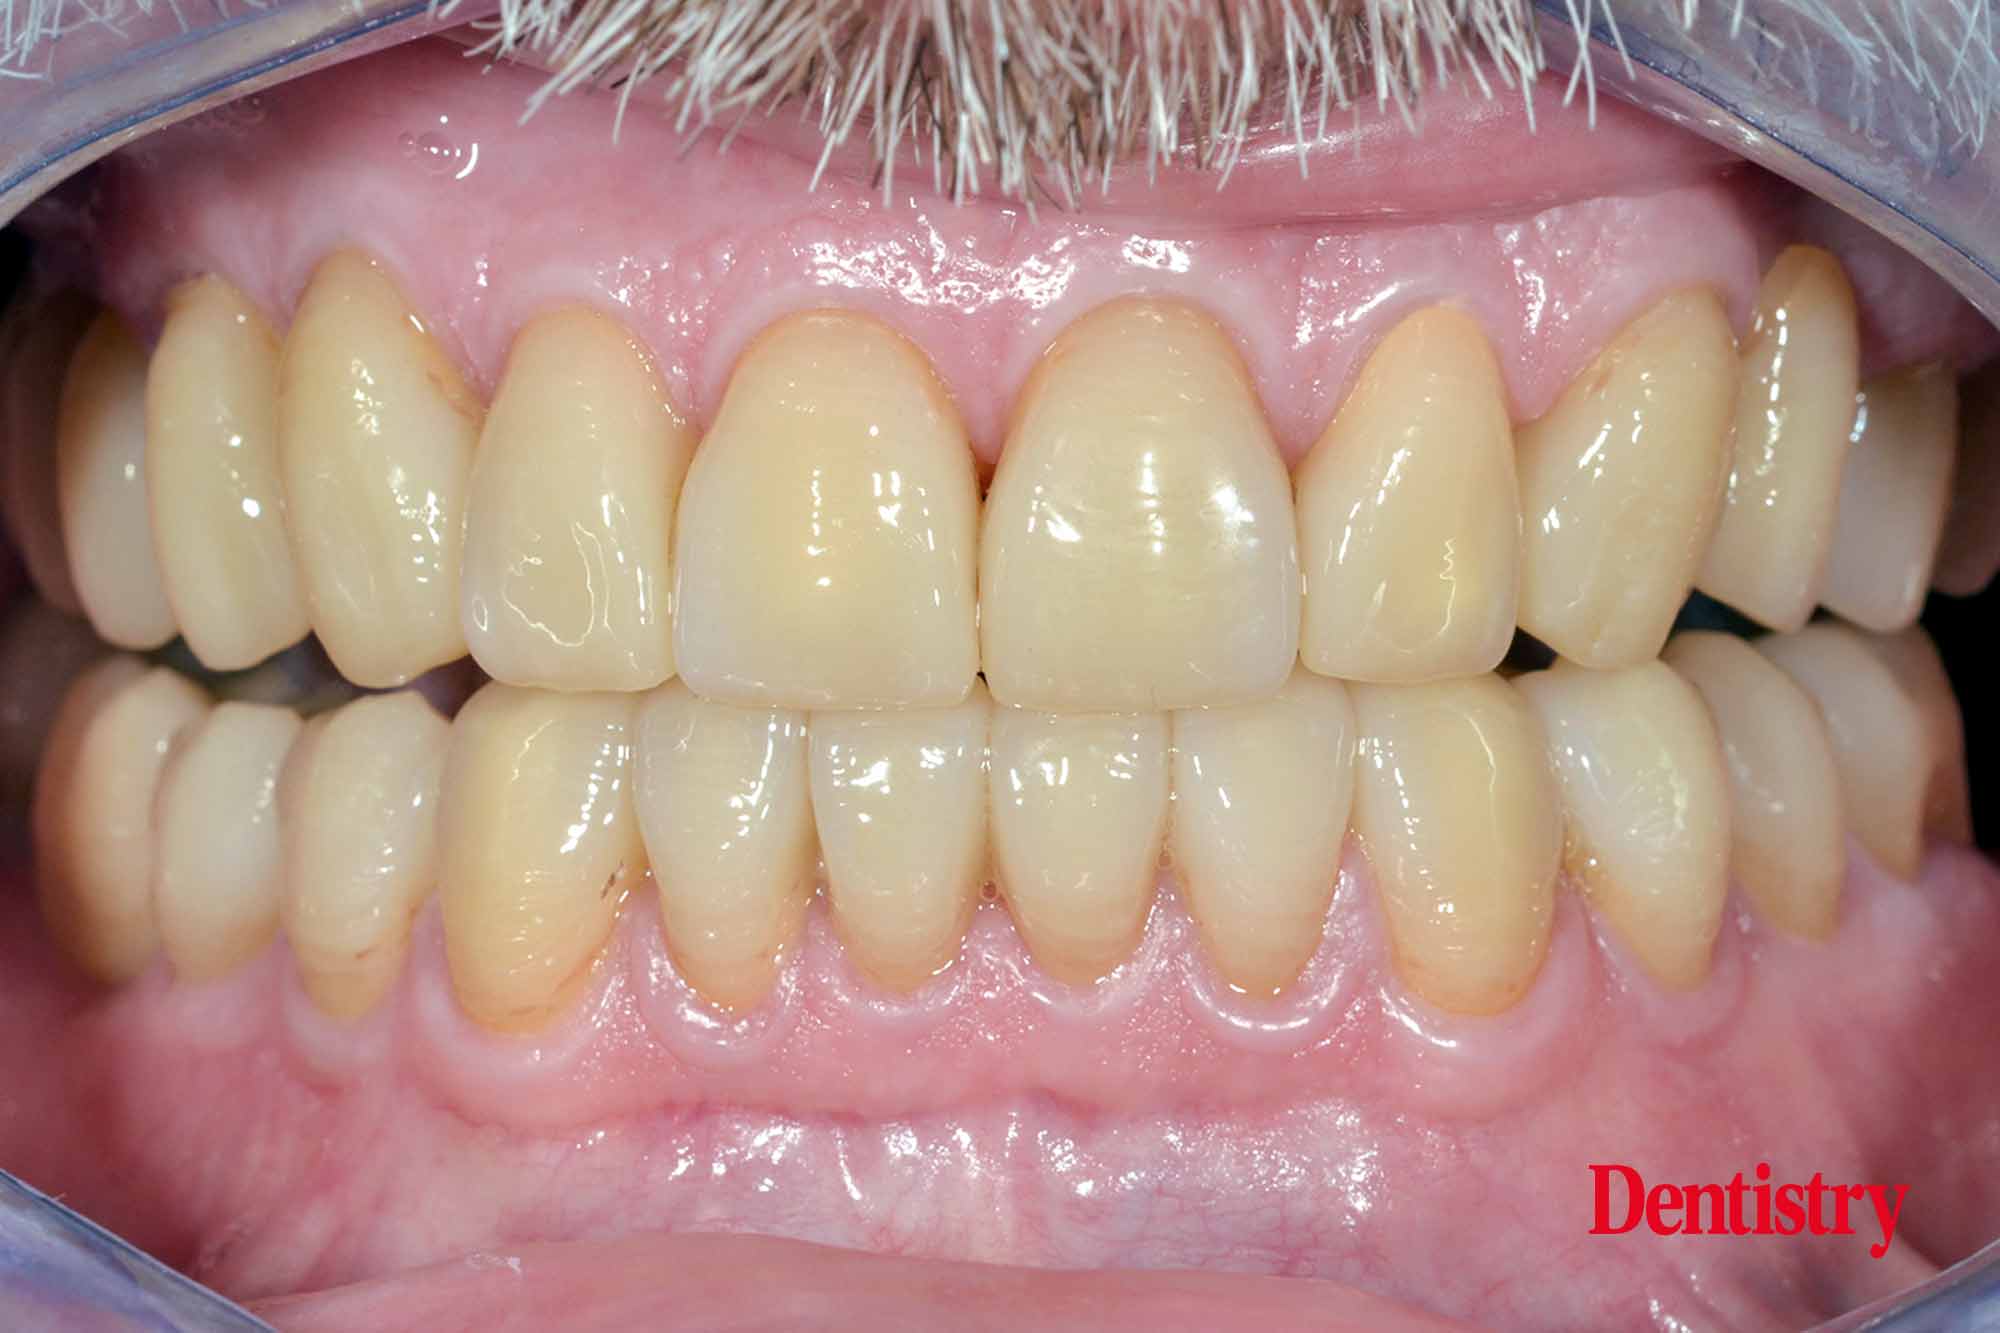
As well, monolithic zirconia crowns do not exhibit roughness if glazed properly, and therefore end up being kind to their antagonist teeth (Figures 16 to 24).
 Figure 16: The crowns before sintering


Read part one here:
Follow Dentistry.co.uk on Instagram to keep up with all the latest dental news and trends.

