Peter Antosch ODT and Dr Carsten Hörr present a bruxism case whereby full mouth monolithic crowns are CAD/CAM manufactured and then cemented.
Who has not encountered this problem: crowns are checked on the articulator and all the occlusal contacts are evenly distributed. All excursions such as laterotrusion, protrusion and the retrusion were balanced. Yet, everything was different in the patient’s mouth – to the point where crowns had to be remade.
This occurrence is very frustrating for the patient, the dentist and the dental technician. It’s also harmful to the dental practice or laboratory’s reputation since the patient’s expectations of a finished and cemented case without problems were not met.
Well-executed team work leaves a positive impression with the patient who trusts an expert group that cares about his/her ideas and expectations.
Thanks to CAD/CAM technology, one can now make a prosthesis without having to perform an occlusal adjustment.
On a daily basis we encounter patients who are motivated from an aesthetic point of view, with high demands that motivates us to fabricate complication-free prostheses which last a lifetime. Furthermore, the overall aesthetic result, timeframe and cost should be agreed upon among all parties involved.
Initial situation
Our observations included a reduced vertical dimension (VDO), short teeth, black triangles and severe gingival recession. This matched the patient’s desire to improve his aesthetics (Figures 1a to 1c).
Because of the patient’s longstanding bruxism condition, his vertical dimension had decreased approximately 3 or 4 mm. Moreover, there was a widespread appearance of dark cementum when the patient smiled.
Impressions were taken along with a facebow registration and a centric relation bite fork registration. The models were poured and then mounted on an articulator.
With the use of composite, it was possible to restore the patient’s lost VDO to an additional 2 mm. The temporomandibular joint was evaluated after two months without any sign of a disorder.
All teeth were prepared for full coverage crowns and then PVS impressions were taken utilising retraction cord. The models were poured (Figures 2a and 2b).
 Figure 1a: Mandibular teeth


Prototype design
The scanned models were evaluated on a virtual 11 articulator. Temporary Ceramill PMMA (Amann Girrbach) transparent acrylic crowns were CAD planned (Figures 3a to 3d).
The goal of the temporary crowns is to have the patient get used to the new VDO/TMJ positions, new tooth shade, new curve of spee and new excursive movements.
Patient data including condylar movements were recorded by the software. Using the Initial situation software’s customised incisal guide unit, the incisal guide pin was adjusted on the splitex plate to the desired cuspal inclinations on the virtual temporary crowns (Figure 4).
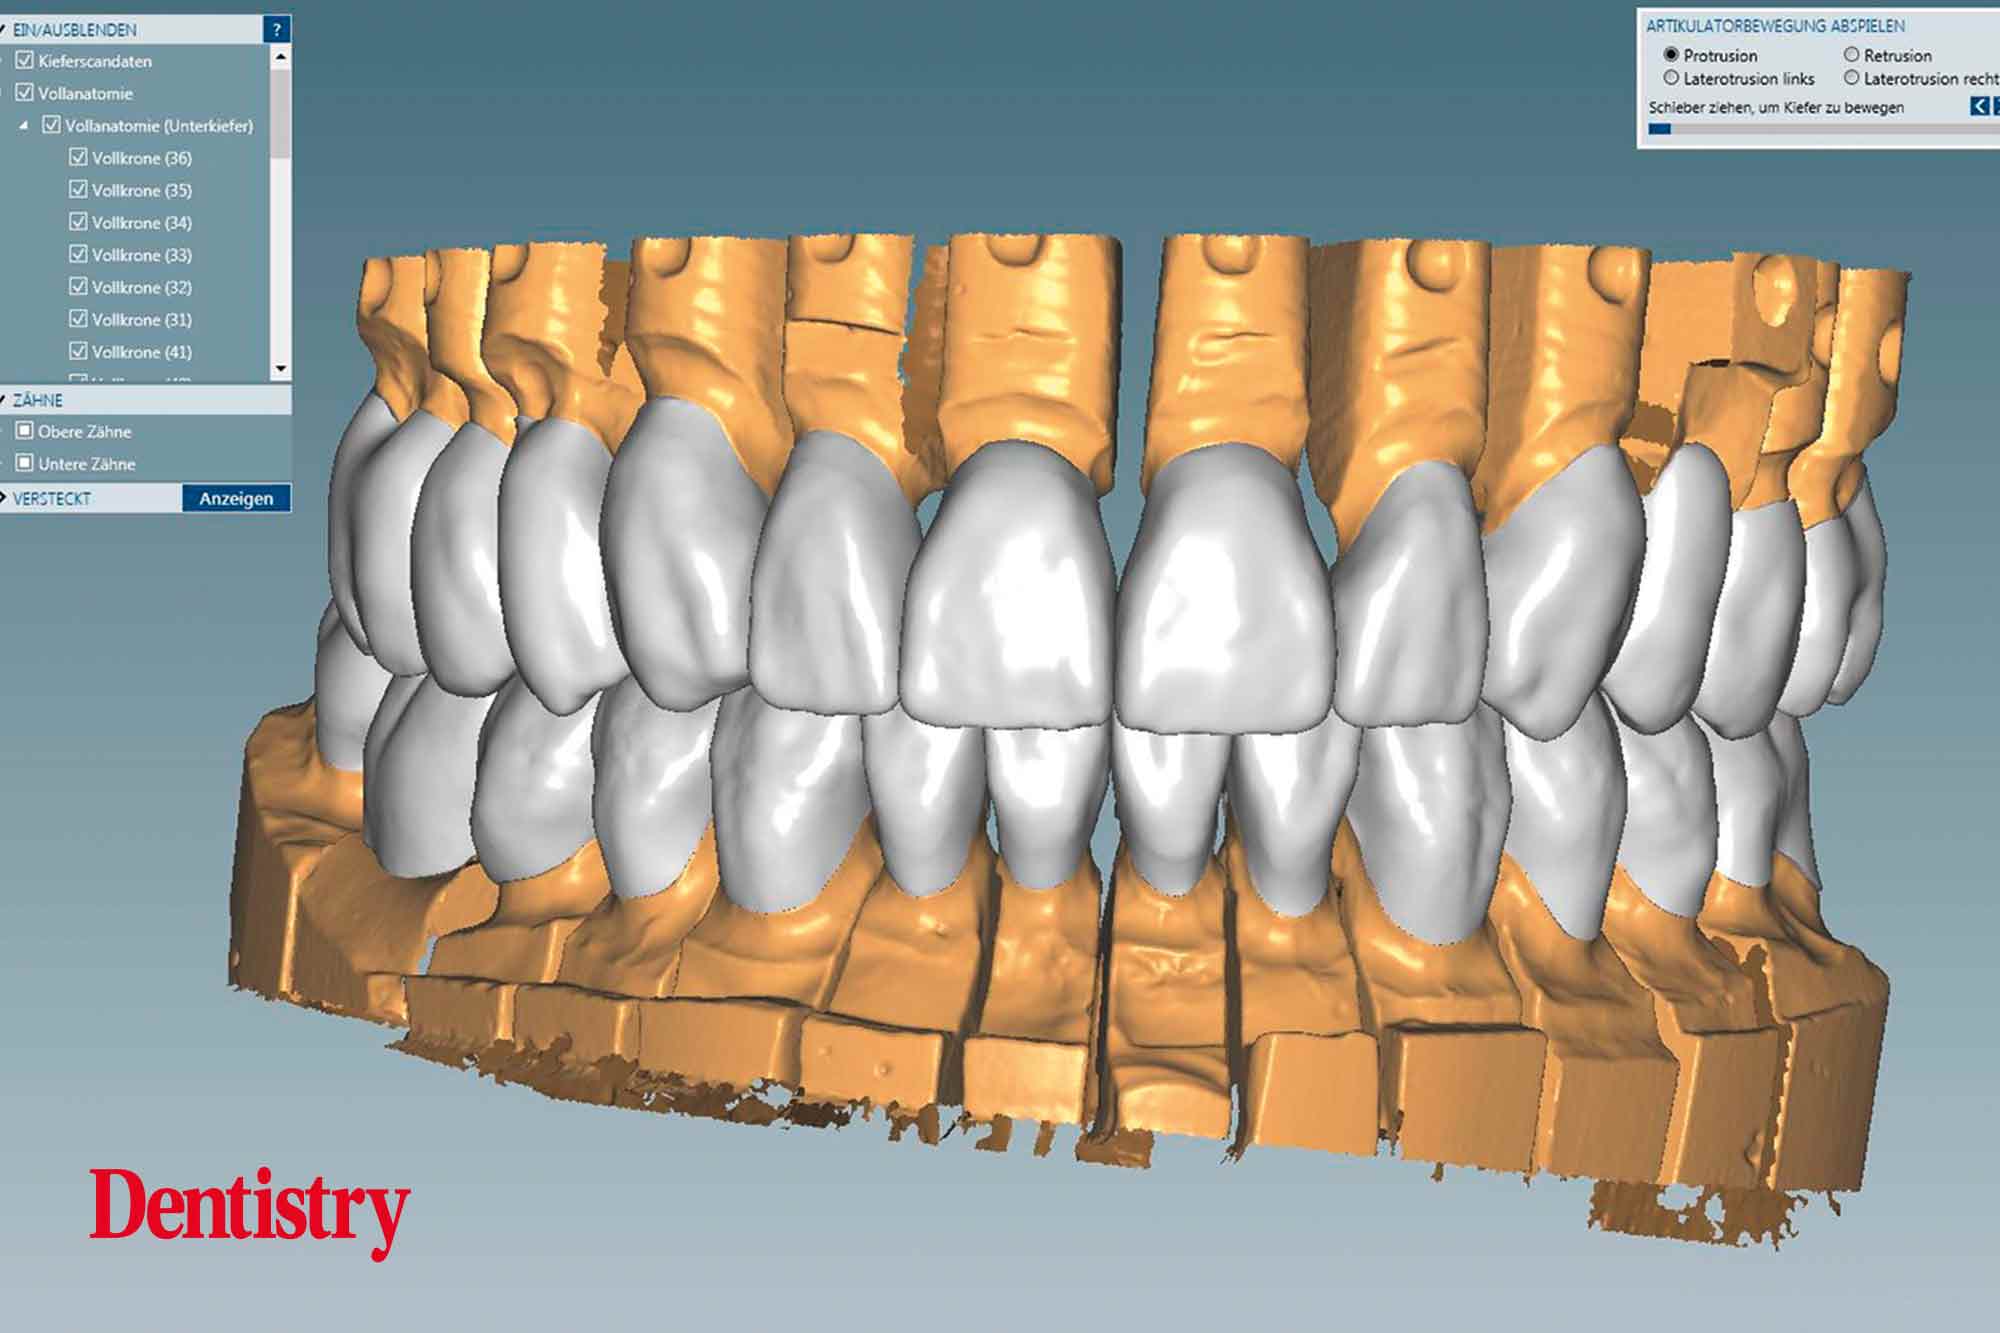
All patient parameters including condylar inclination were transferred to the Ceramill Artex articulator and the lateral and protrusive excursions were established while having no contact with the anterior teeth (Figures 5 to 8).
The virtual temporary crowns were 3D printed and then temporarily cemented. This test phase with temporary crowns is a mandatory step because after the patient evaluated the temporary crowns for several weeks, corrections were made with the input of the patient, thus reducing the risk of errors in the subsequent final crowns.
 Figure 3a: Digital study models with virtual crowns raising the VDO


Monolithic zirconia crowns
Since the patient was a bruxer, we decided to plan for monolithic zirconia crowns, a material which reduces the incidence of chipping.
Given that there was no need to mask any dark colours, we decided to utilise the polychromatic, super-high translucent, high flexural strength Ceramill Zolid FX monolithic zirconia blanks (Amann Girrbach).
The previously adjusted temporary crowns were removed and transported to the laboratory where we removed the temporary cement and scanned them into our CAD database like we would wax-ups of crowns (Figure 9).
We proceeded to rename our STL file .wax-upa.situ following the scanning of the adjusted temporary crowns. The temporary crowns were recemented intraorally (Figures 10 and 11).
 Figure 9: CAD protocols


Follow Dentistry.co.uk on Instagram to keep up with all the latest dental news and trends.

