Maximiliano Paterlini presents a full mouth restoration from A to Z with GC, and demonstrates the most important factors: stability, control, reproducibility, time and aesthetics.
Being able to easily rely on your trusted brands has many benefits to keeping your laboratory running smoothly. This means knowing the products and experiencing their worth during the actual labour.
Our biggest challenge is to rehabilitate a full mouth, restore lost functions, and provide comfort while offering a natural aesthetic appearance that is personalised for each type of patient (shape, size, age etc).
The entire range from GC, from the provisionals to the final ceramic restoration, perfectly complement each other. It takes off unnecessary steps from the equation to simplify our regimen, because I can use the same way of working throughout the entire range.
This way, it is easy to specifically cater to the benefits you’re looking for, depending on the case – from the provisional restorations, characterised with Optiglaze Color, to the selection of Initial Lisi Blocks with their natural opalescence and finally, the complete Initial IQ One Sqin system (Lustre Pastes, Spectrum Stains and Sqin ceramics).
Case study
The following case evidences the high potential of the synergies, resulting in a satisfying result in the most efficient way.
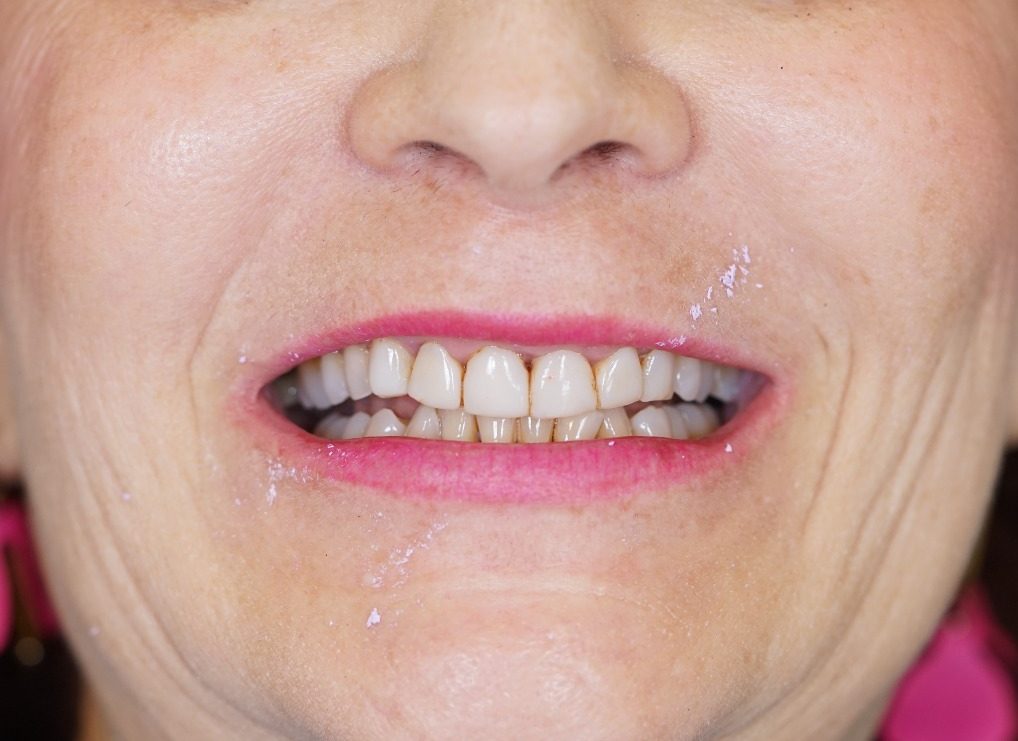
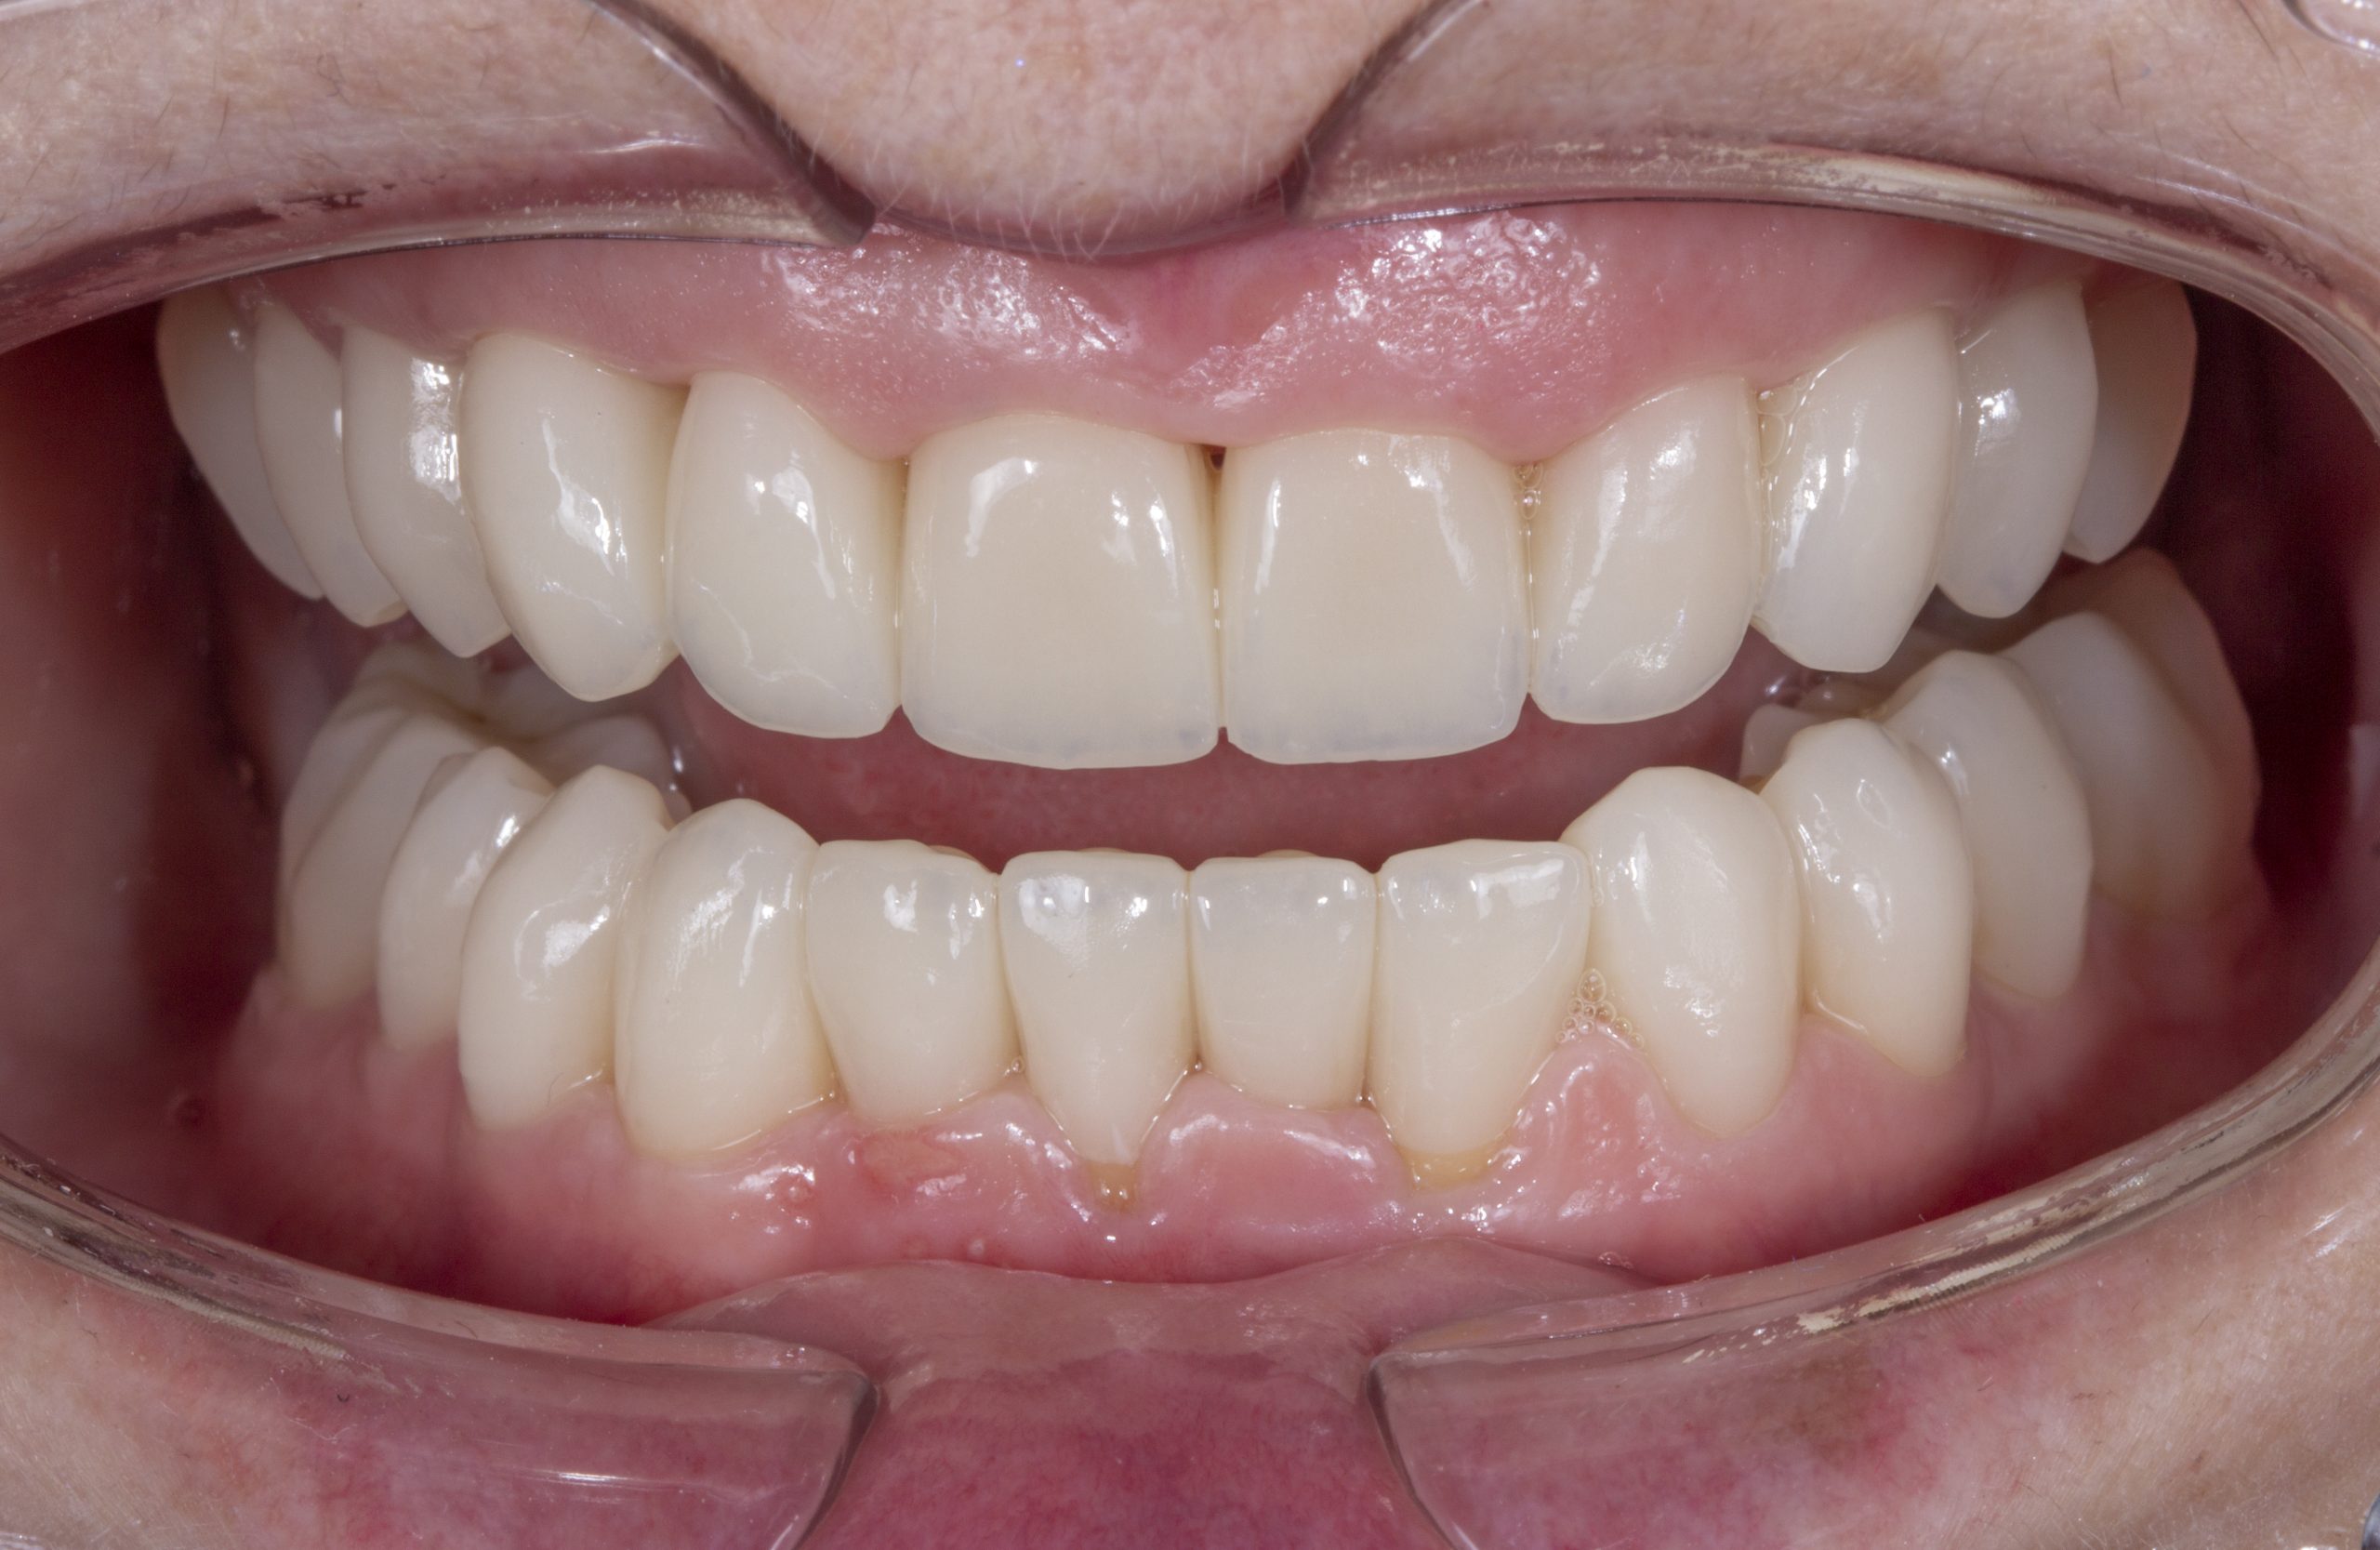
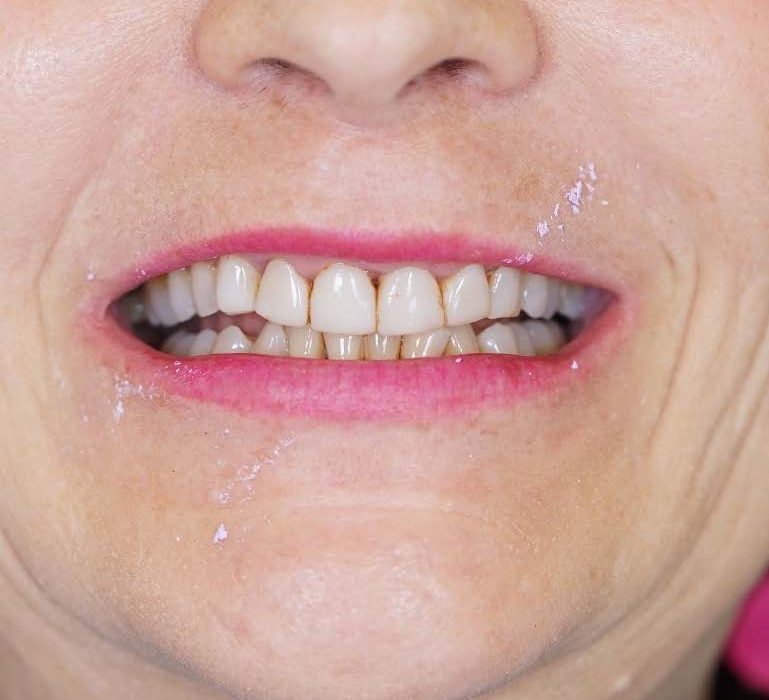
A 52-year-old woman came to the office of Dr Tomasella expressing her concerns about the aesthetics of her teeth and her desire for a radical change in the shortest time possible, without undergoing orthodontics. Her teeth were restored with composite restorations of an inadequate aesthetic level and were disproportional in size. In addition, the smile arc was irregular (Figures 1 and 2).
Temporary full-arch polymethyl methacrylate (PMMA) restorations
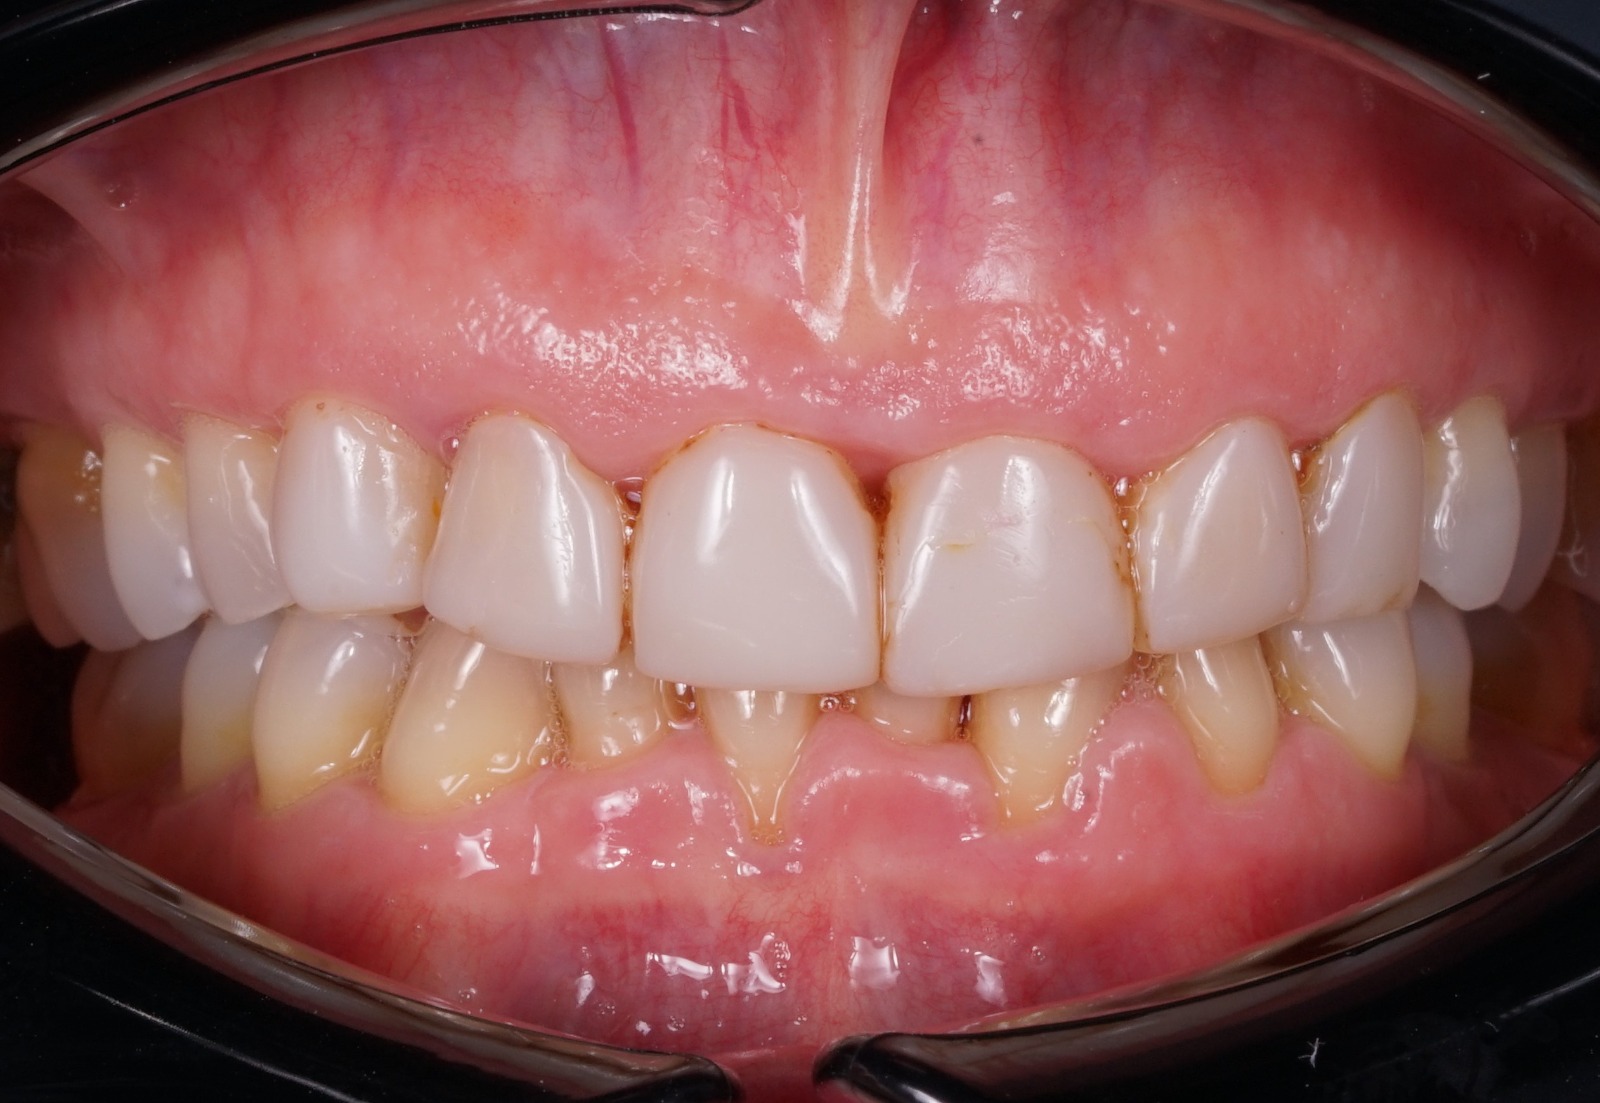
The dentist prepared the teeth from UR6 to UL6 and from LL6 to LR6 for future individual crowns.
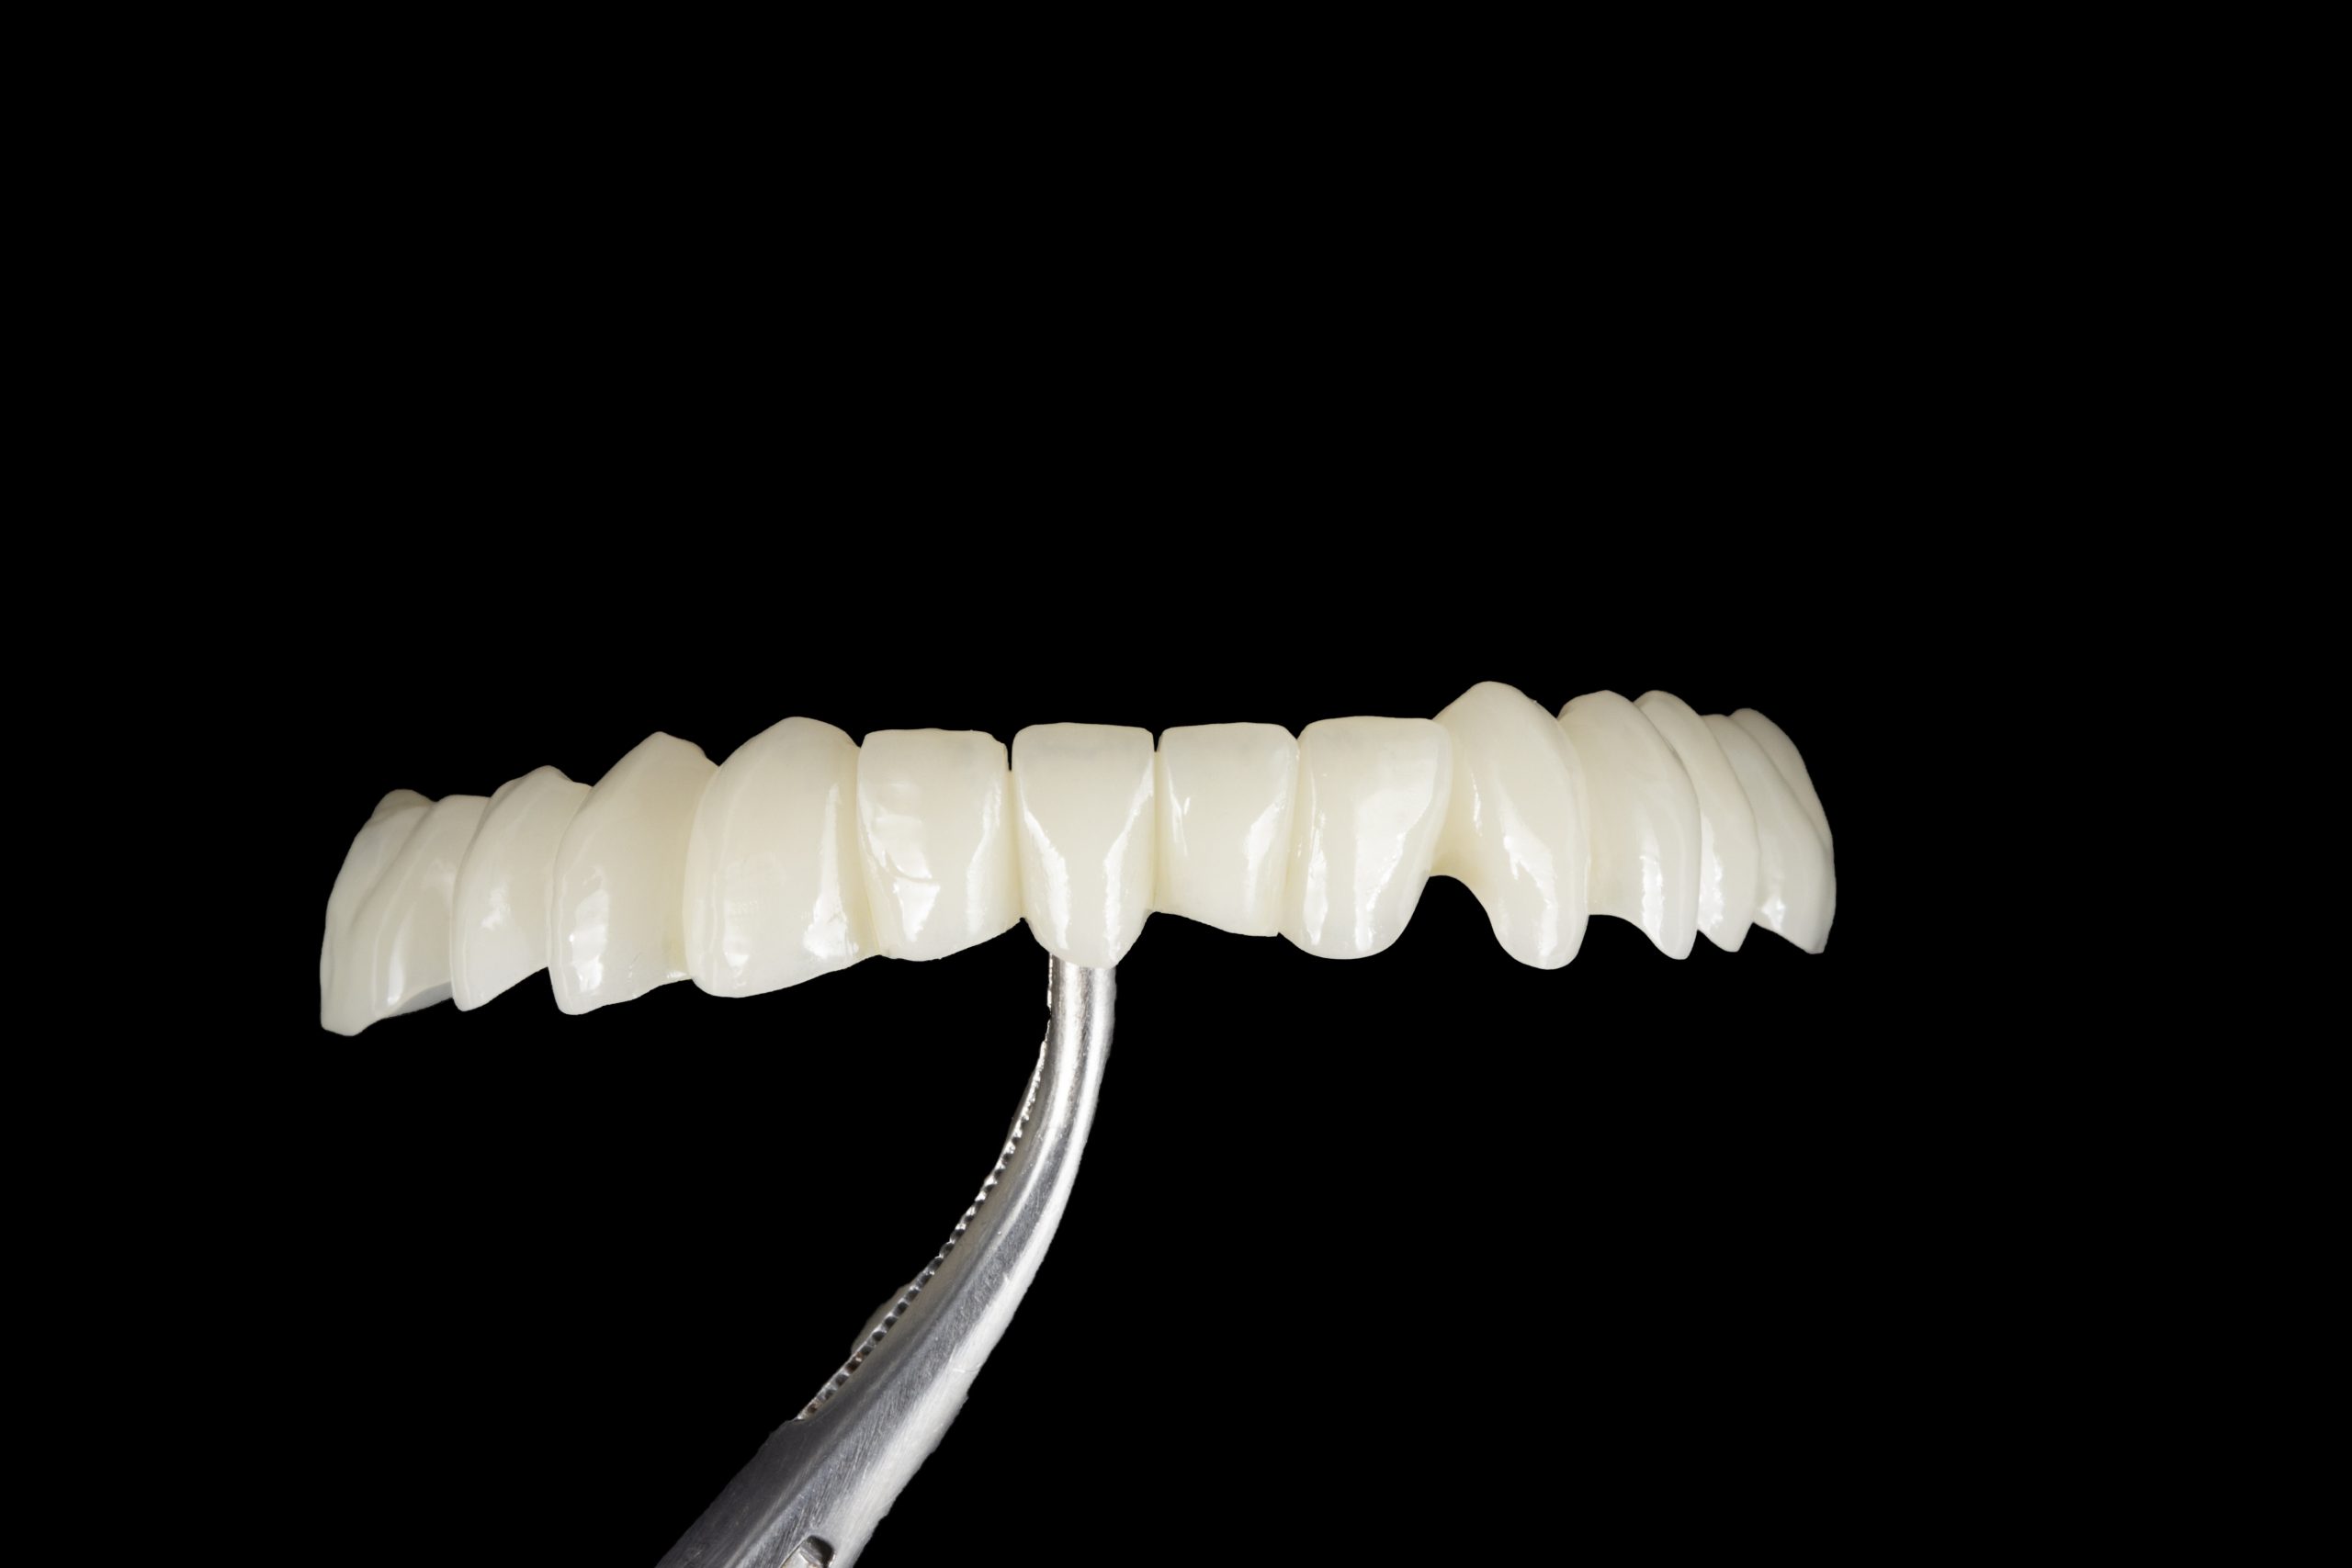
After having received all collected information, the provisional restorations were made in the form of two bridges. The restorations were joined to facilitate the placement and retention in the clinic.
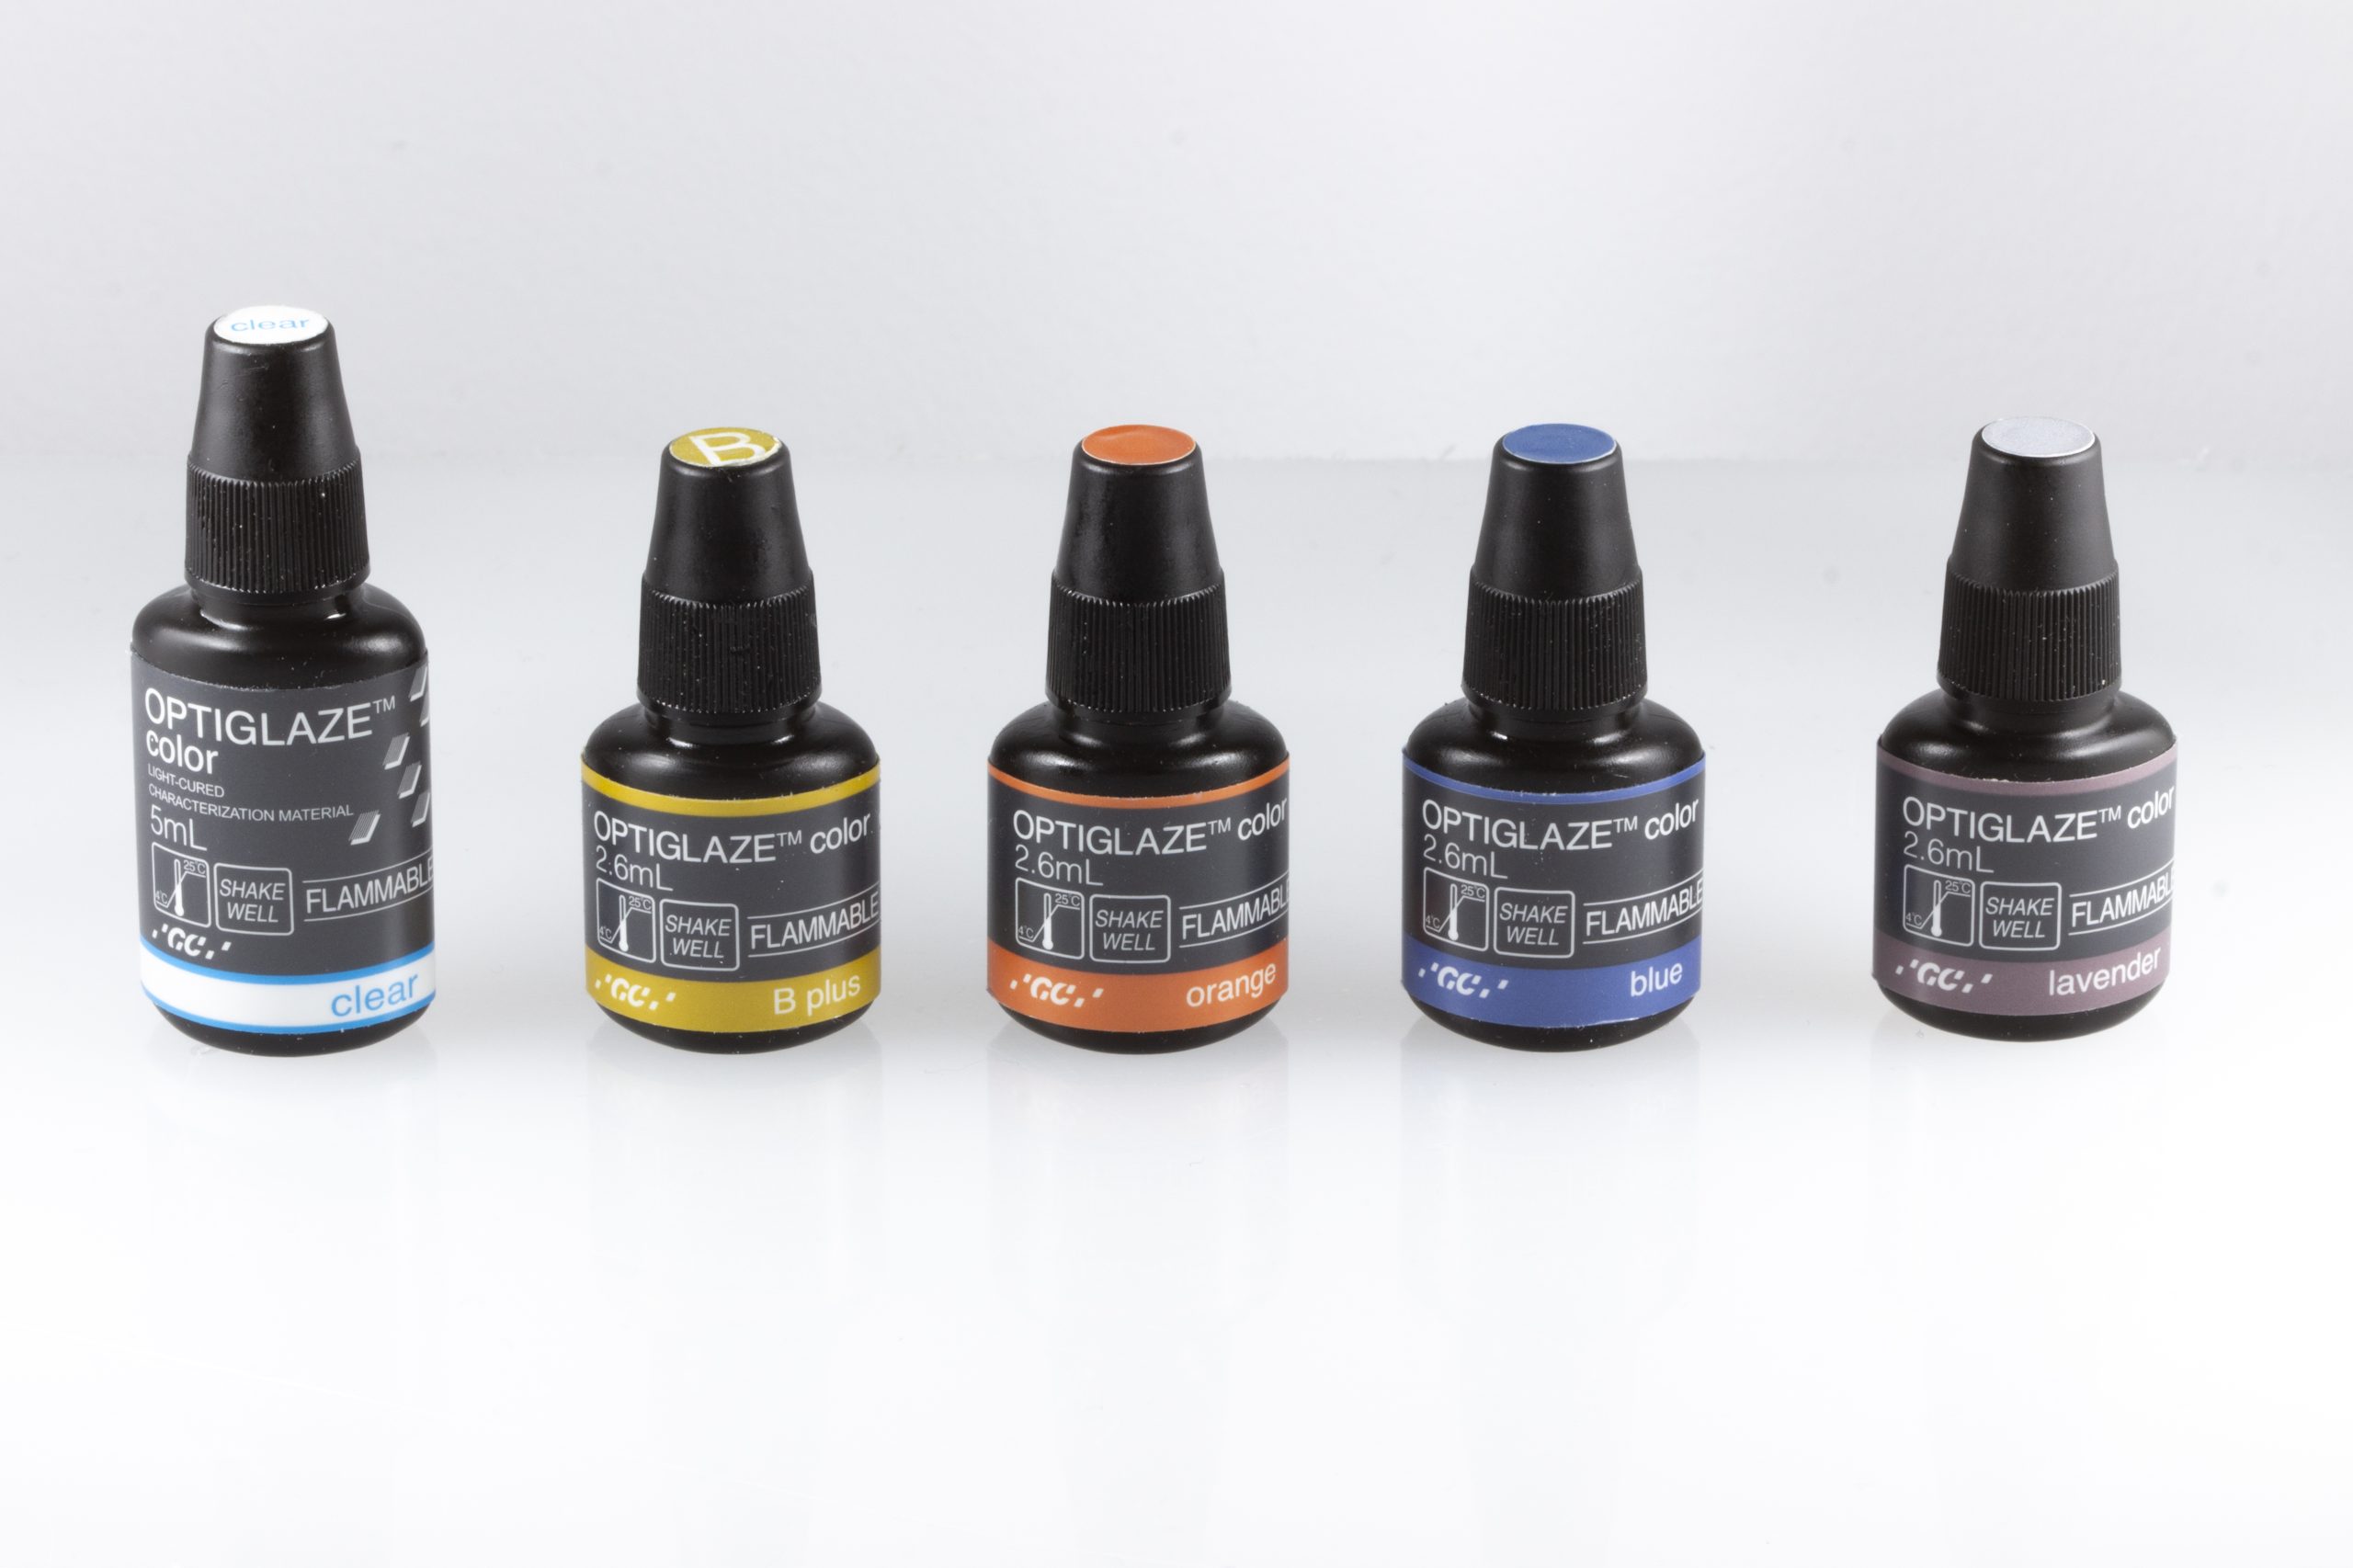
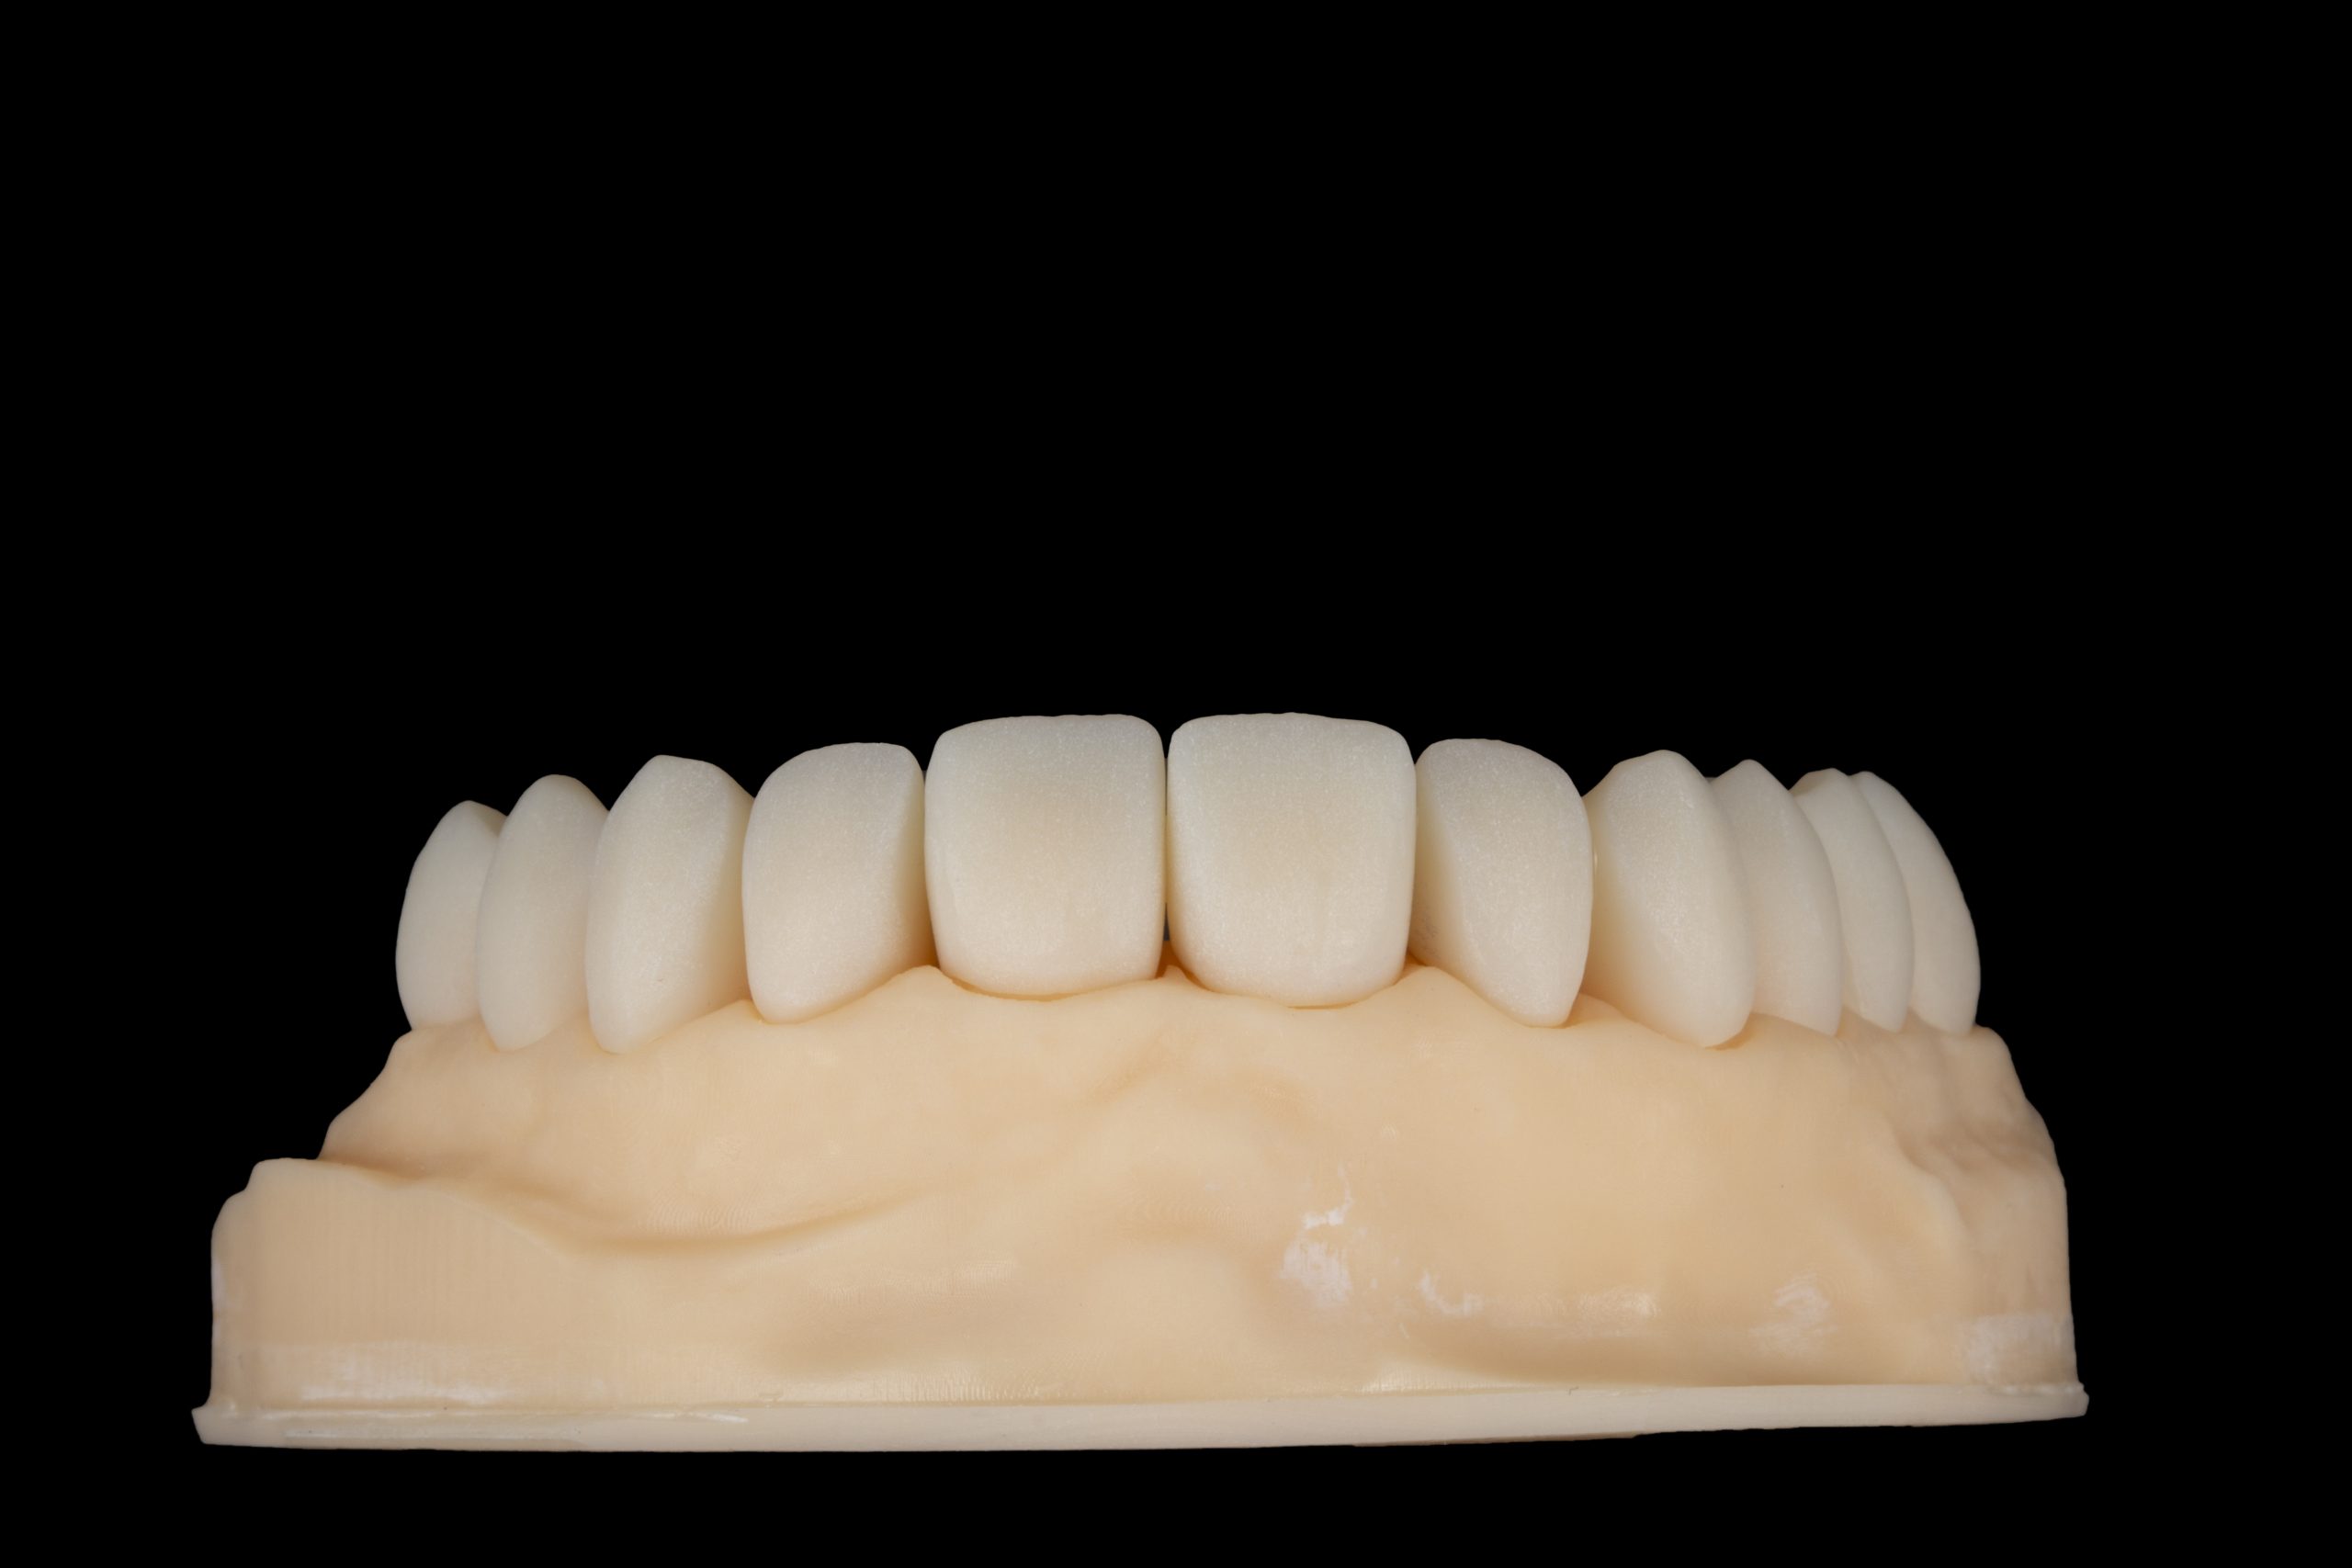
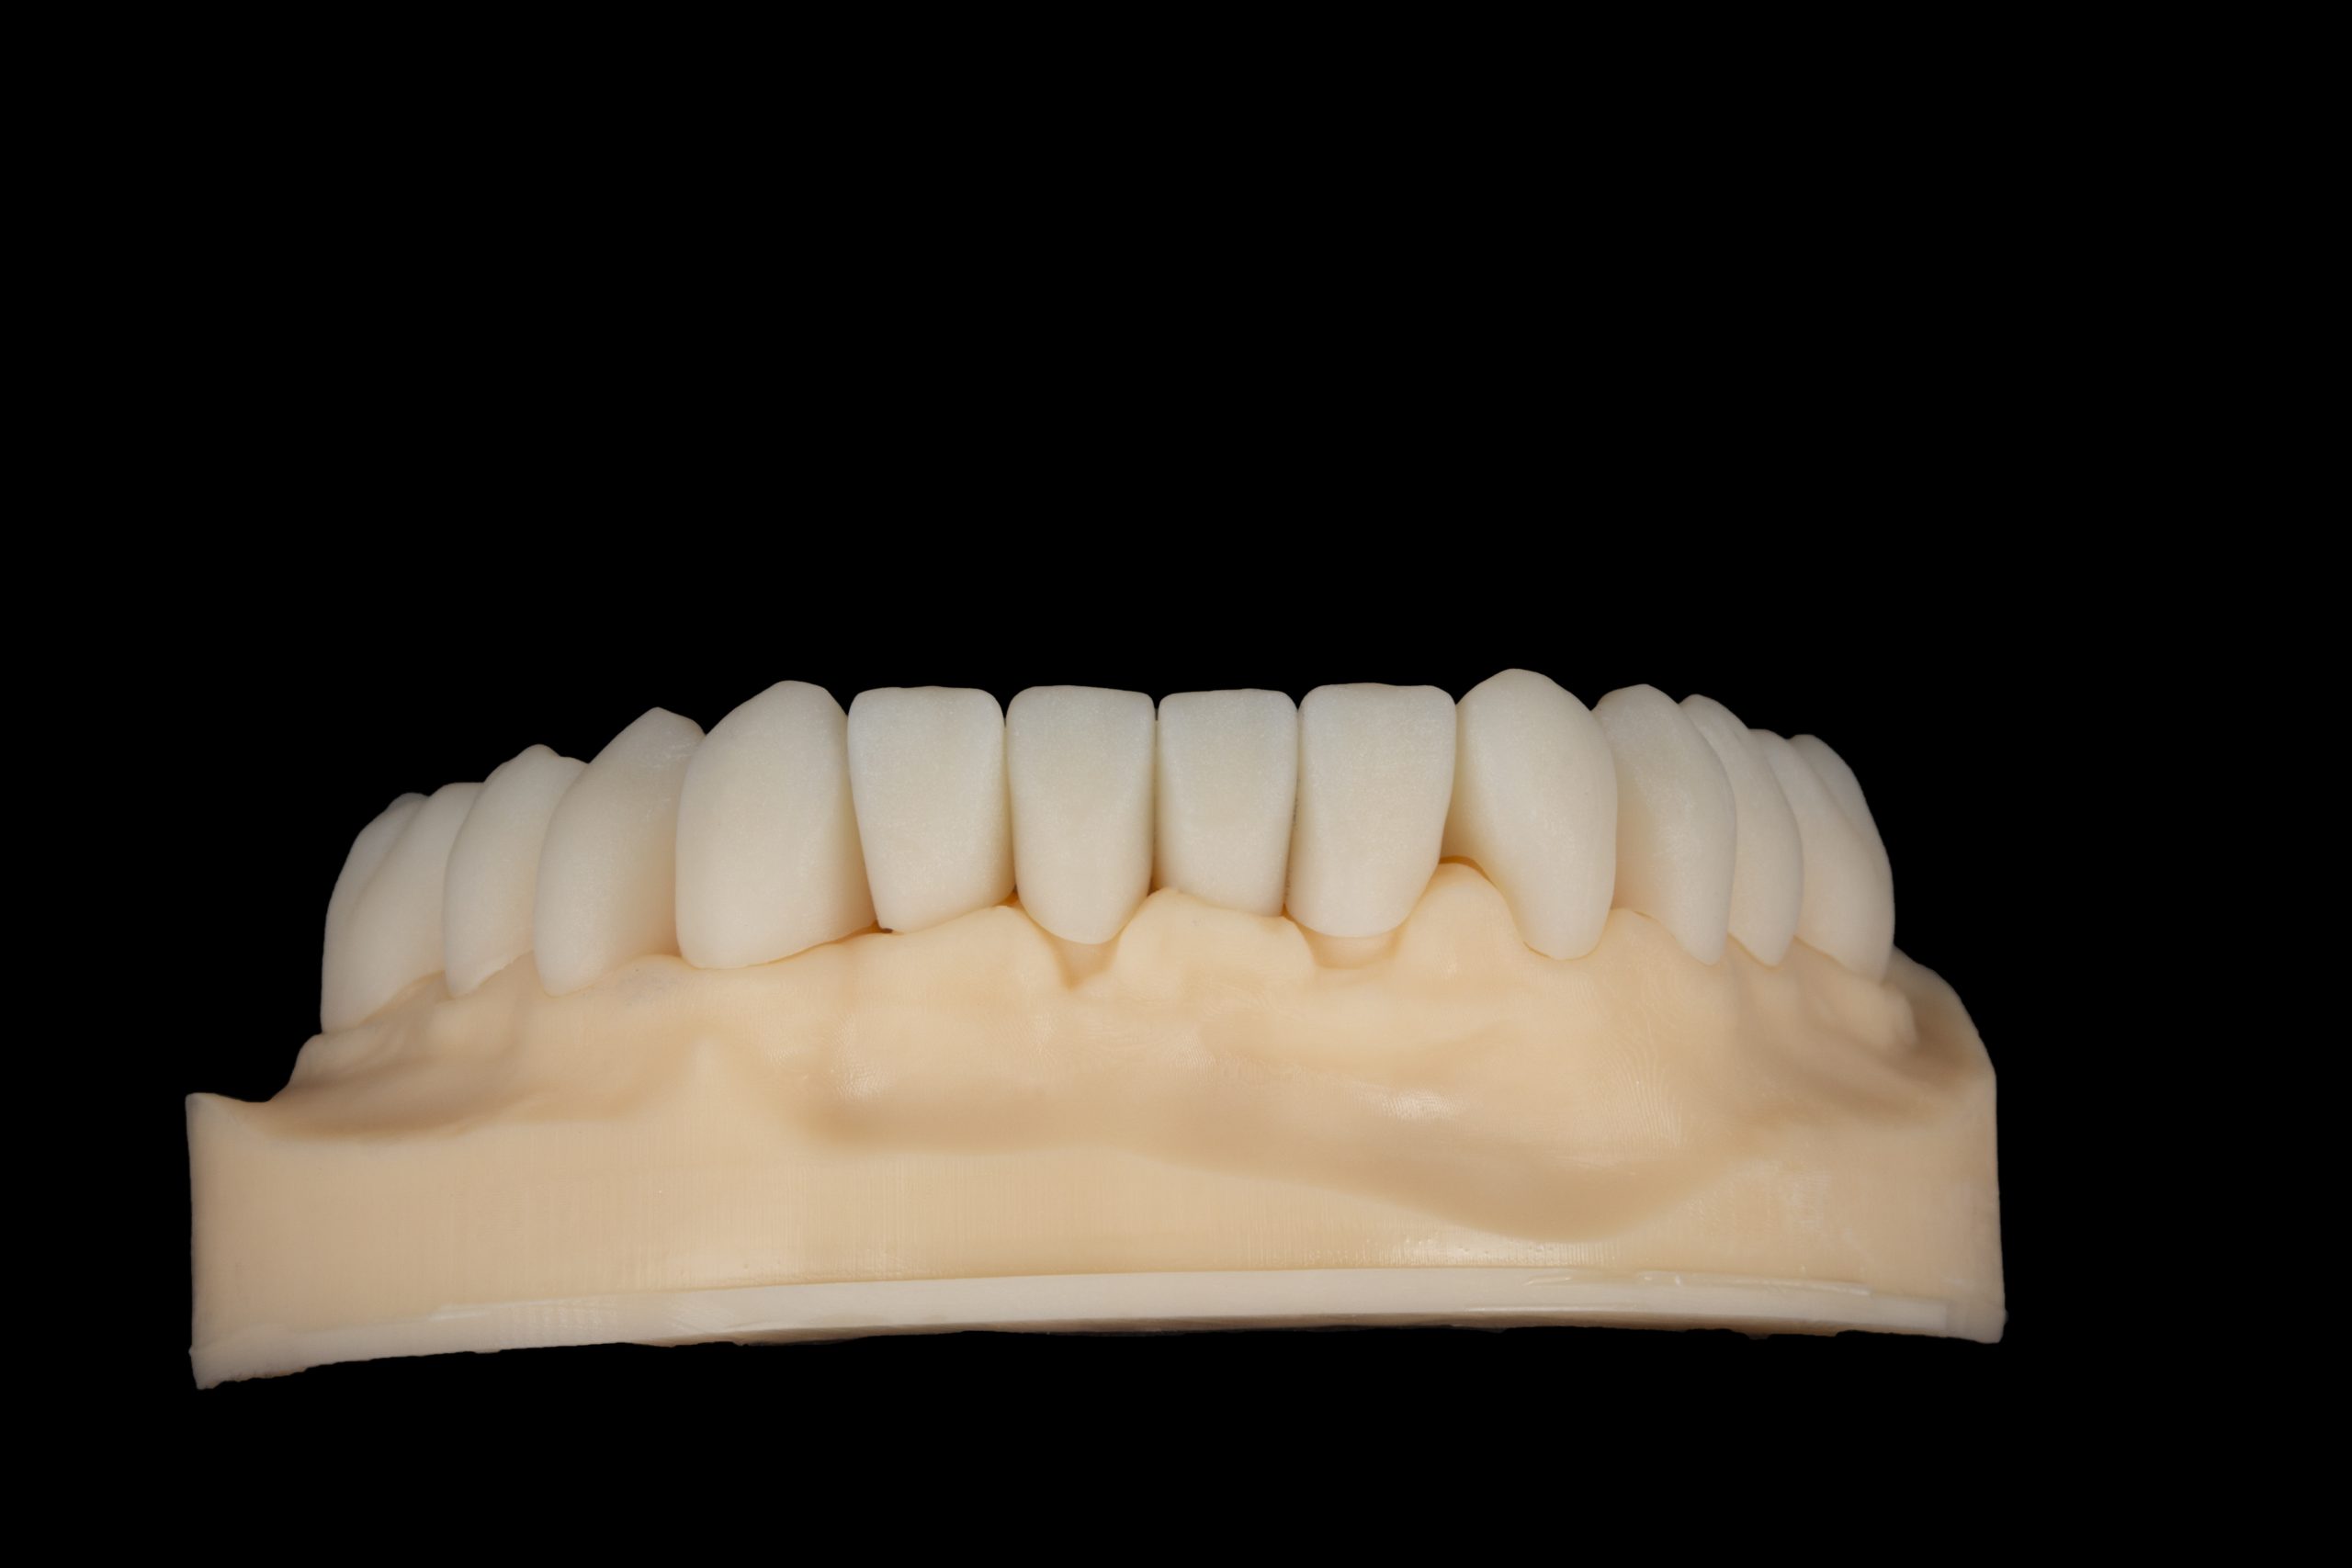
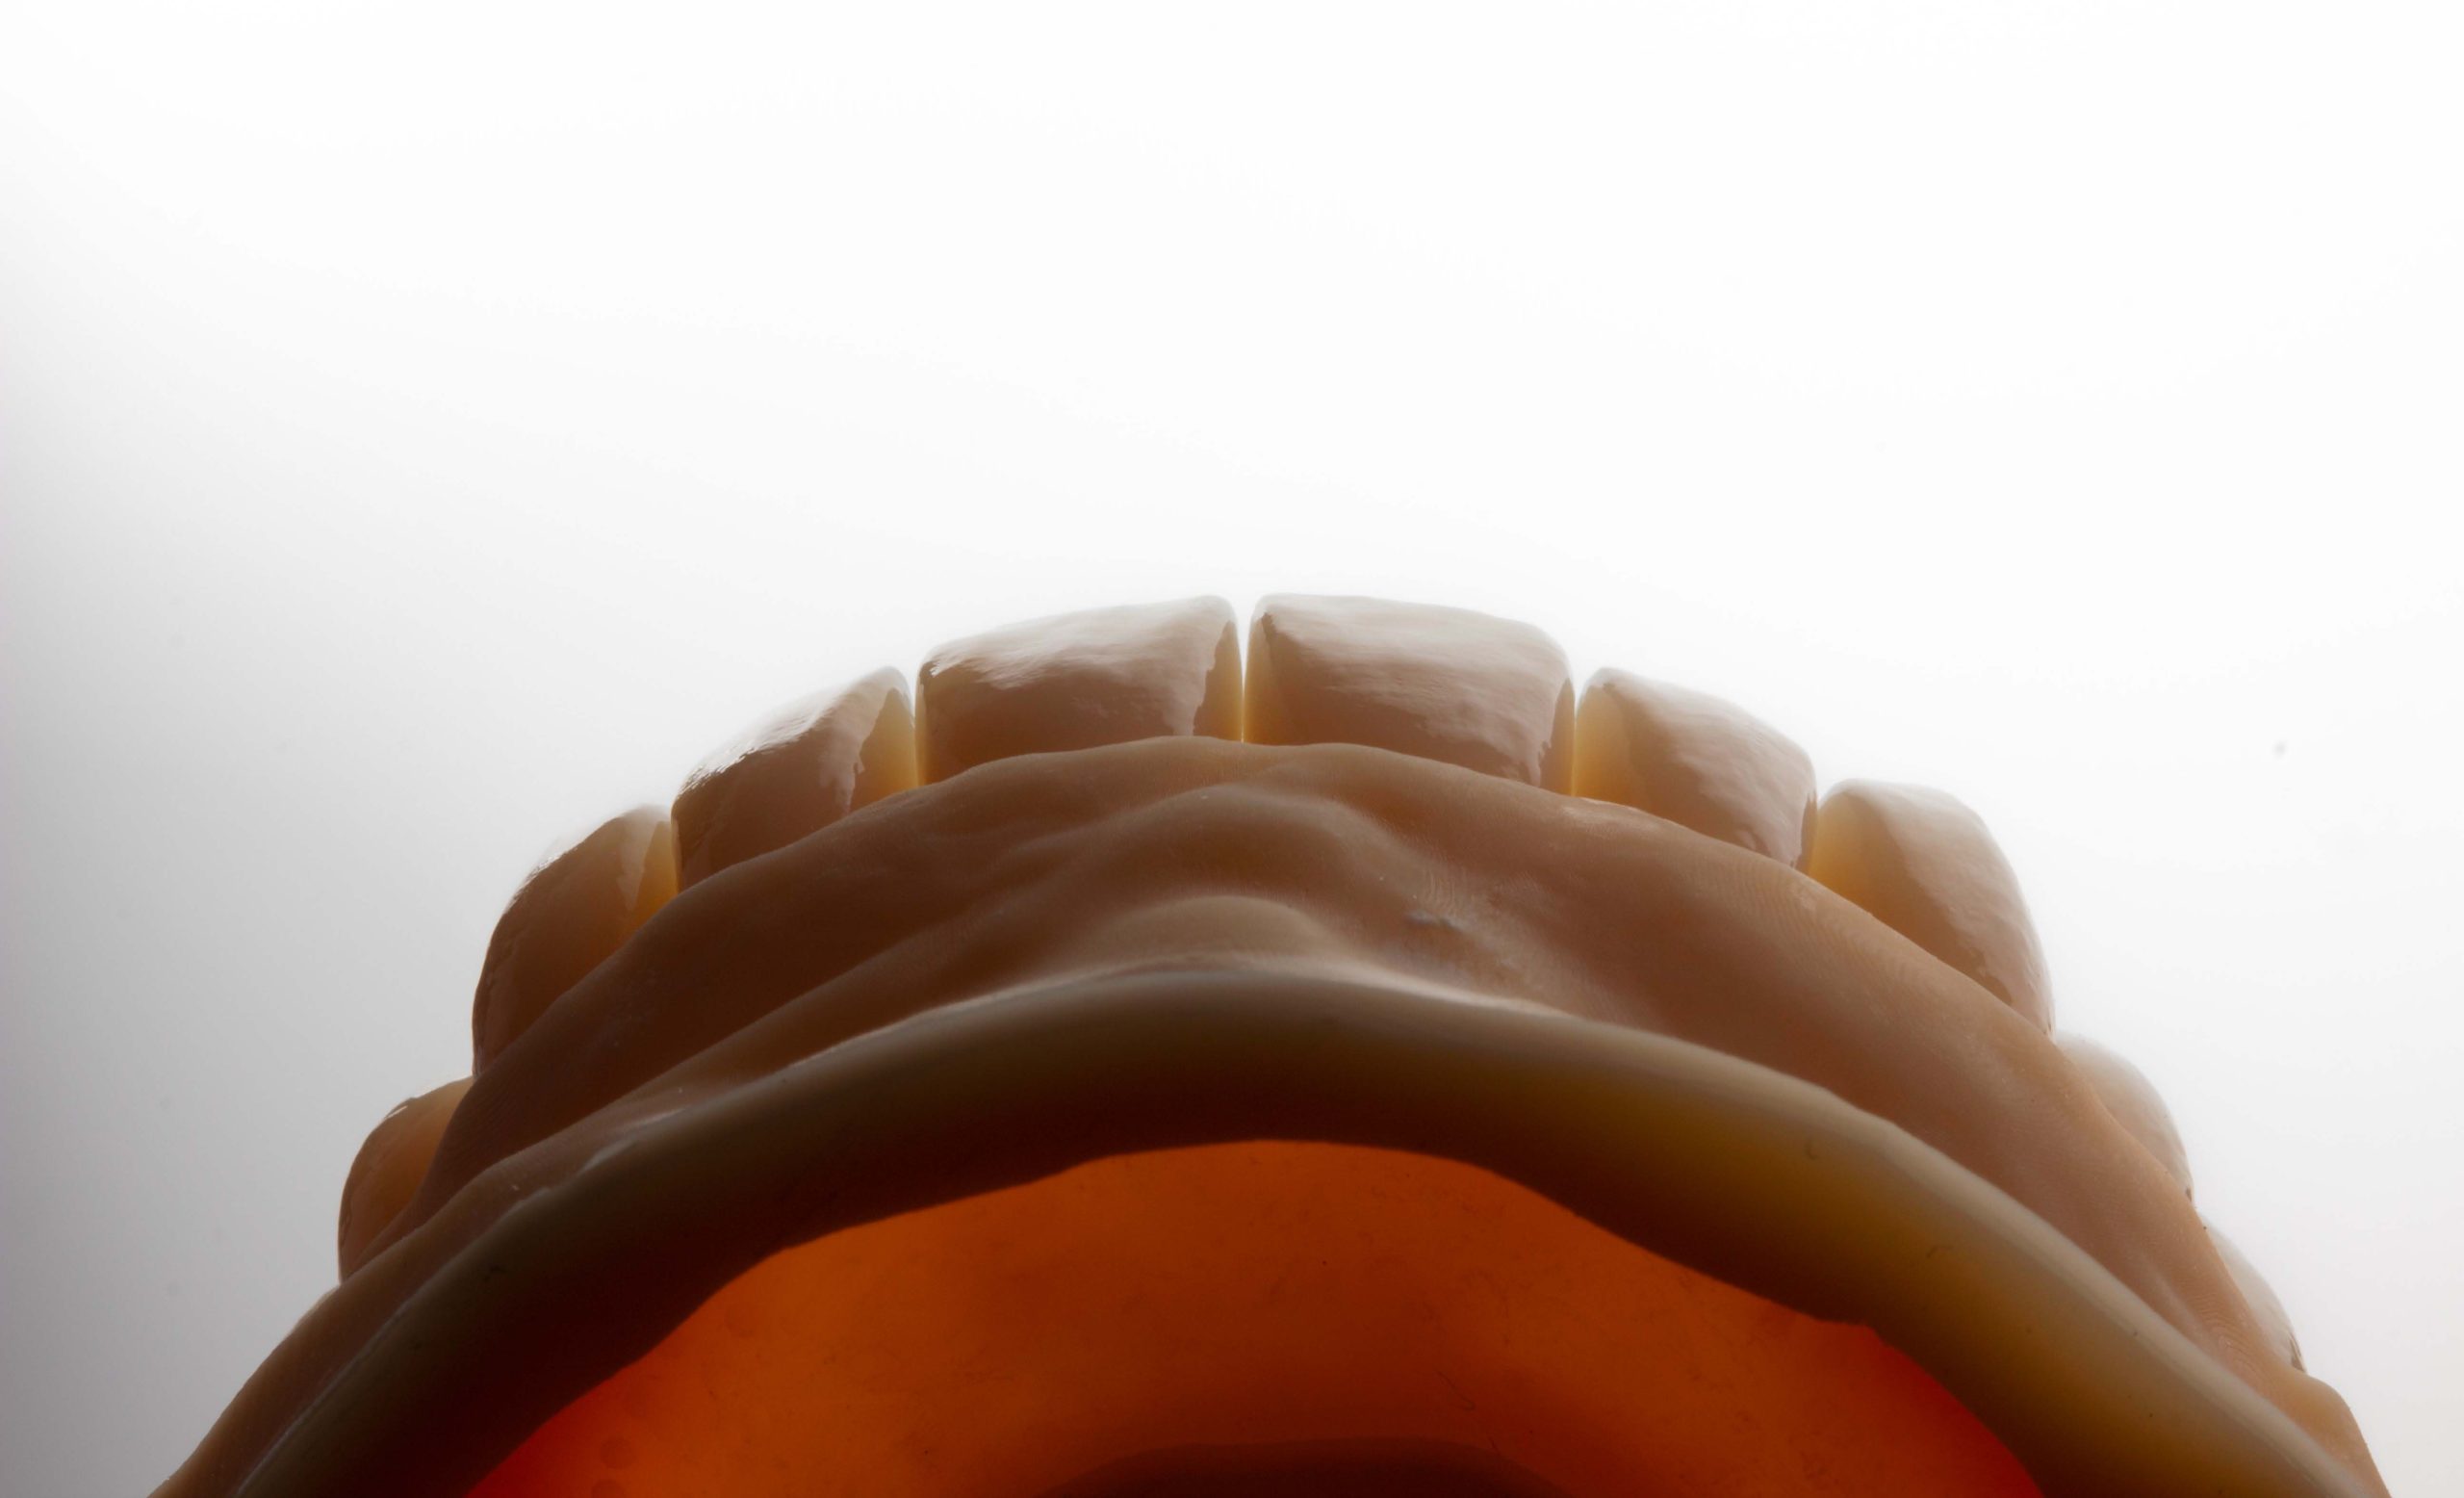
The bridges were made of PMMA (Figures 3 and 4) and were characterised with Optiglaze Color (Figure 5). The Optiglaze was applied to all teeth – B Plus was applied to the cervical and middle area, Lavender and Blue in the incisal zone and Orange in the interproximal zone.
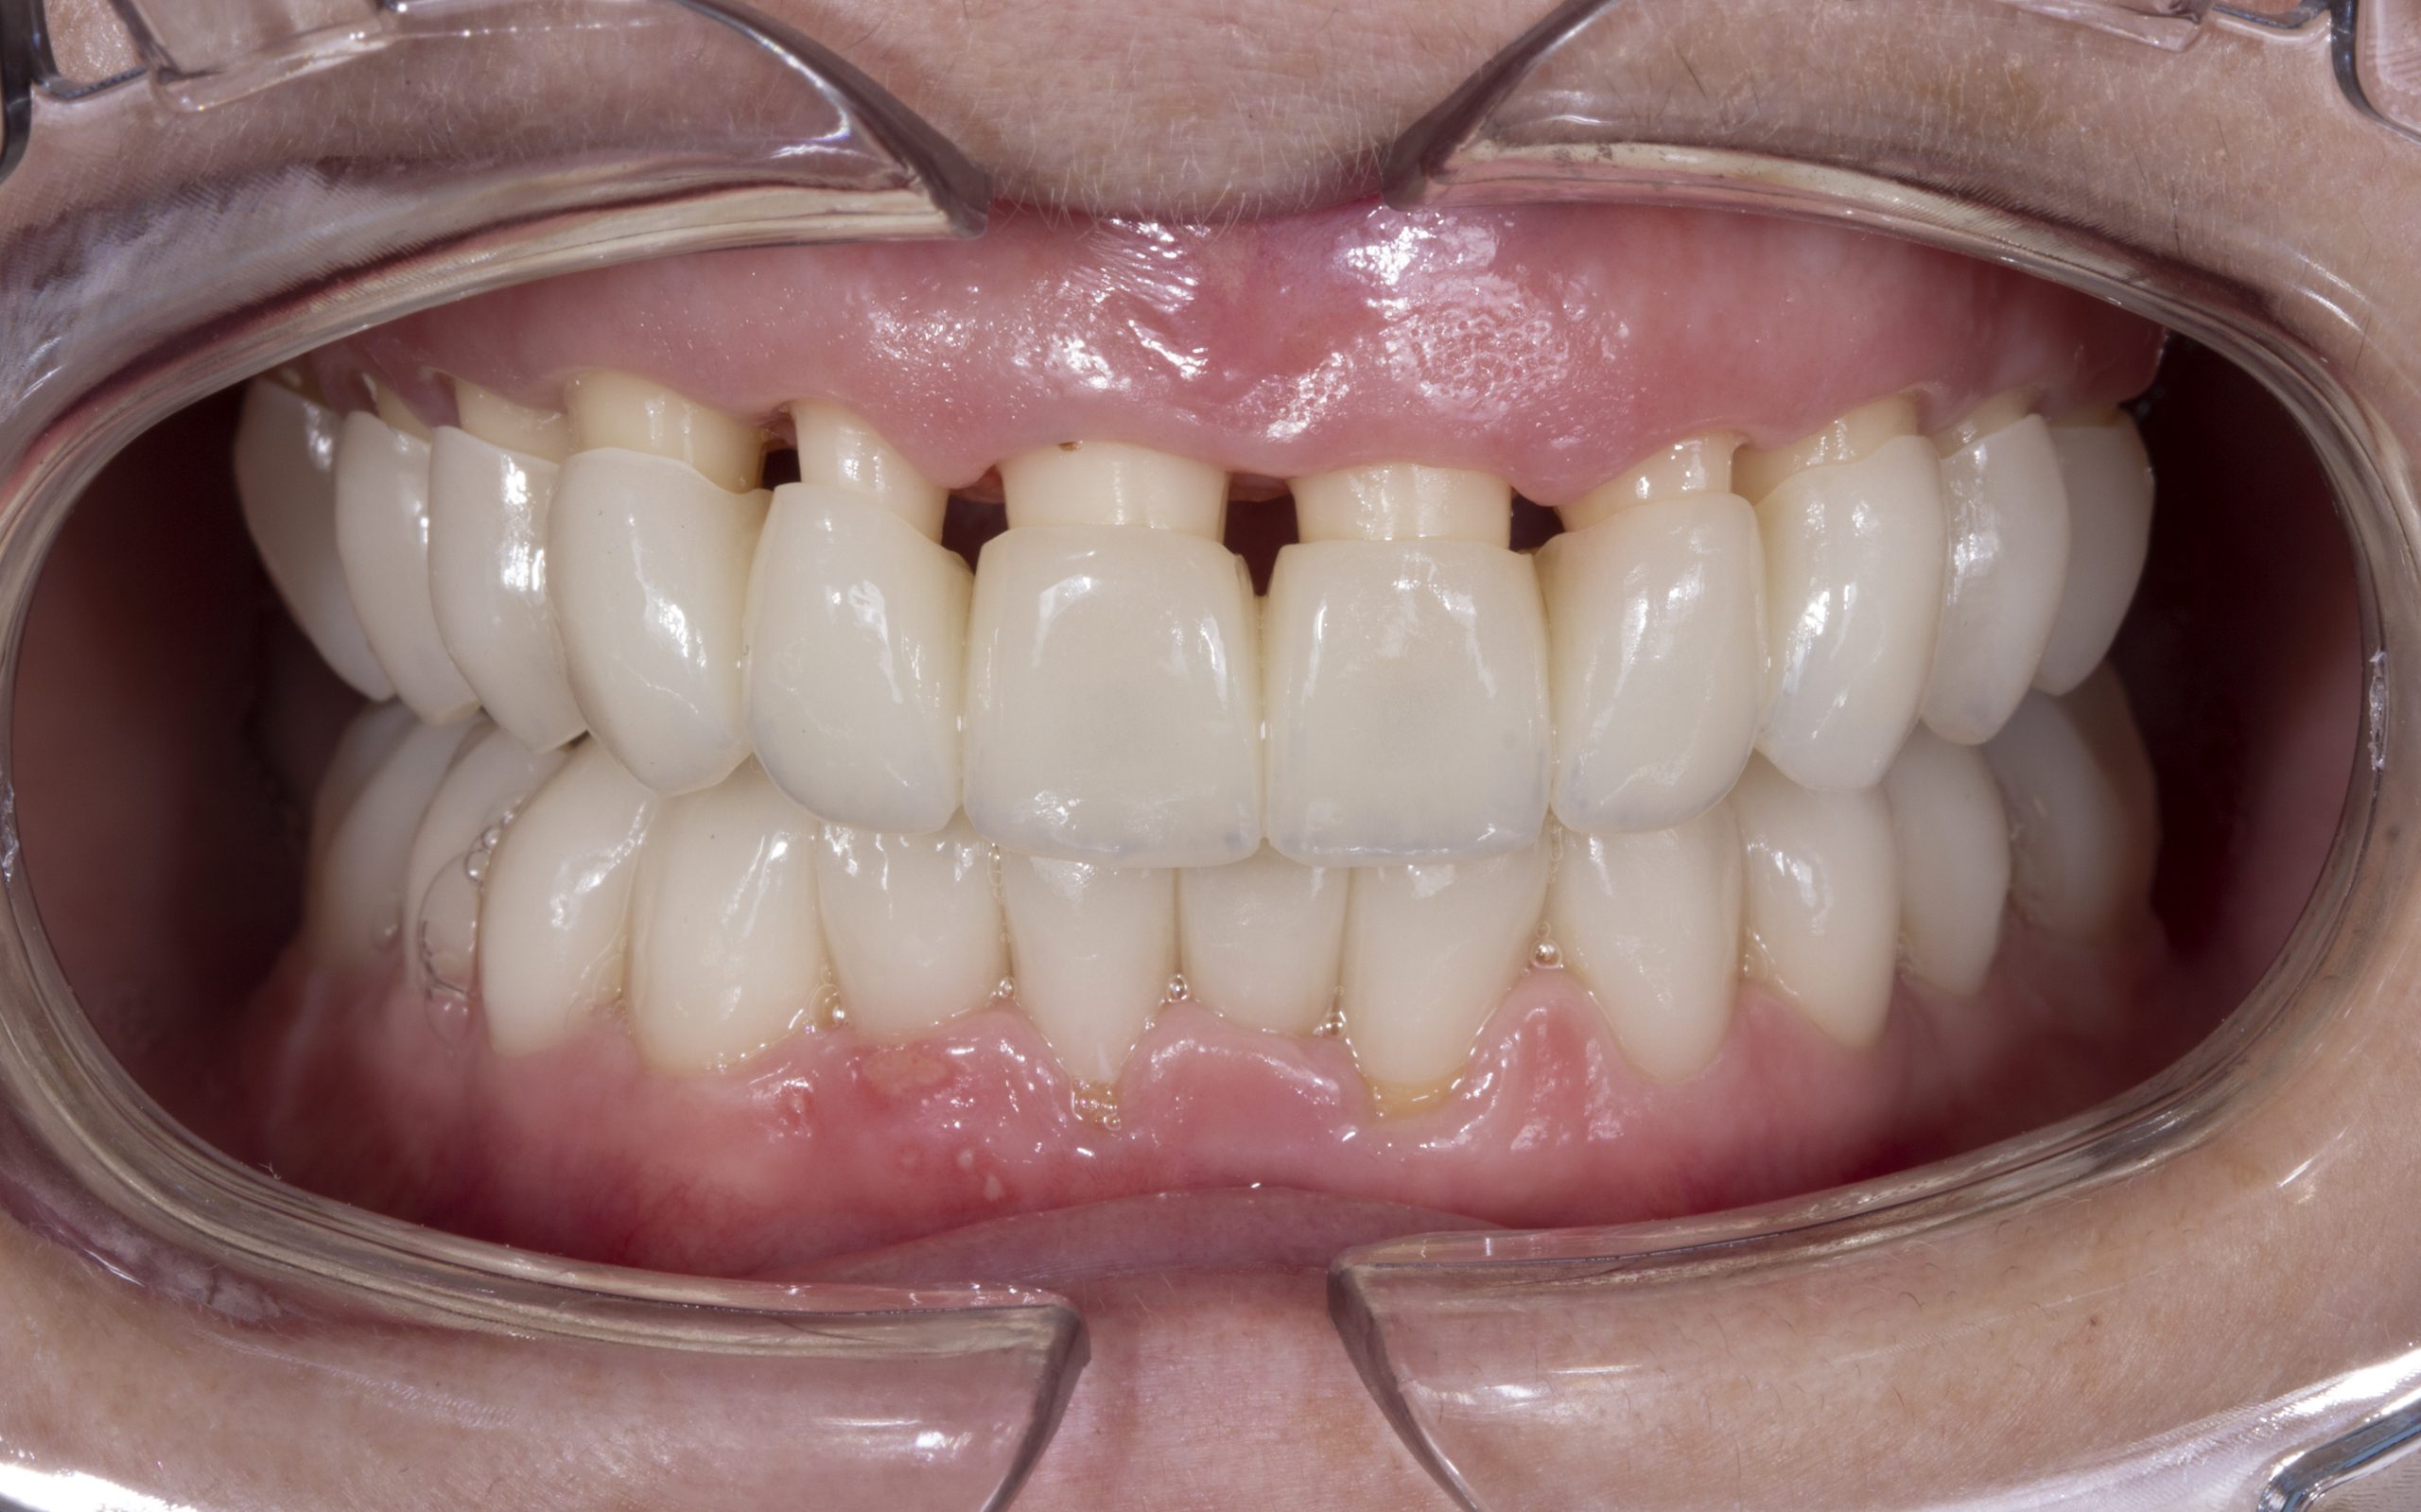
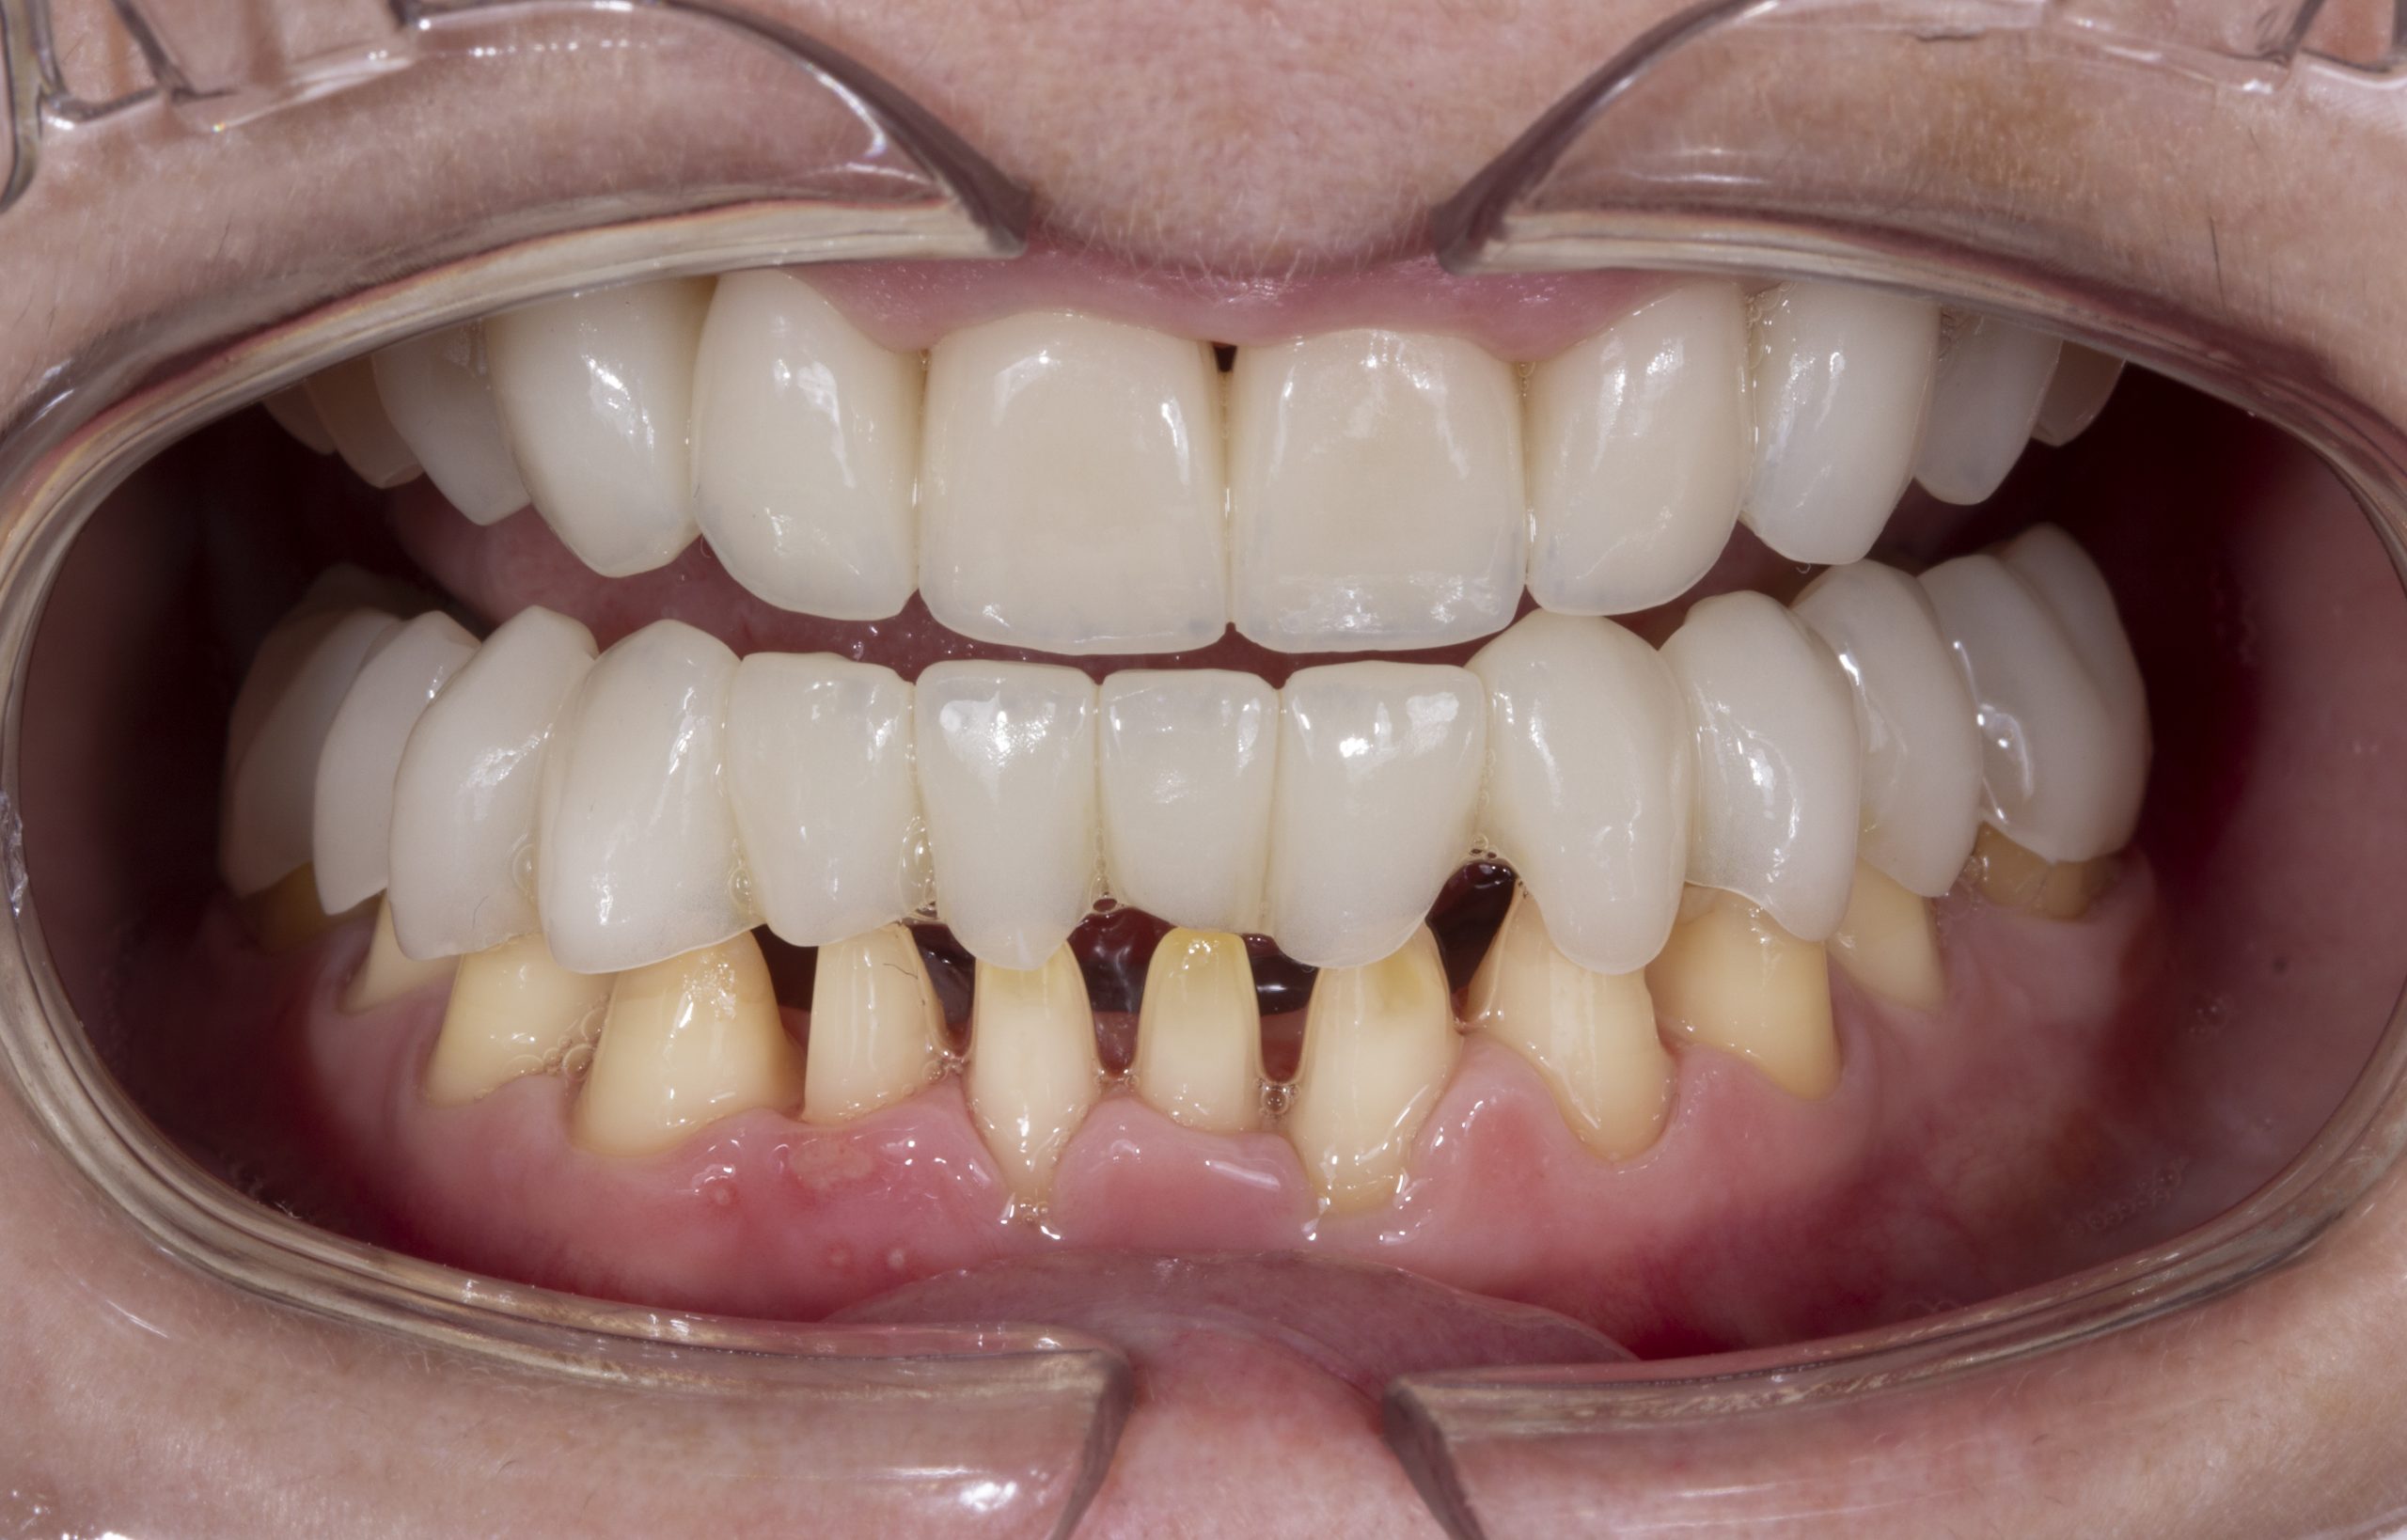
Especially in these types of complex cases, temporary restorations are important to see and study shapes, sizes, proportions, occlusion, functionality and aesthetics (Figures 6 to 8).
Individual lithium disilicate ceramic crowns
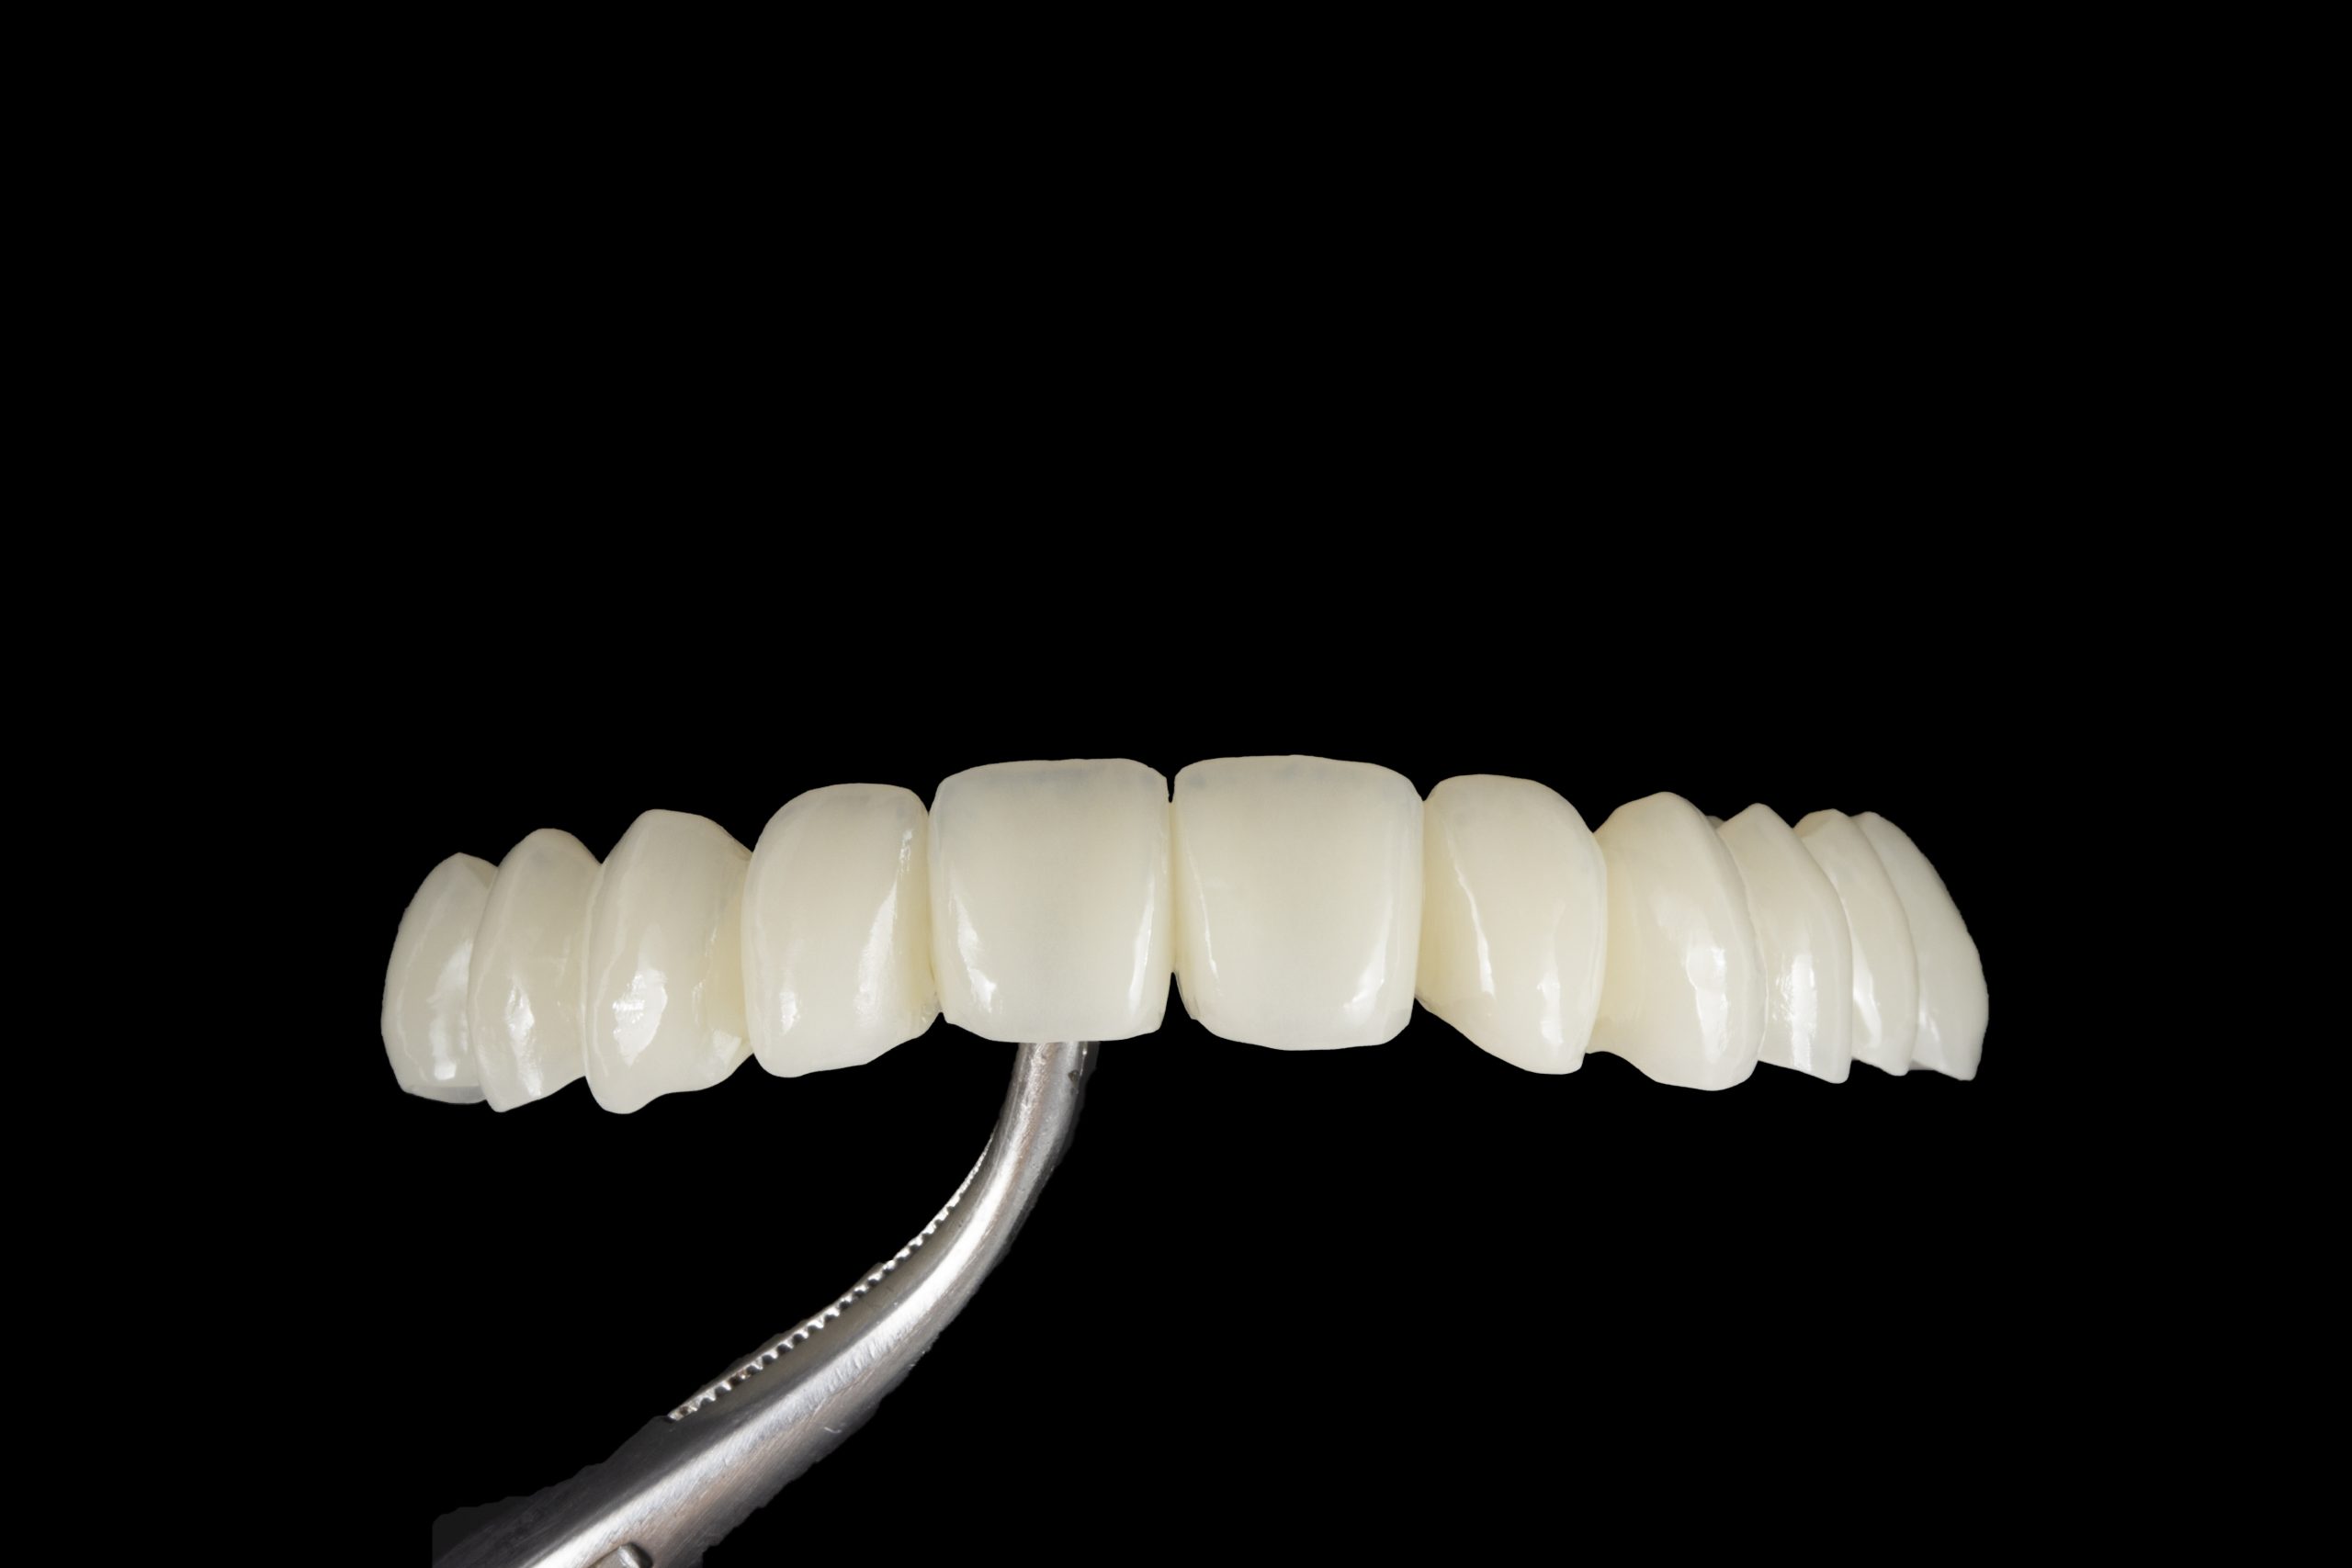
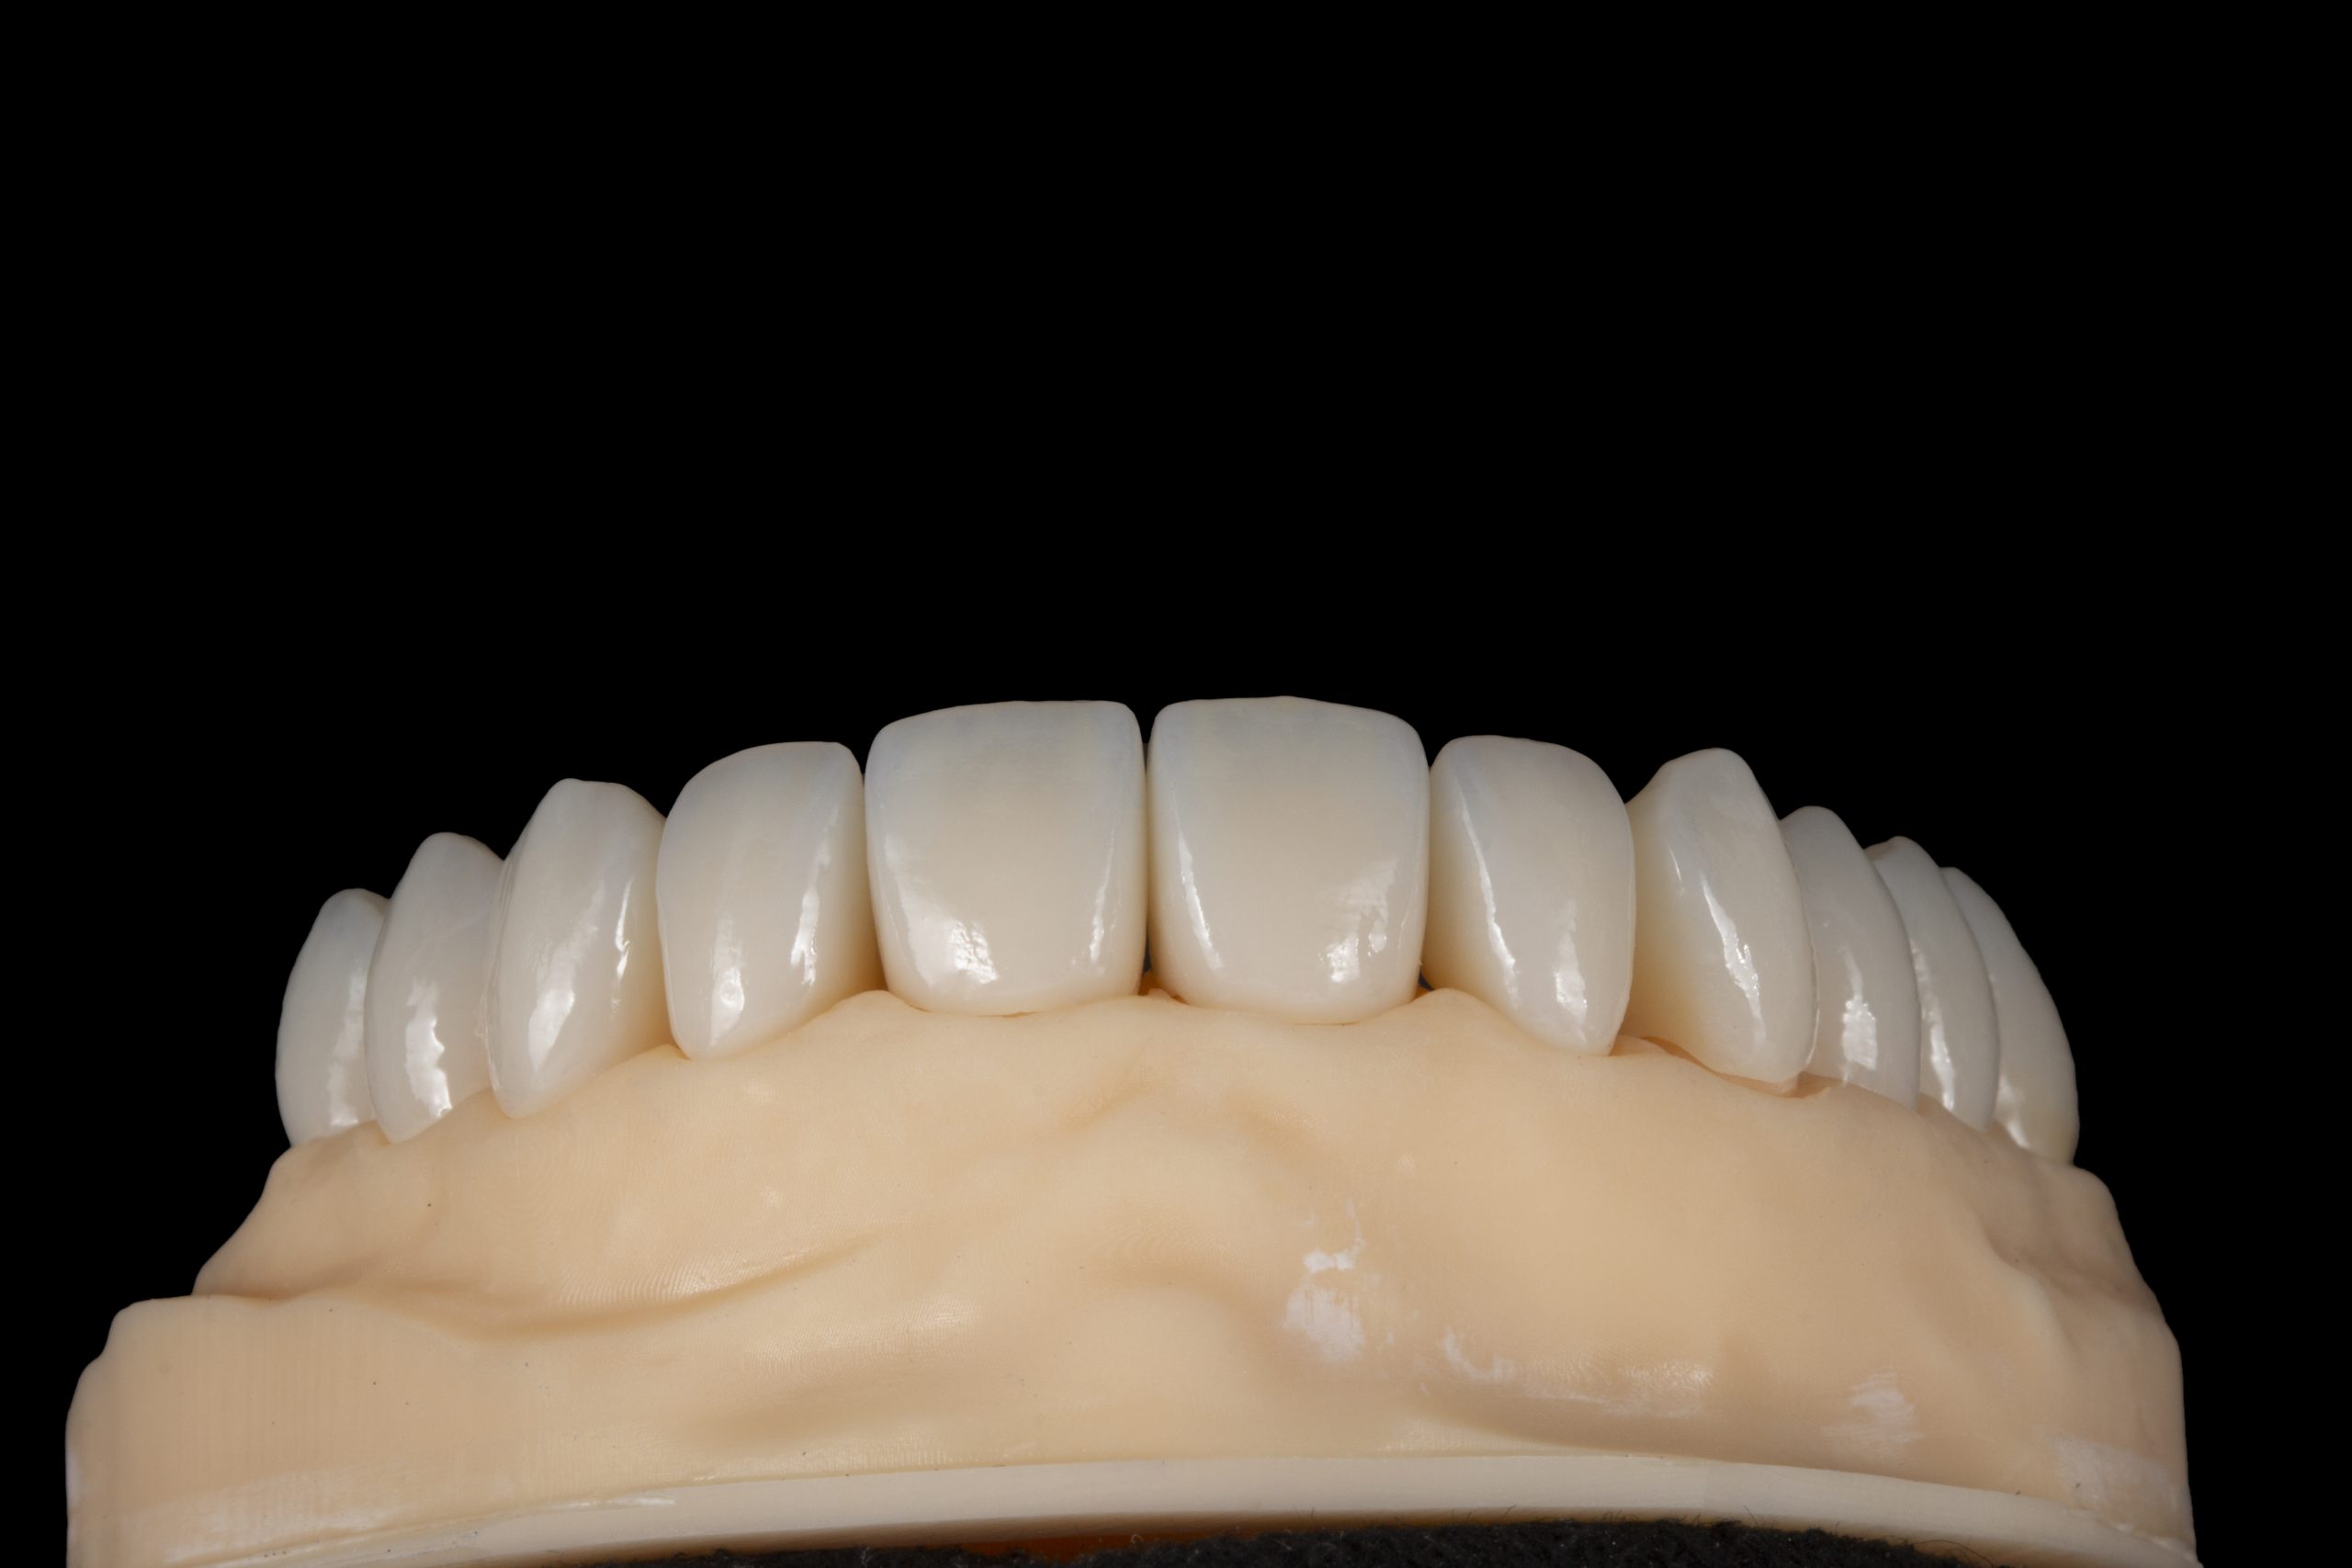
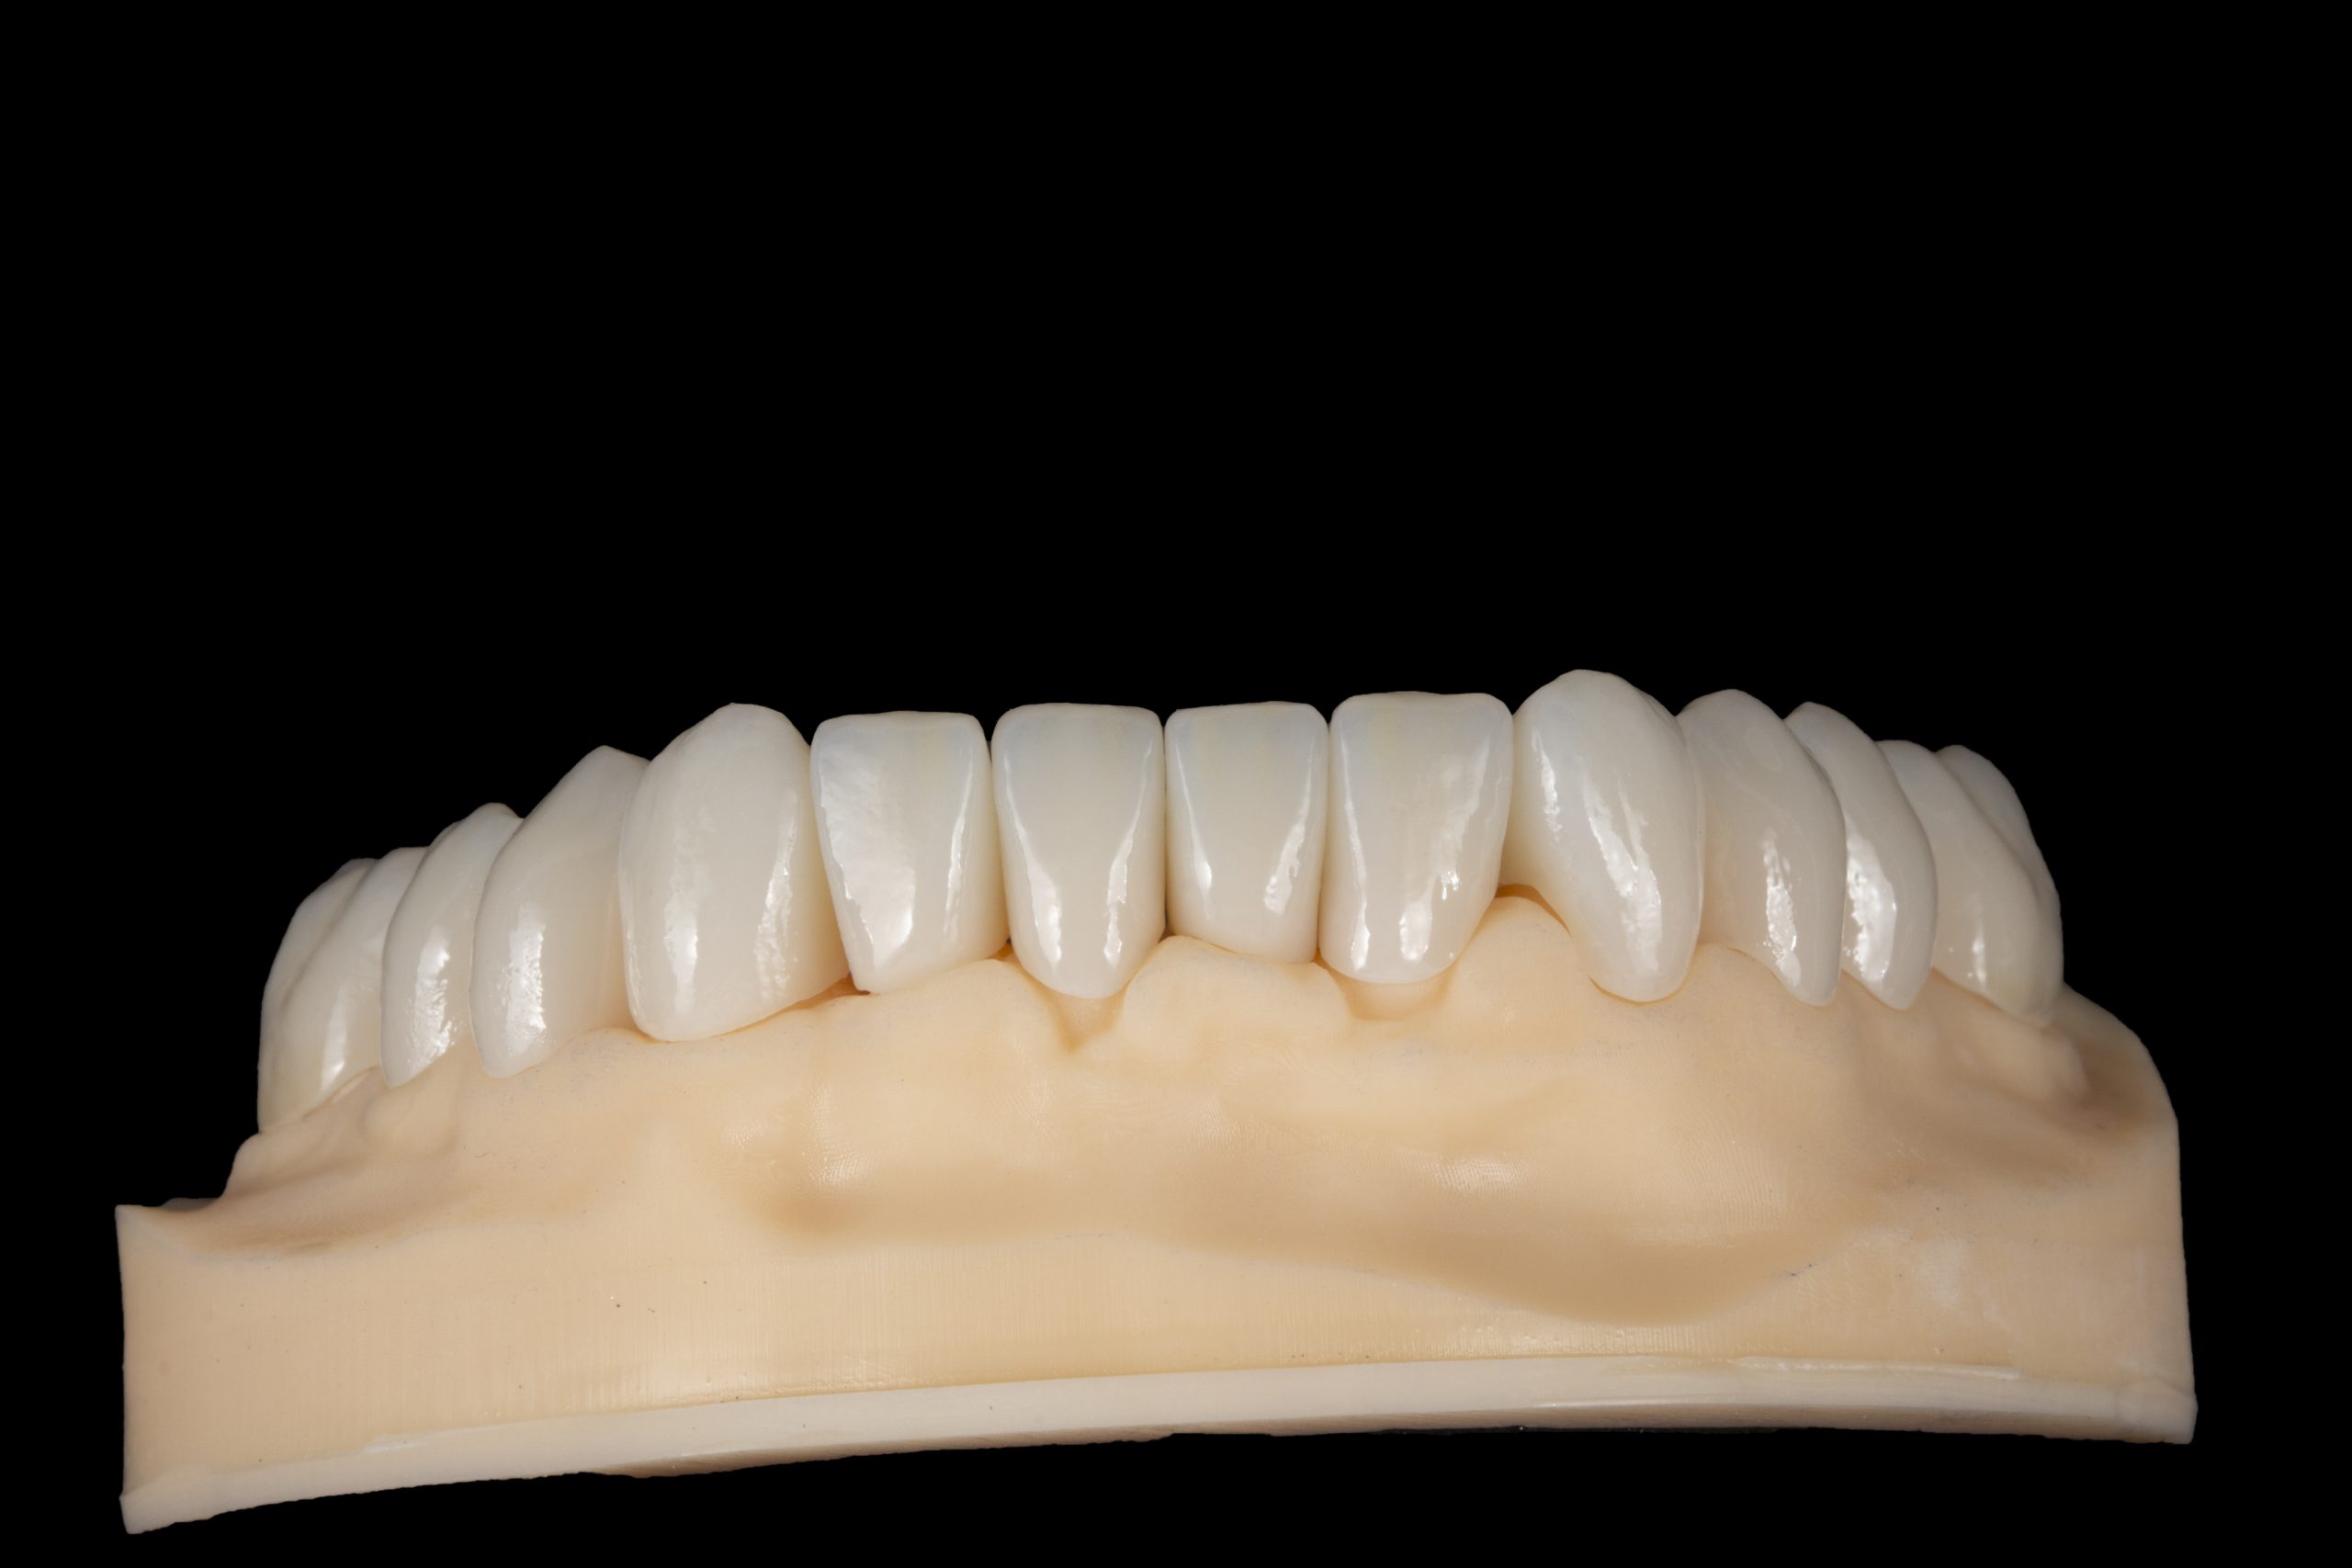
Once the aesthetics, shape, proportions and occlusion were verified and adjusted, the restorations were milled from 24 blocks of Initial Lisi Block, shade A1 LT (Figures 9 and 10).
From UR4 to UL4 and LL4 to LR4, a small vestibular reduction of 0.2-0.3 mm was made; the more posterior crowns were left fully monolithically.
The shade A1 LT (low translucency) was chosen because all restorations were full crowns. A high translucency could lead to loss of value in this case, resulting in a more greyish appearance of the crowns. Being a complete rehabilitation and favourable substrate, a cut-back and micro layering was chosen, which gives natural aesthetics thanks to the combination of the Initial IQ Lustre Pastes One, Initial Spectrum Stains and Initial IQ Sqin ceramics – the ‘One Sqin’ concept (GC).
Natural look
For the application of the Lustre Pastes and Spectrum Stains, the teeth were divided into three basic zones: a cervical, middle and incisal zone. Before starting with the characterisation, all crowns were covered with a thin layer of L-NFL (Neutral Fluorescent).
Then, a mixture of L-B + L-NFL was applied to the central and lateral incisors to create a subtle chromatic effect throughout the cervical area. On the canines, pure L-B was applied to give them a bit more chroma than the incisors, like in natural teeth.
In the middle area, it is interesting to create a light refraction effect. Therefore, a mixture of L-V (Value) and L-1 (Enamel Effect 1: Vanilla) was applied on the incisors, creating a ‘belt’ between the cervical and incisal areas.
Finally, in the incisal area we create a ‘translucent zone’ (light absorption edge) L-3 (Enamel Effect 3: Light Grey) + L-6 (Enamel Effect 6: Dark Blue) + SPS-18 (Illusion 1) + L-10 (Enamel Effect 10: Twilight) and the mamelons a mixture of L-V + L-1 + L-B + SPS-4 (Light Terracotta).
Finishing touches
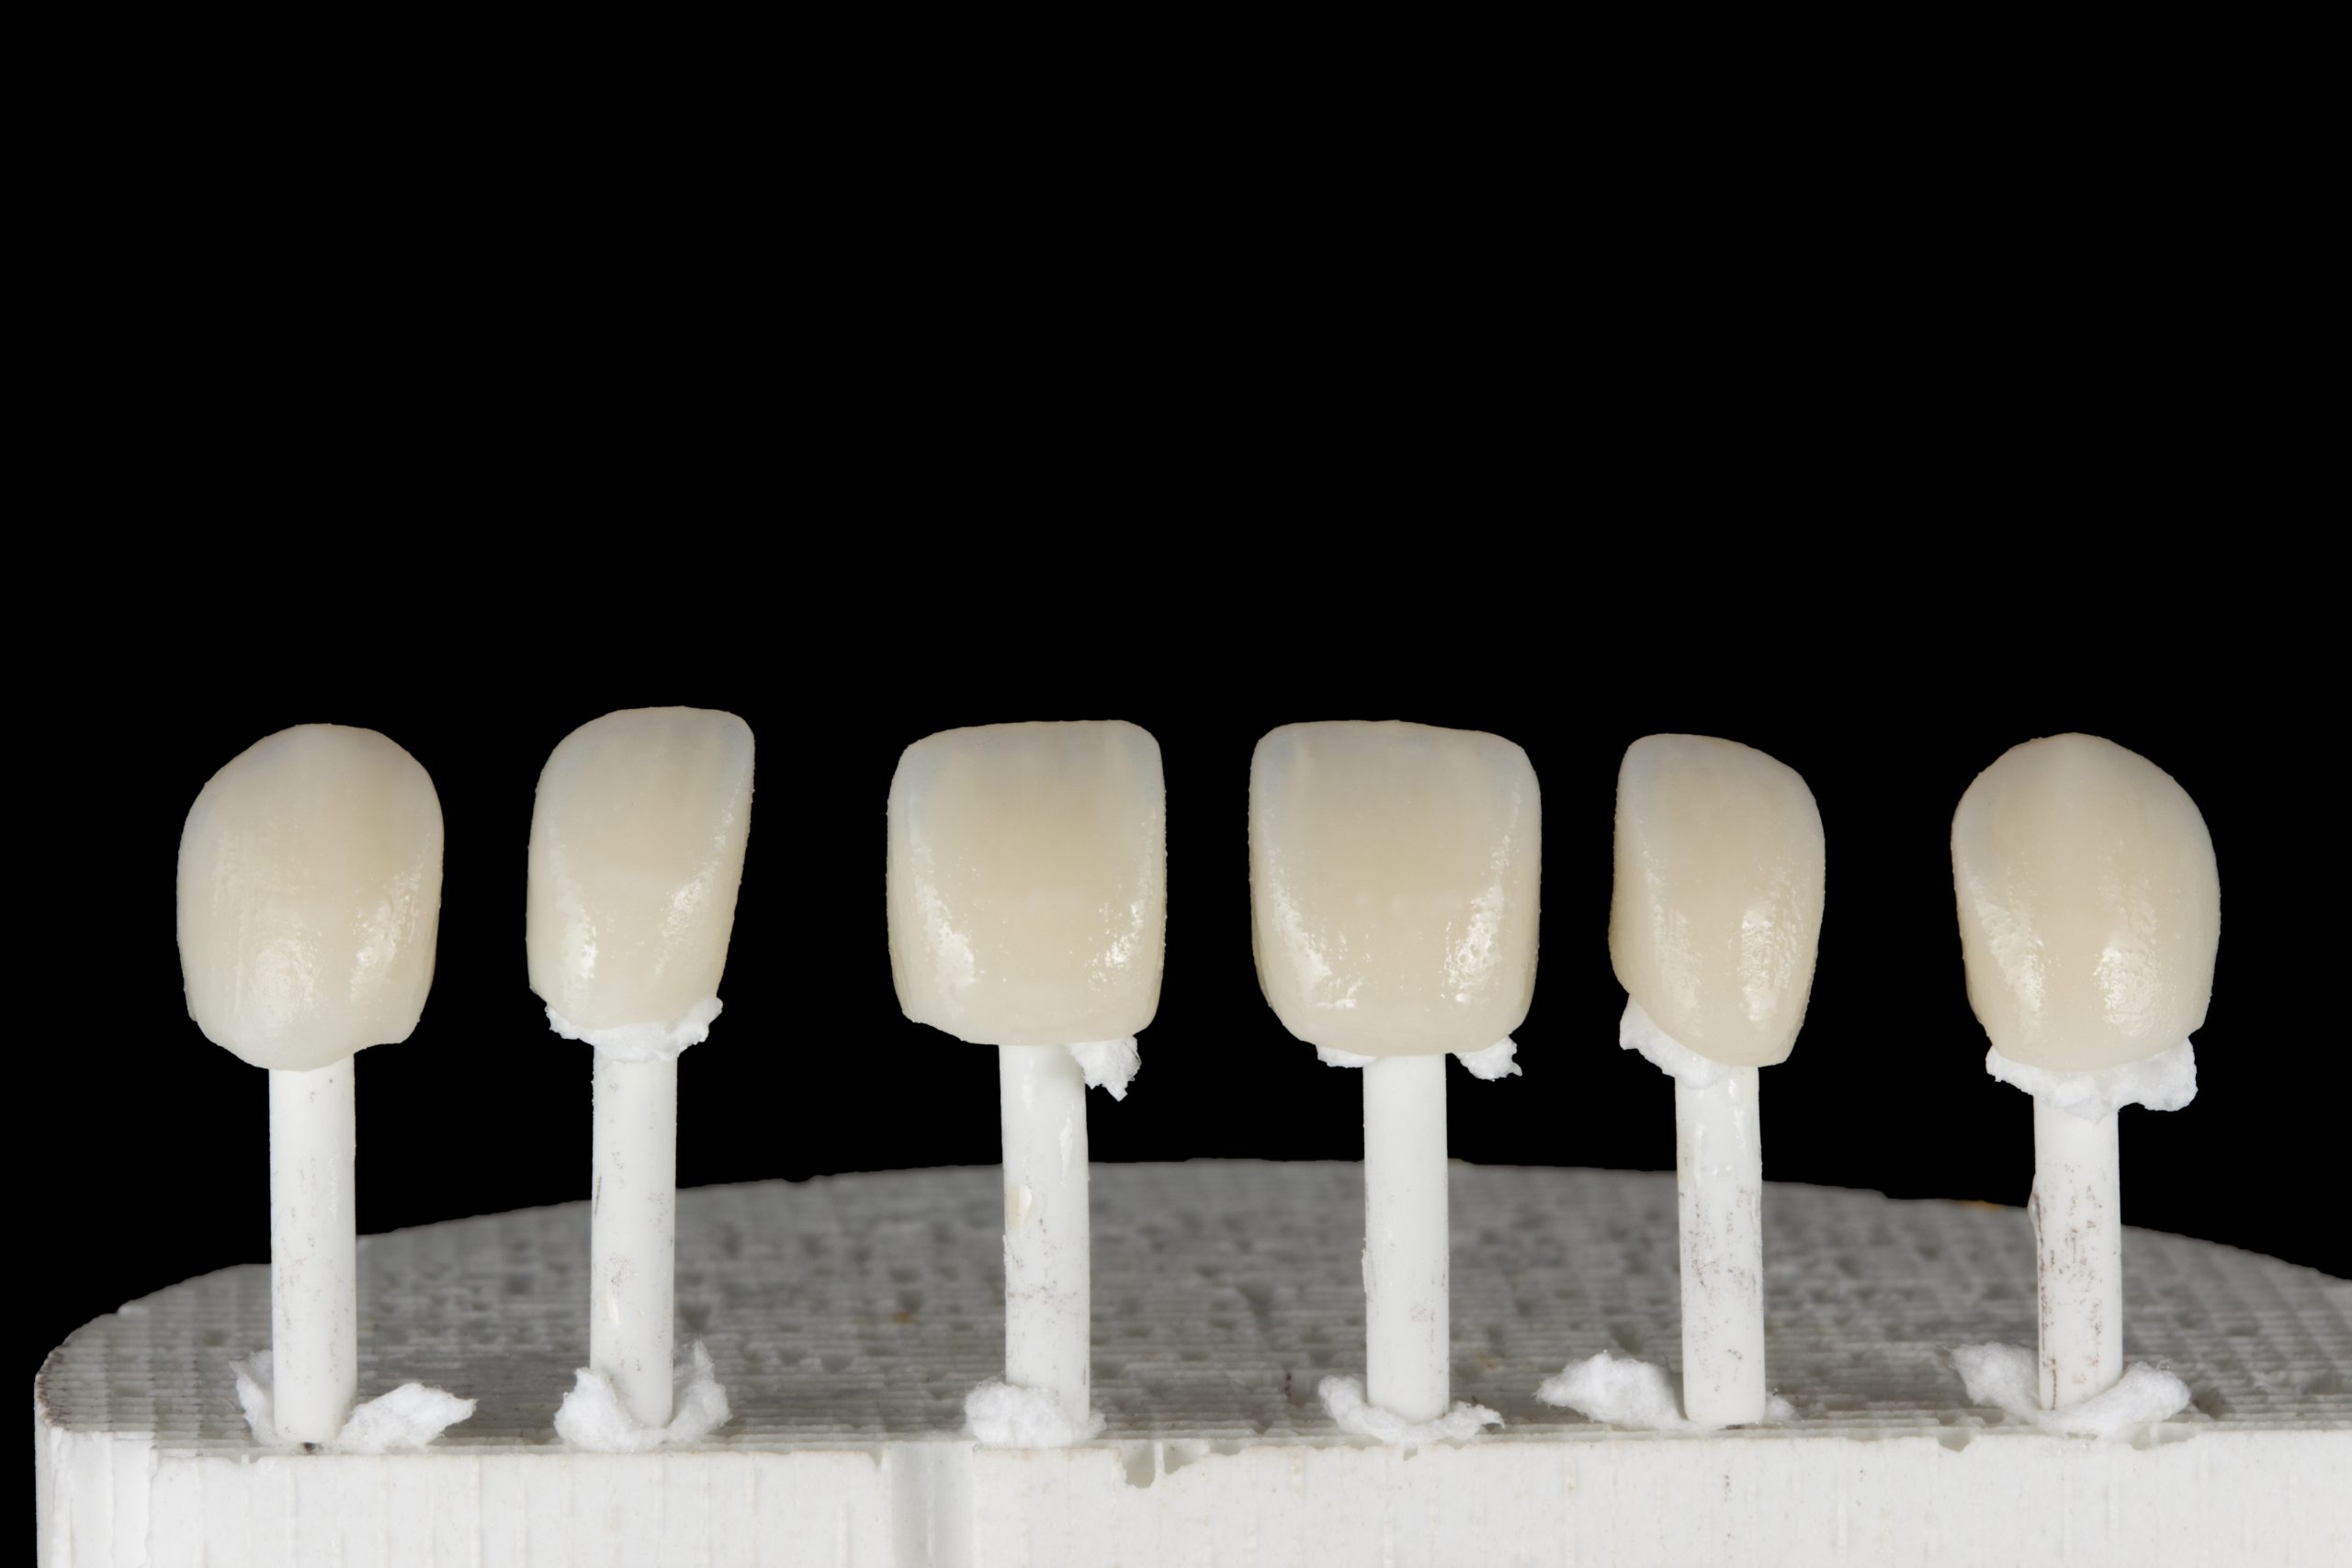
After the firing with Initial Lustre Pastes One (Figure 11), the anterior teeth (up to the second premolar) were slightly sandblasted at a very low pressure (0.8-1 bar) at a distance of 10cm to remove the gloss and to create micromechanical retention for the subsequent layer of Sqin ceramics.
In the cervical zone, Body-B + Enamel E-58 were applied; Translucent TO (Opal Booster) was applied on the mesial and distal edges. Gum Neutral (colourless and absent of additional fluorescence) and Enamel E-58 were applied in the incisal area between those edges, blending the bands.
The morphology was created in the wet stage; the ‘Form & Texture Liquid’ gives the ceramic the plasticity to easily model it with a brush.
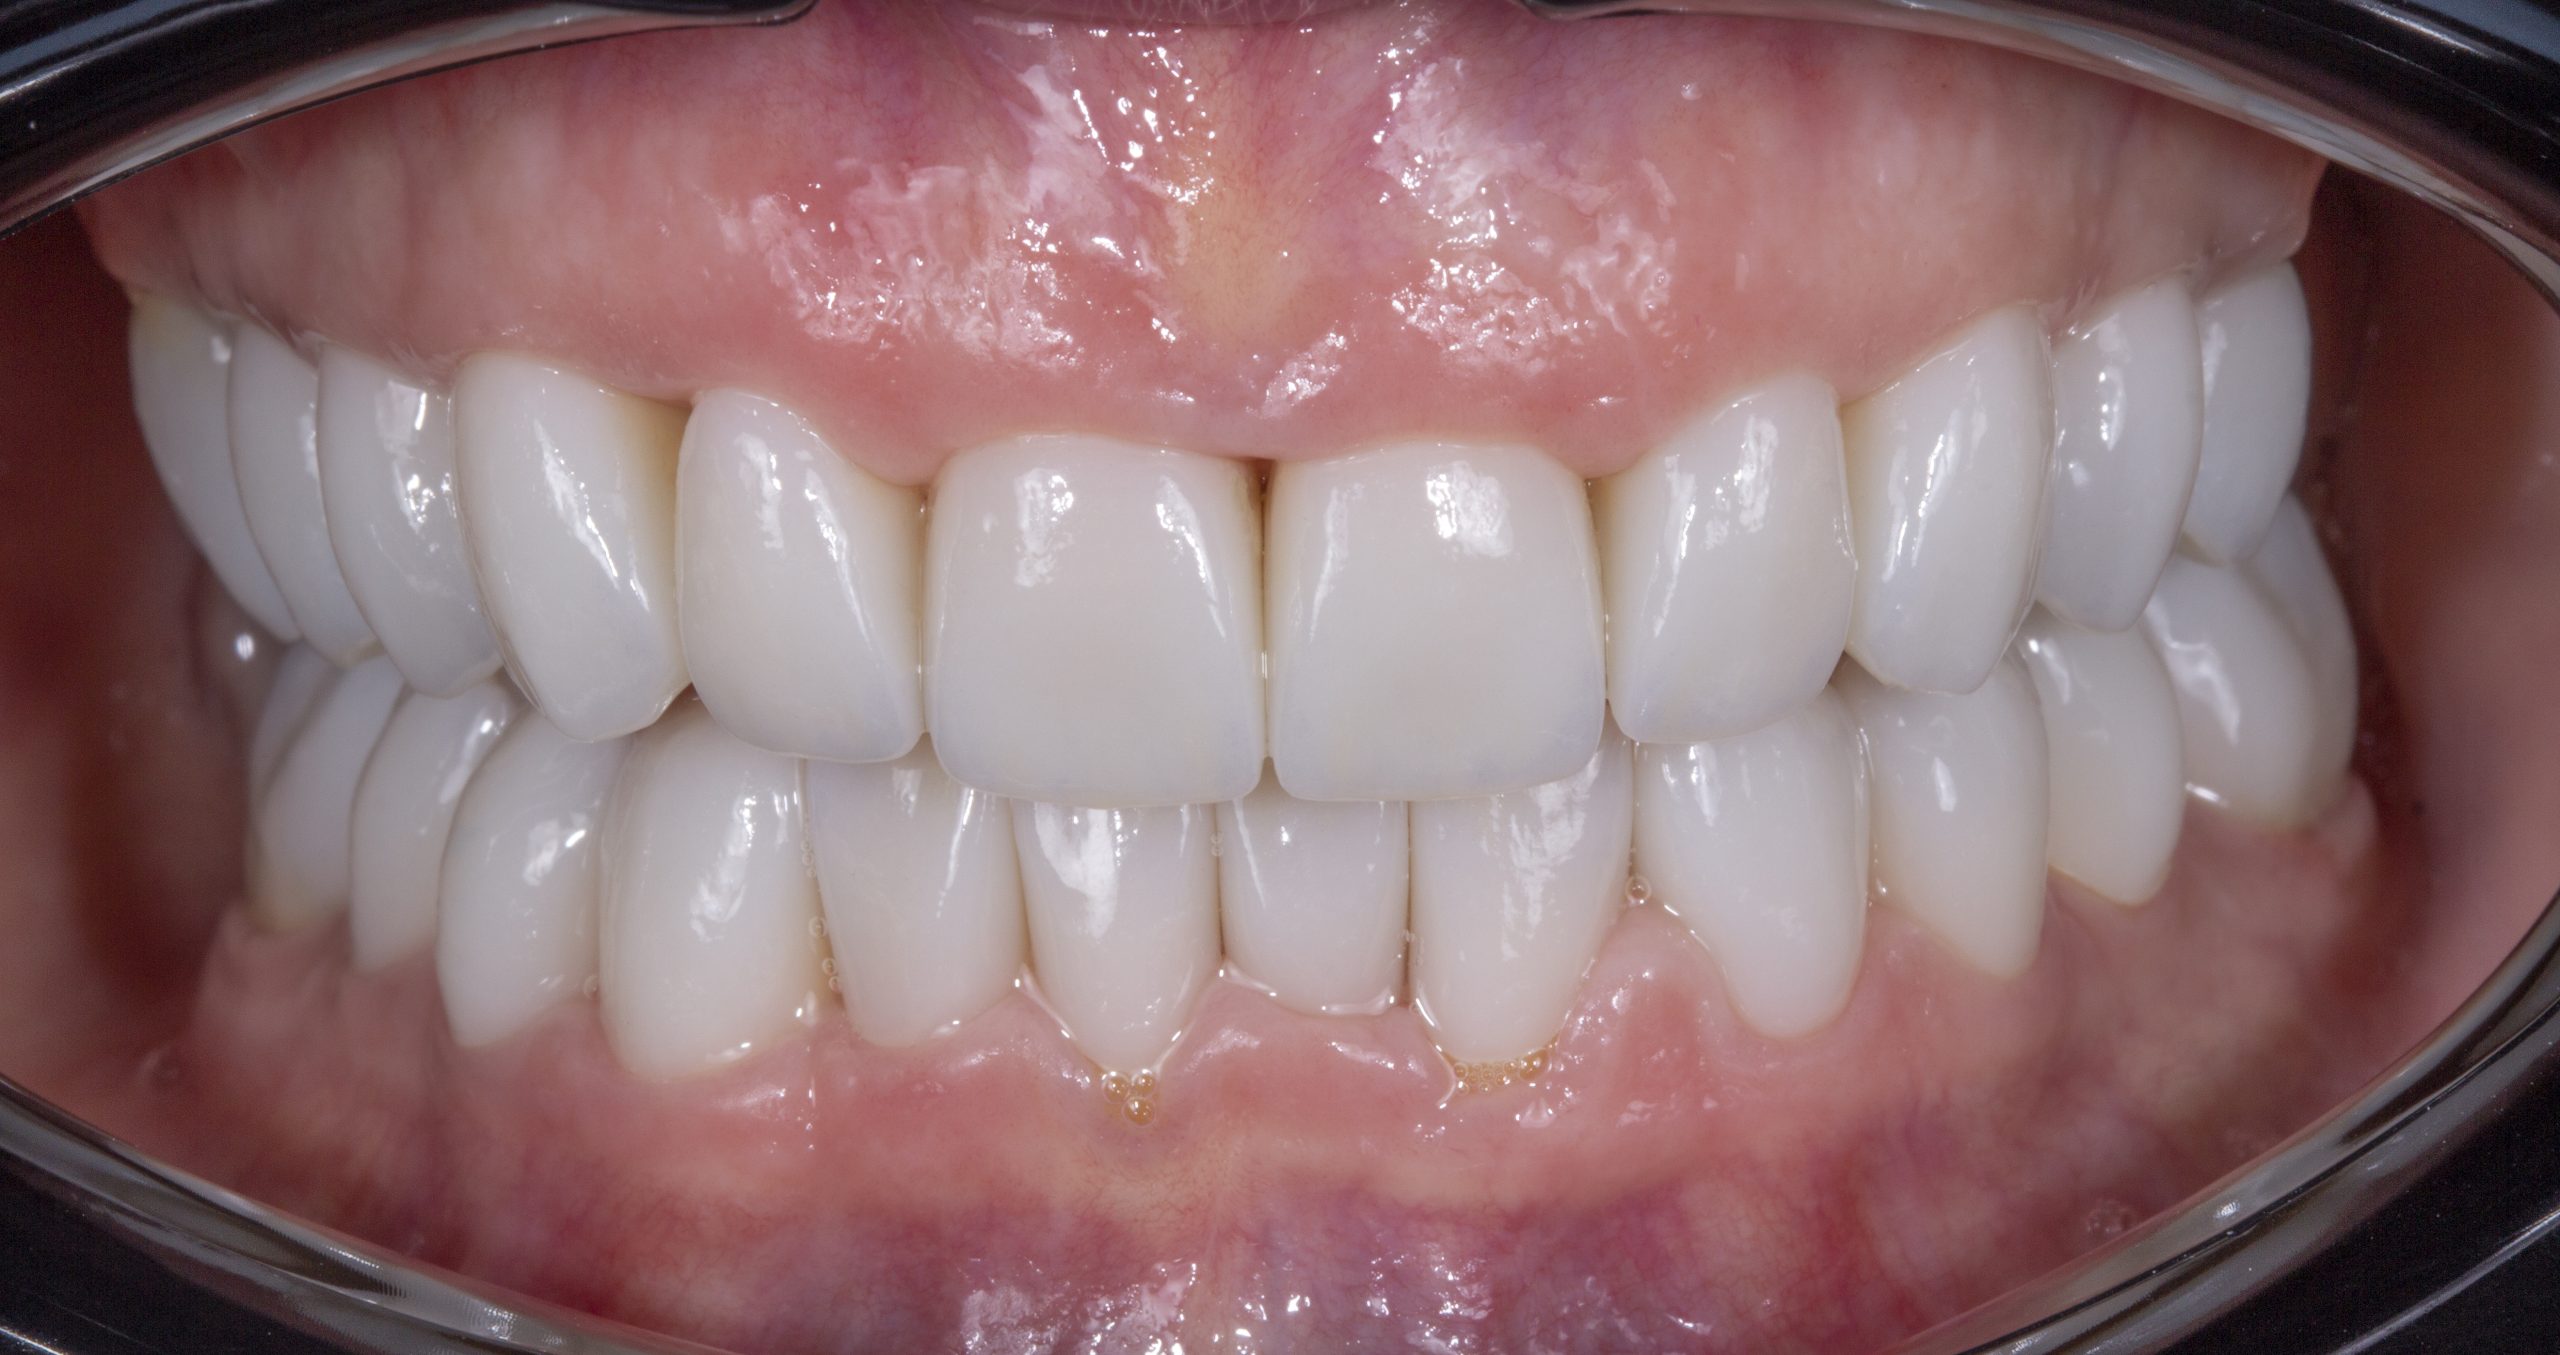
The restorations were finished with Panther rubber polishers (Sirius Ceramics) (Figures 12 to 14).
Conclusions
The most important factors are stability, control, reproducibility, time and aesthetics.
Stability of the material means that shrinkage of the material is practically nil. The crown can be finished in a single ceramic application.
Visual control is present at the same time as we apply the different effects: ‘what you see is what you get’. Reproducible is important because a ‘step by step’ work protocol can be established where the margin of error is exponentially reduced.
Time is drastically reduced by using this technique and protocol.
Aesthetics is what all dental technicians are looking for, and a natural look is achieved thanks to the opalescent effect of Initial Lisi Block, the 3D effect of the Initial IQ Lustre Pastes One combined with Initial Spectrum Stains and the ceramic coverage of Initial IQ Sqin.
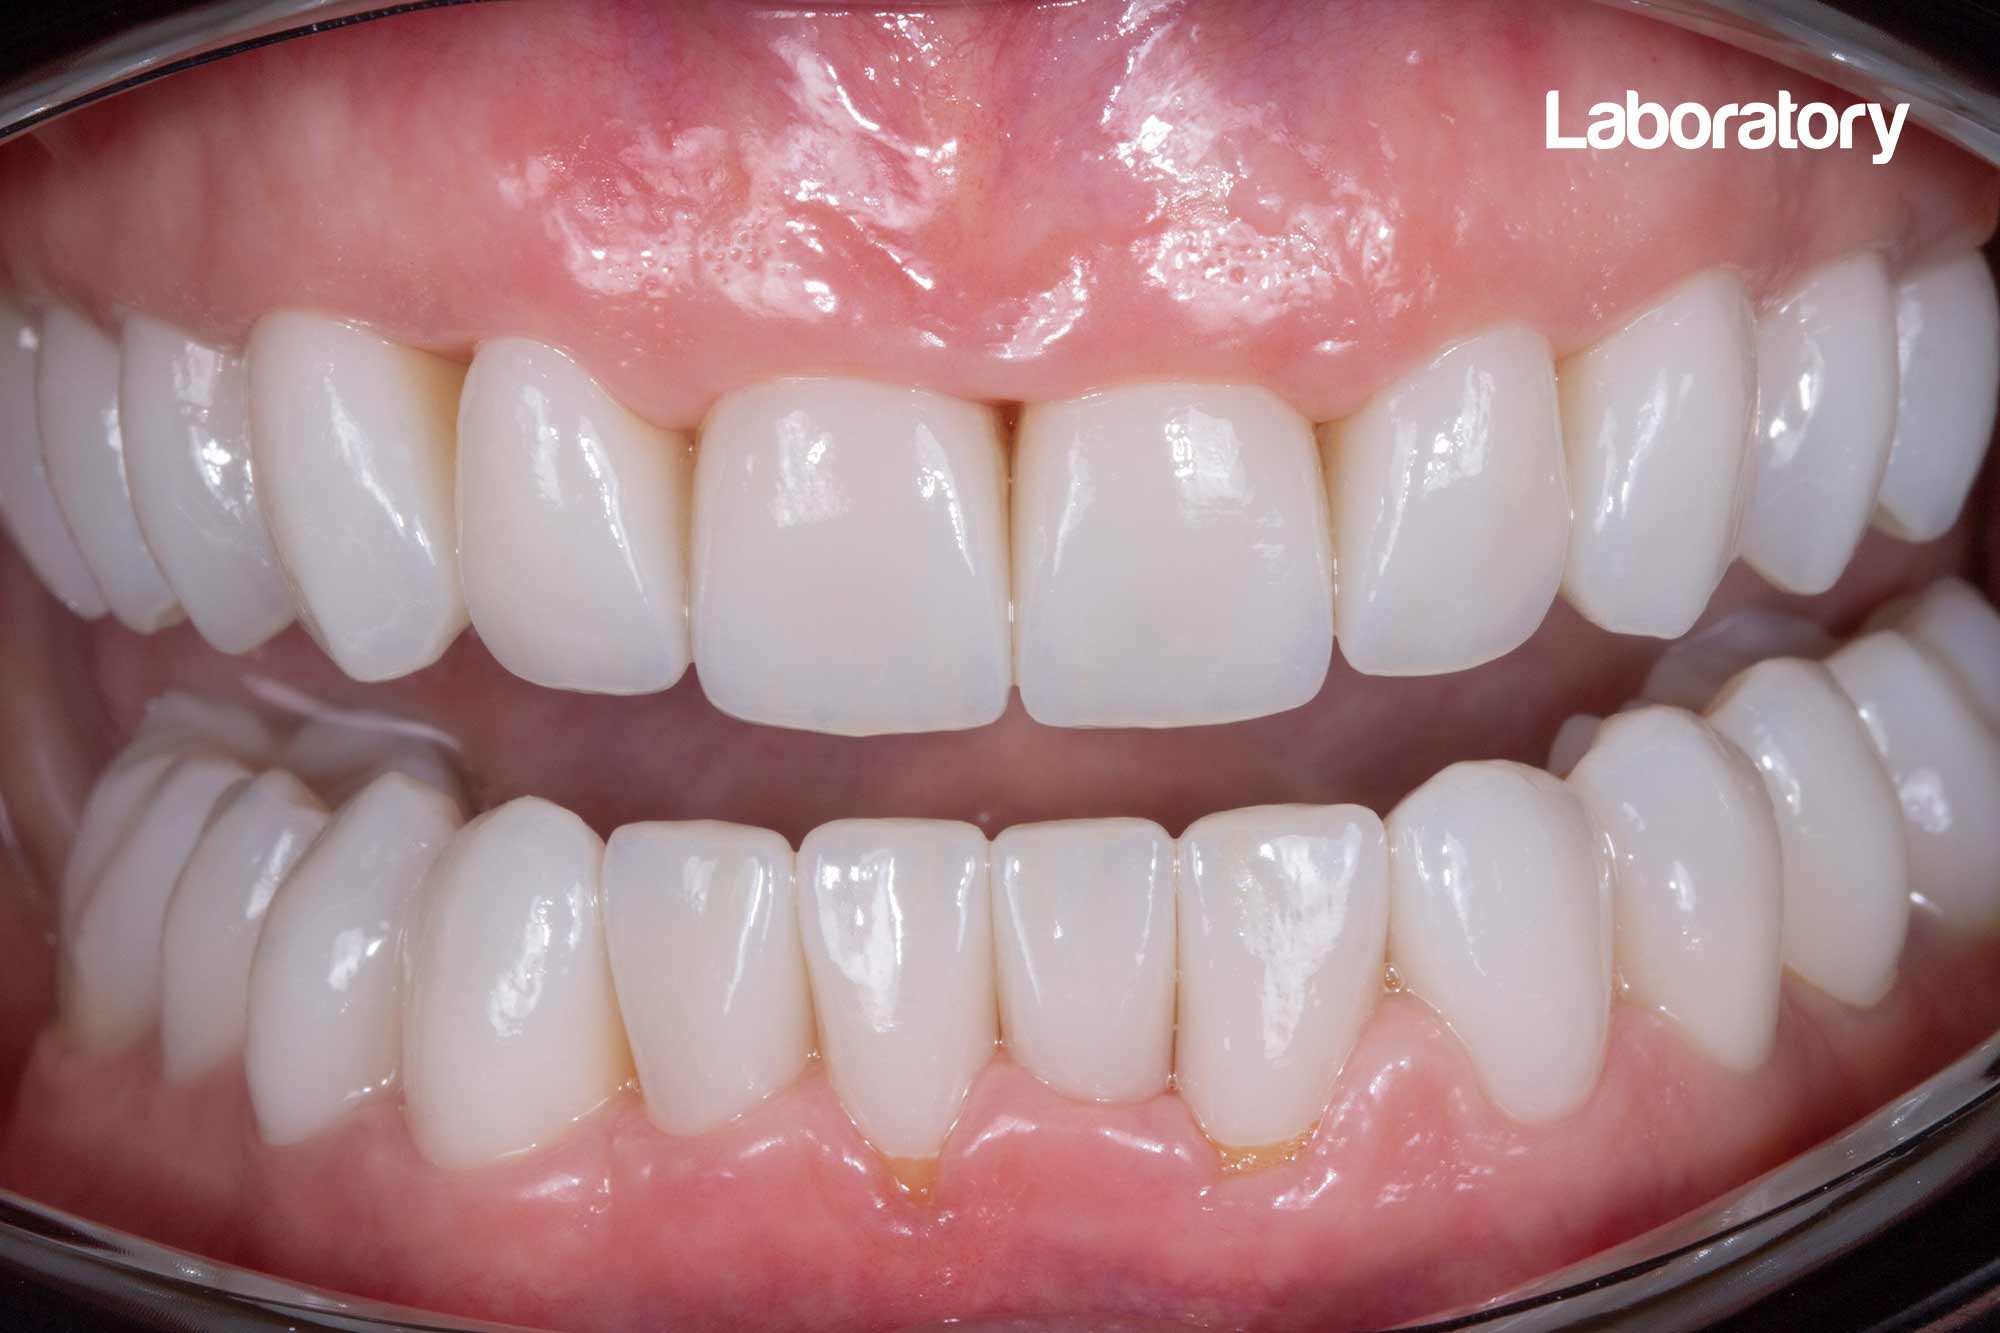
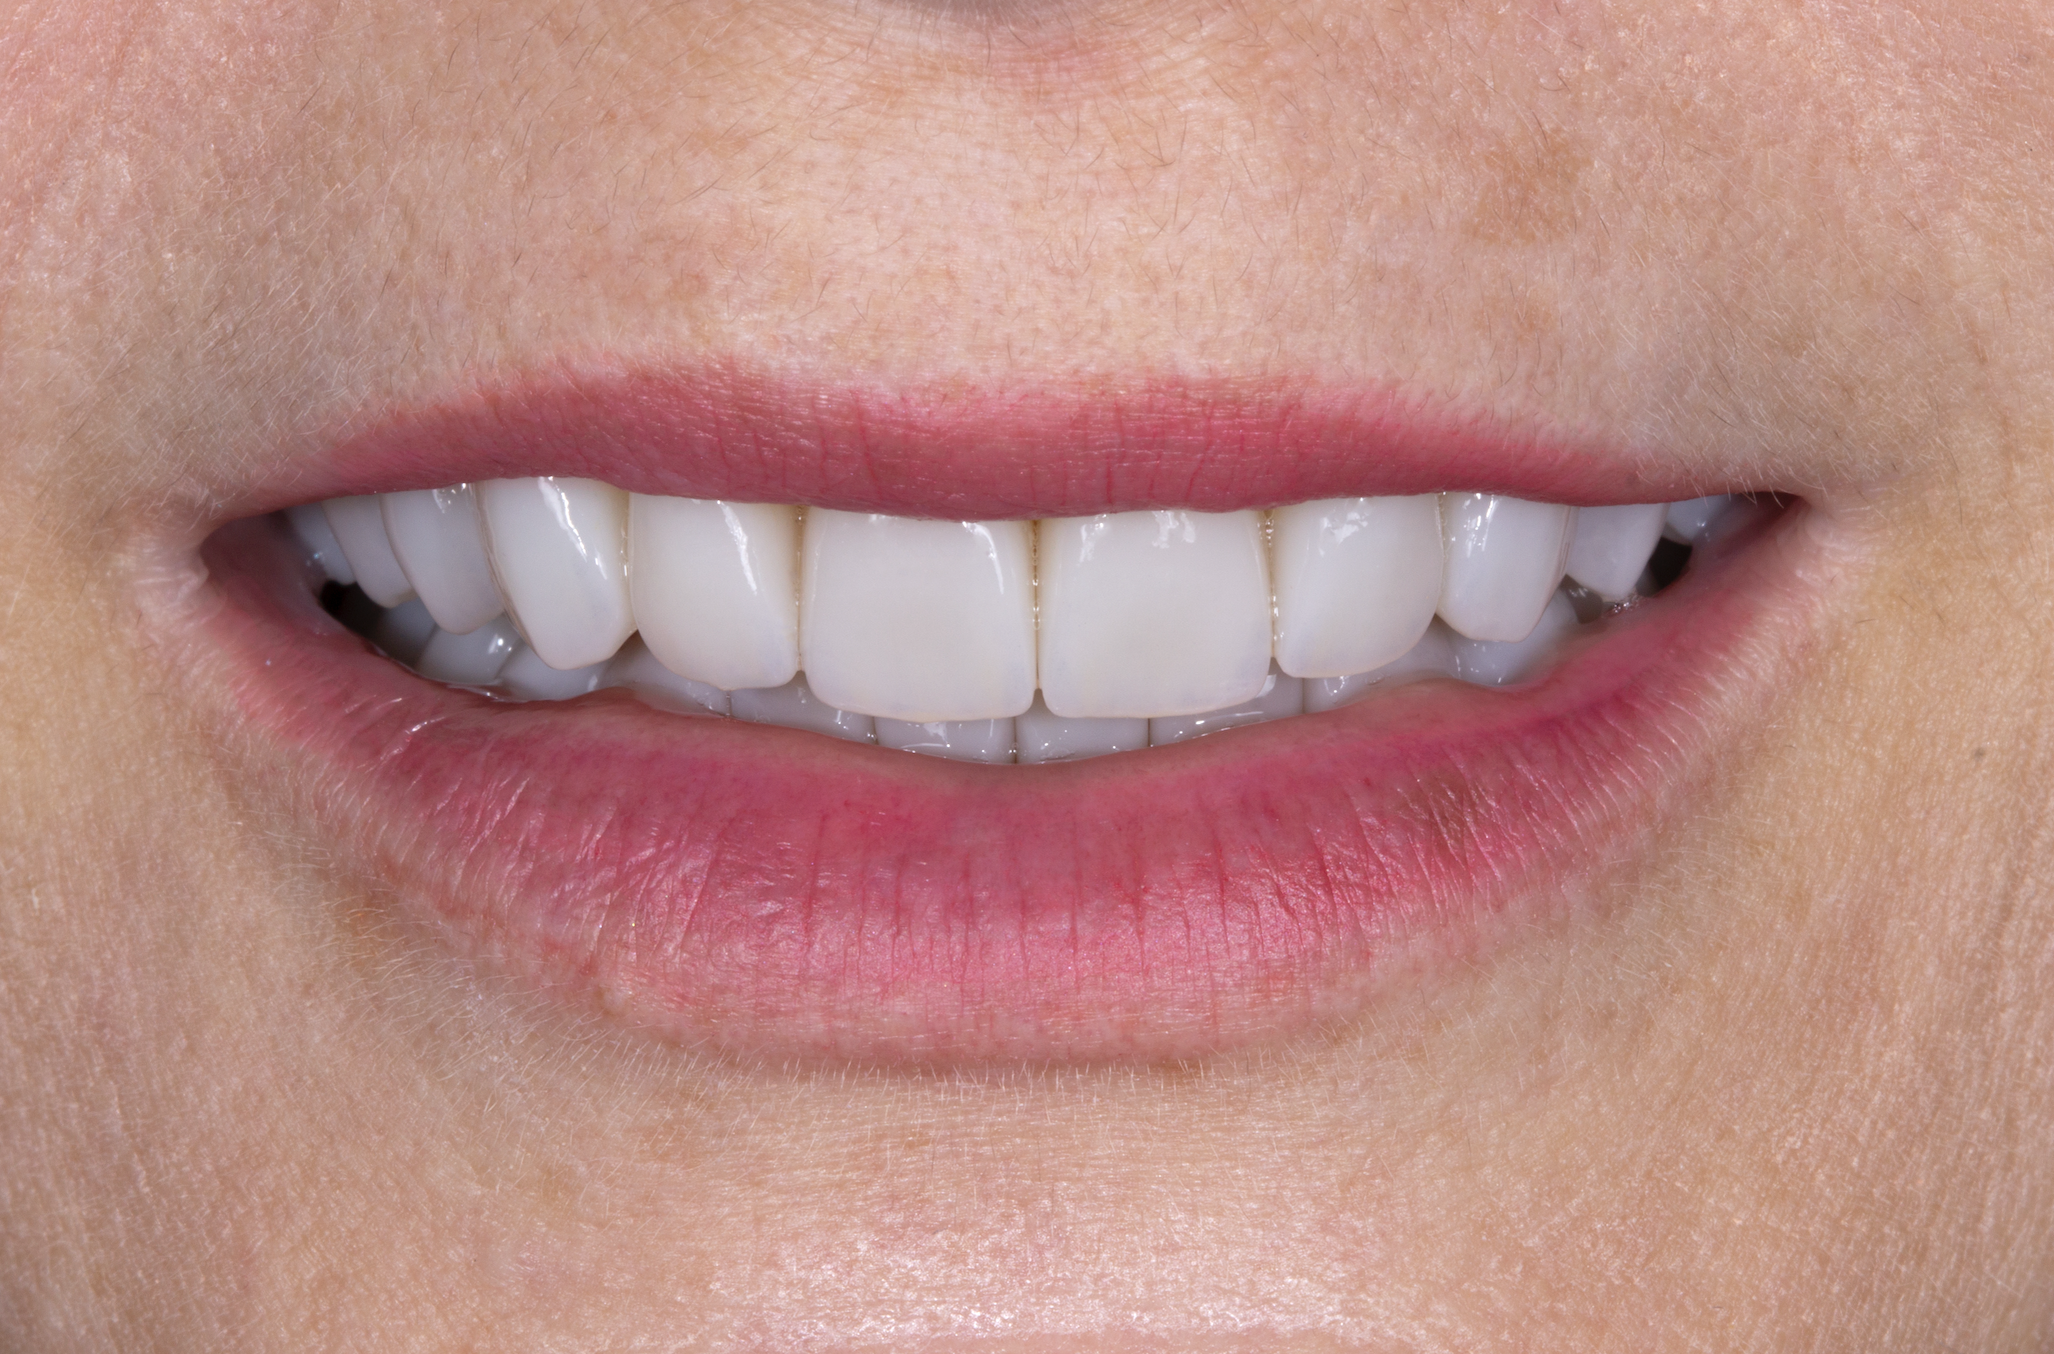
This case demonstrates how easy it can be to restore a full arch with the right materials and the right protocol. The result is a fully functional and aesthetic work with a natural appearance (Figures 15 and 16).

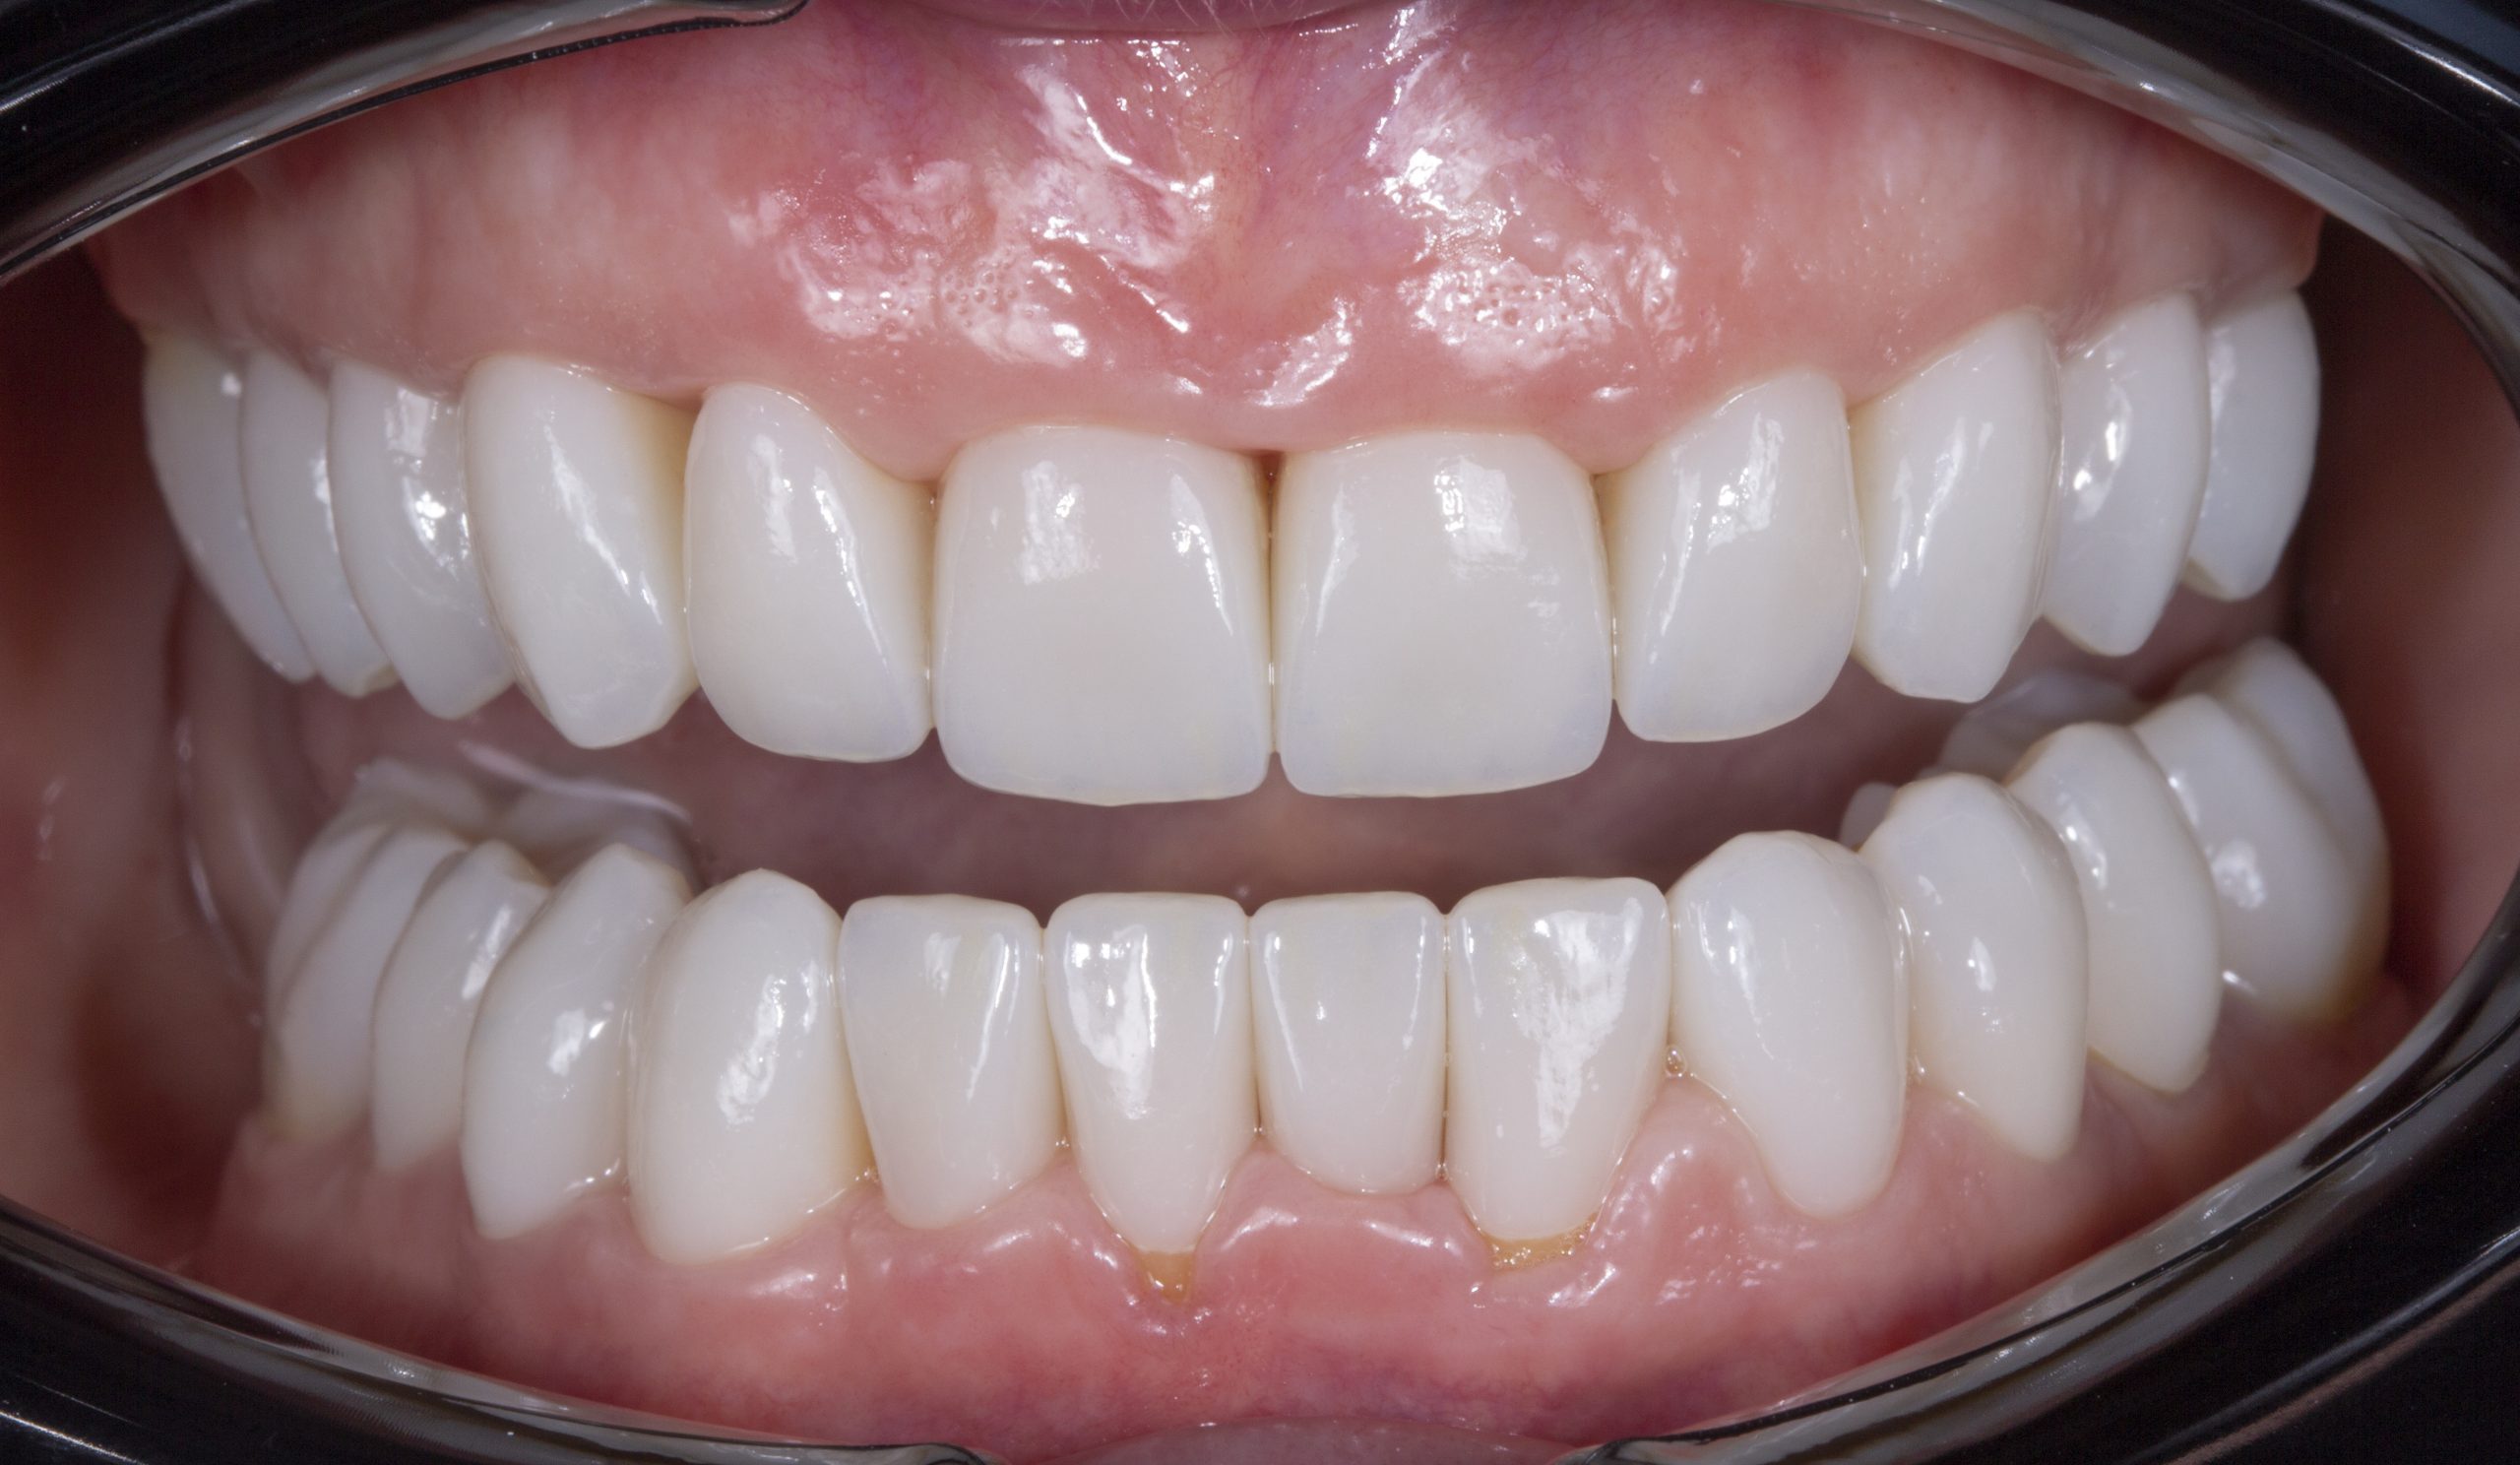
The patient was very happy with the result and excited to see herself for the first time (Figures 17 to 20) . The responsibility we have as dental technicians is very high.
It is not only about aesthetics, but also about a patient’s health and wellbeing. This is possible thanks to ‘All In with GC’.

To find out more, visit www.gc.dental/europe/en

