 Allan Matthews describes restoring an upper left first molar with durable composite filling, overcoming challenges presented by a deep cavity and thin palatal wall.
The flexing of cusps caused by excessive chewing force is one of the most frequent conditions I see in general practice, where loading under tension may ultimately cause the tooth to crack and break. In addition, ditched margins are commonly associated with creeping of amalgam restorations.
I treat such issues with a range of options. From the most minimally invasive composite filling restoration, through to indirect inlays, onlays and eventually a crown.
Only by removing the existing amalgam can the extent of the challenge be understood, and the most appropriate treatment plan considered.
Patient presentation and diagnosis
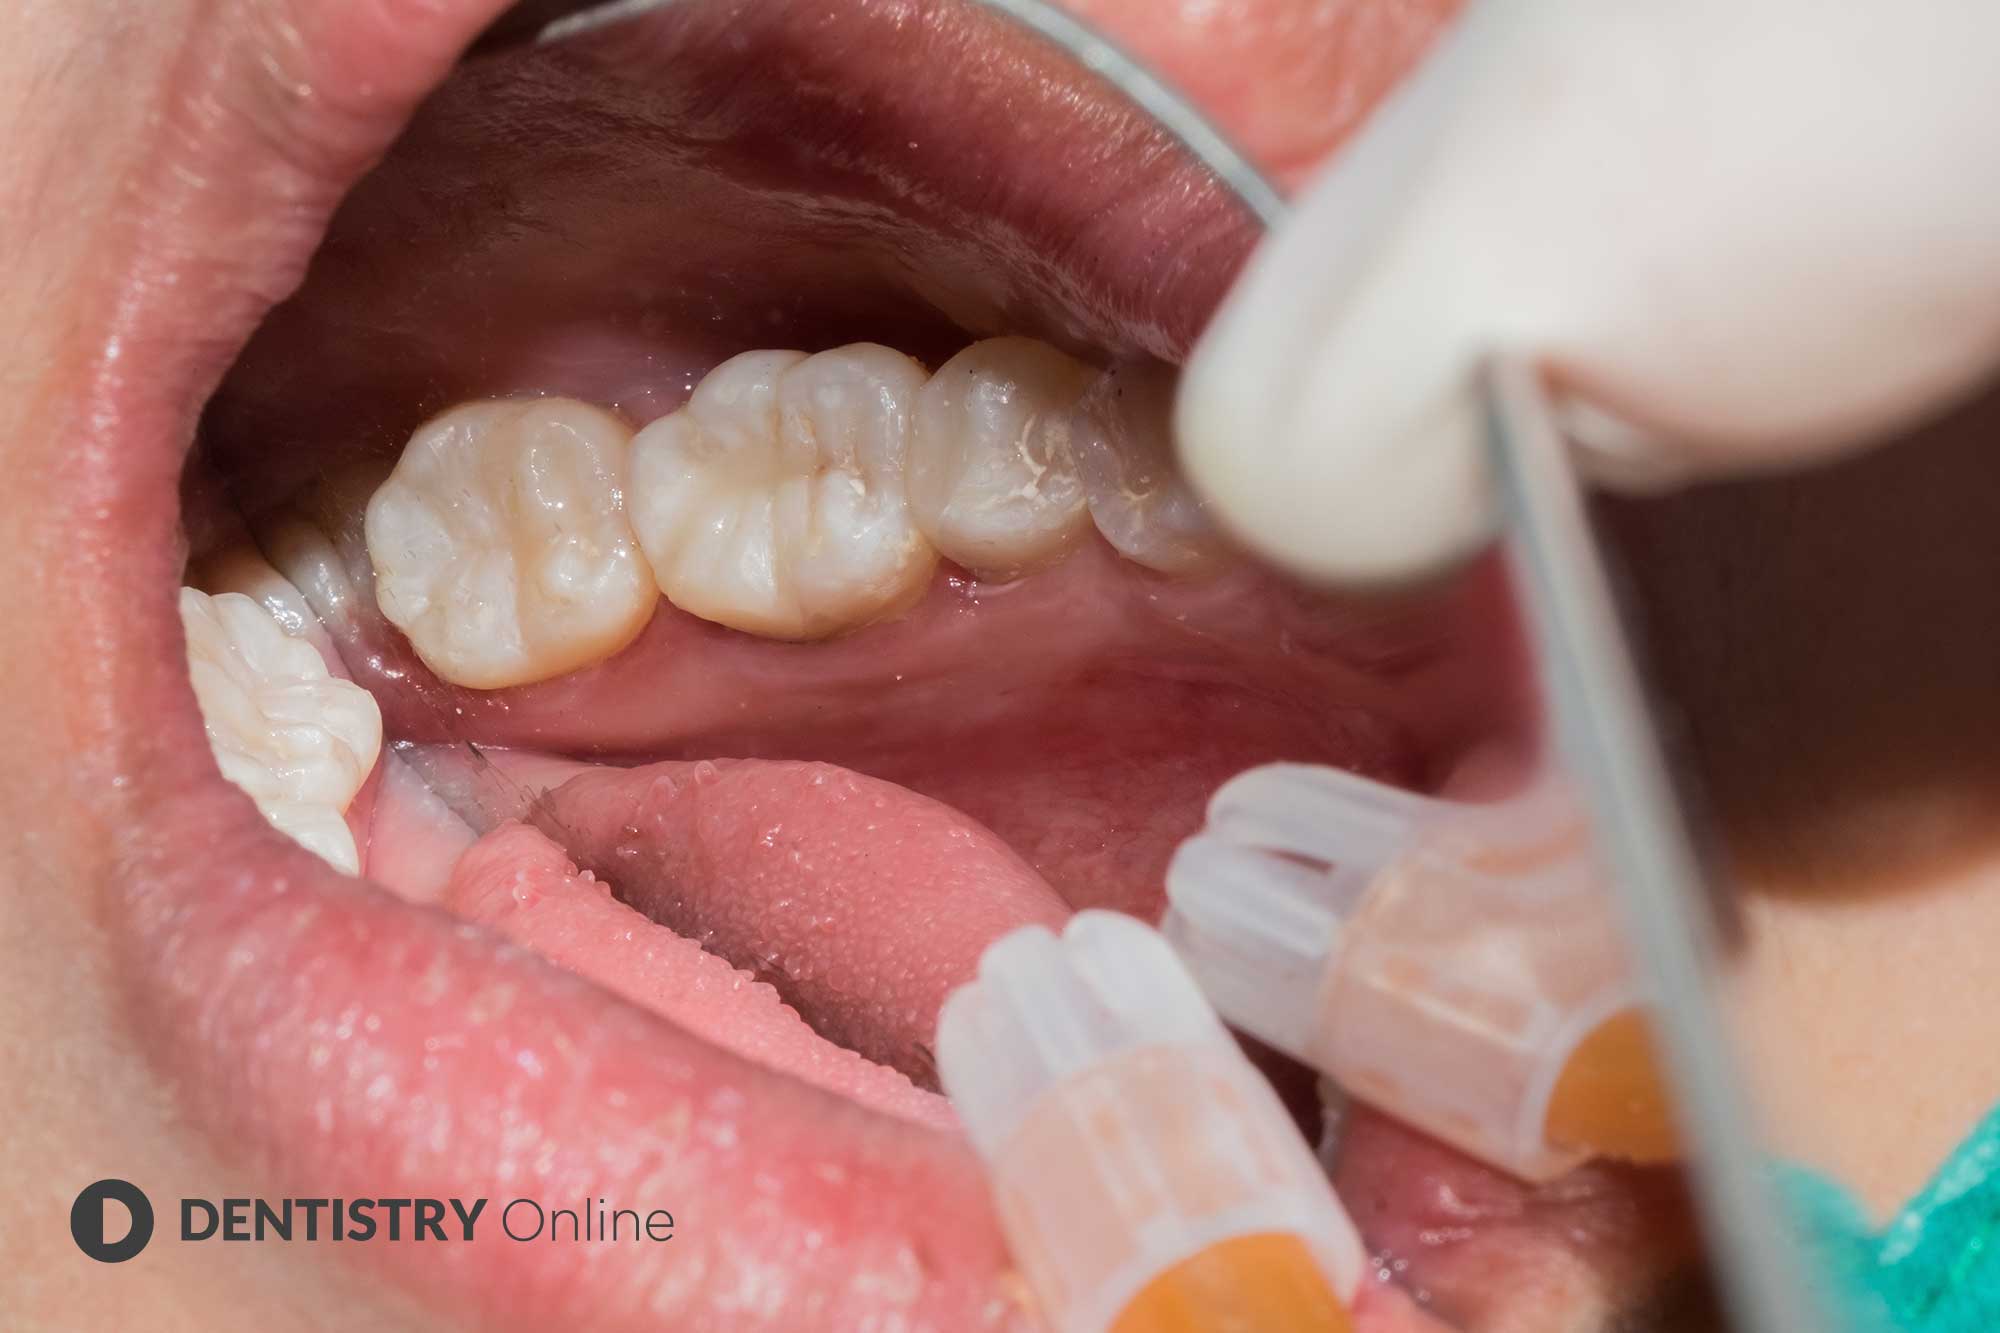
A patient in his early 30s attended Integrated Dentalcare in Edinburgh. He was experiencing intermittent pain on biting with his upper left first molar. It had previously been restored with amalgam.
There were no symptoms from thermal stimuli or sensitivity caused by sweet foods. The patient’s oral health was generally good. Although, it had been a while since he saw a dentist.
The discomfort appeared to be caused by biting down in a certain way. This was highly indicative of a crack flexing. Left untreated, this can lead to a vertical root fracture.
I carried out a straightforward examination. This highlighted that the gentleman clenched his teeth. The load applied to the molar caused a flexing of cusps. The small portion of remaining distopalatal wall was translucent with a ditched margin.
I suspected a crack underneath the distal portion of the filling, although I couldn’t confirm without removing the amalgam.
There was no probing depth identified in this area. It’s unlikely that a crack had propagated down the root surface. A lateral excursive slide on the distobuccal cusp was also recorded (Figure 1).
Direct composite restoration
I presented the treatment options to the patient. Our considerations included a cuspal coverage restoration should this be indicated.
I removed the amalgam to reveal an extensive cavity. I found a crack towards the buccal aspect of the distal margin.
Figure 2 shows the crack visible just beyond the contact point. The distobuccal wall was determined to be of adequate thickness to attempt a composite restoration with careful control of lateral excursive guidance.
However, the strict understanding was that ongoing symptoms or signs of further flexing of structures would indicate that a cuspal coverage onlay would be more appropriate.
I performed the procedure in a single, one-hour appointment, to permit investigation of any potential cracks. I refined the preparation for smooth margins and cleared the crack to sound enamel.
Despite the depth of the amalgam filling, I found adequate dentine coverage of the pulp chamber.
I achieved isolation with rubber dam. Air abrasion was carried out where no cracking was visible in the remaining tissues. I strongly recommend the use of air-particle abrasion to clean and roughen surfaces for all bonding procedures but it is also very effective for crack detection.
Durability
In this case, I used a Bioclear posterior sectional matrix. The chosen composite was Kulzer Venus Pearl. This material is a staple in our practice. This is due to its excellent handling properties, high filler content and resistance to chipping.
It’s impressive how difficult the removal of a Venus Pearl restoration is, once fully set. This highlights its exceptional durability and adherence to tooth structure.
I applied a combination of Opaque Medium Chromatic (OMC) dentine shade and A2 universal shade. I used a layered technique to give warmth to the structure. Then, I converted the filling to class I, initially using the A2 shade to restore the distopalatal wall. I followed with a core of OMC to replicate the dentine (Figure 3).
Then, I built the cusps and shaped each one with A2 shade. The Kulzer Signum liquid modelling resin assisted this. Also, a probe to create a more natural anatomical appearance. I carried out compaction with a ball burnisher.
Resistance to chipping
I covered the composite filling with water-based KY Jelly and light-cured in accordance with the manufacturer’s instructions. This set the oxygen inhibition layer. This is an absolute must when using any resin material.
I didn’t apply surface staining materials in this case. Were I to do so, I would choose the lightest touch of an amber resin applied with an endodontic K-File.
I checked the occlusion and it was favourable. Once fully cured, I polished the restoration using All Surface Access Polishers. This produced a high lustre and smooth, glassy finish. Lastly, I removed the small fleck of excess composite on tooth UL5.
Aesthetic and pain-free outcome
Following treatment, the patient reported slight sensitivity on chewing but no lasting pain. The initial sensitivity has subsequently diminished. I will regularly monitor the tooth to ensure it is symptom free.
An onlay may ultimately be needed. However, I am confident that the Venus Pearl restoration will be as effective as a laboratory-made inlay.
I put this down to the robust nature of the composite. It offers high strength and polishability, and superior handling with a creamy consistency (Figures 4 and 5).
I restored the upper left first molar. So, the patient also had an amalgam filling replaced on the adjacent premolar (Figure 6).
The amalgam in the premolar was exceptionally flat and, as a clencher, the patient was hypersensitive to biting changes. This meant a loss of the fine anatomy in the restoration after adjustment. The restoration should function well, however, and fits the occlusal scheme, sealing the dentine while providing a more aesthetic result.
Technique mastery
This case highlighted for me the importance of mastering the technique and understanding the properties and characteristics of the composite material used for the restoration. In particular the oxygen inhibition layer. The use of Venus Pearl does not tend to lead to voids, especially when heated prior to application.
Producing a hard resistance surface is particularly helpful when creating margins and building up cusps. Venus Pearl does not stick to instruments and avoids slumping.
The composite is exceptional when used alongside a good quality modelling resin. It holds its form well, extending the time for manual manipulation to create the ideal anatomy. Once fully set, the material comes into its own.

This article first appeared in Dentistry magazine. You can read the latest issue here.
Follow Dentistry.co.uk on Instagram to keep up with all the latest dental news and trends.

