Dr Kiran Shankla from Wood Lane Dental describes a case using 3M Oral Care to restore a tooth previously restored and that had suffered further damage.
A 54-year-old male patient presented with a small chip on a tooth in the lower left quadrant that had previously been restored with an amalgam filling (Figure 1).
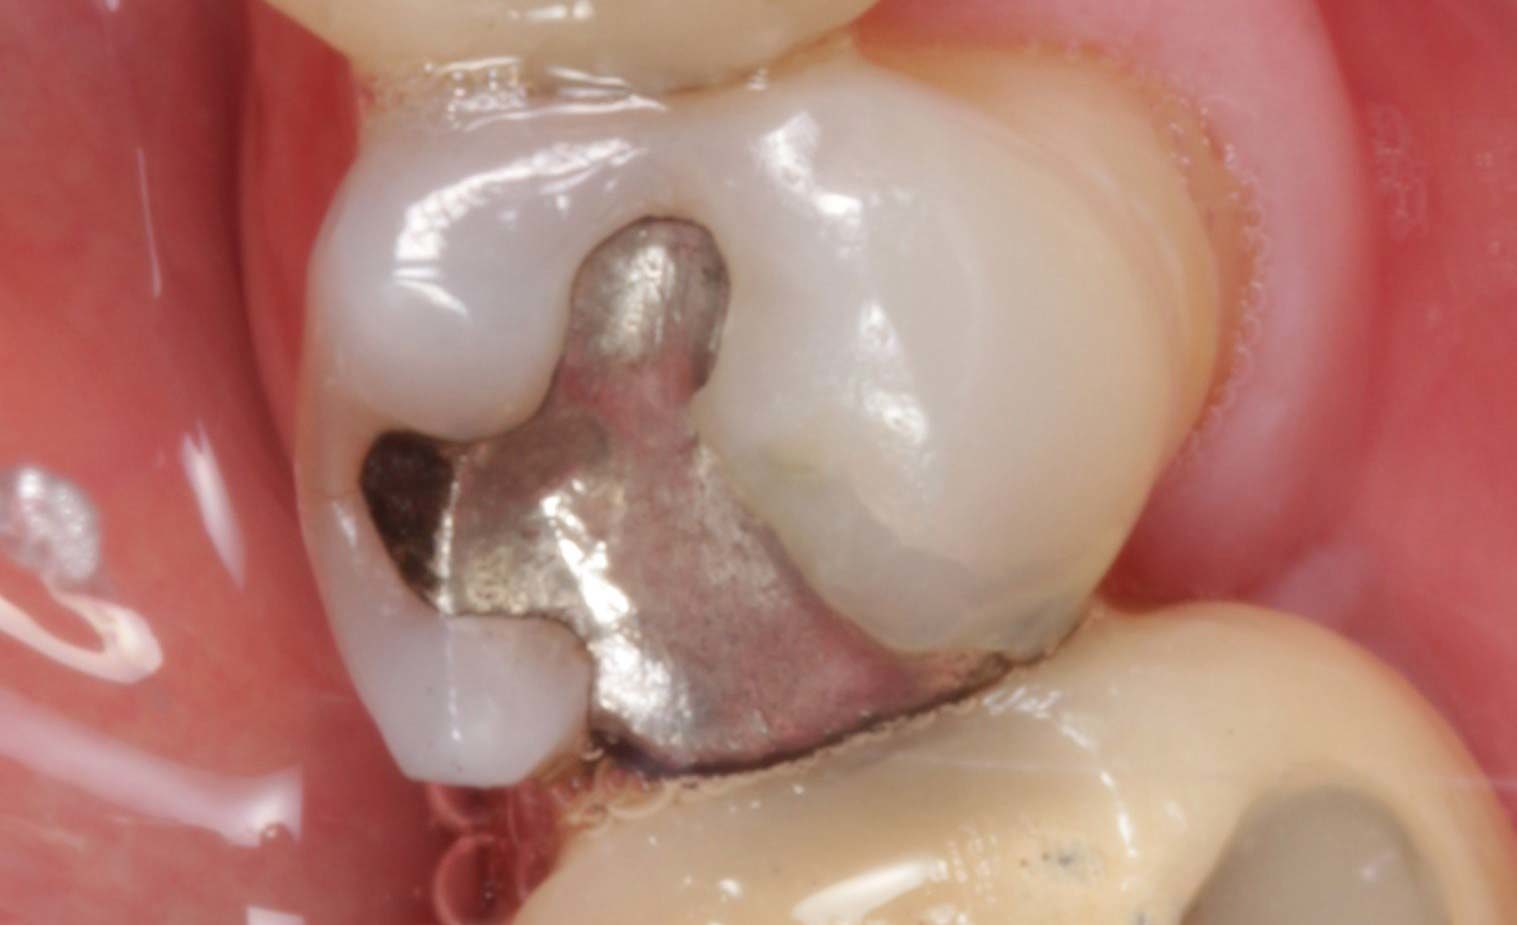
Although he had no pain or sensitivity, he mentioned that he was experiencing a problem with food packing. Something that was attributed to the shape of the amalgam filling and the fact that the adjacent tooth was an implant. This created a gap where food would gather when he ate.
Assessment of the patient
The patient, although a regular attendee to the practice, had moderate oral hygiene. Calculus and tartar were present, and there was decay on the opposing arch on the UL4.
Two routine bitewing X-rays were taken to assess the extent of decay and any other oral disease. The left-hand side bitewing showed no significant decay was present under the existing restoration. We then discussed treatment options with the patient.
The patient was given the option of leaving the restoration as it was or replacing the restoration with a bonded composite filling. At this stage, it was discussed that the composite filling could help with the food packing issue as we could reshape it to help reduce the gap between the tooth and the implant.
The patient chose to have the filling replaced with a bonded composite filling and was informed of all of the potential risks, including post-operative sensitivity and anaesthesia.
The patient consented to treatment and booked an appointment for the restoration.
Preparing the tooth
The patient was numbed using a single cartridge of 4% Articaine 1:100,000 adrenaline via buccal infiltration.
A latex-free heavy rubber dam was placed to isolate the lower left quadrant and ensure a clear field of access.
Prior to starting any tooth preparation, a wedge guard was placed interproximally between the LL5 and the LL6 to pre-wedge the contact point, protect the adjacent tooth and help depress the rubber dam (Figure 2).
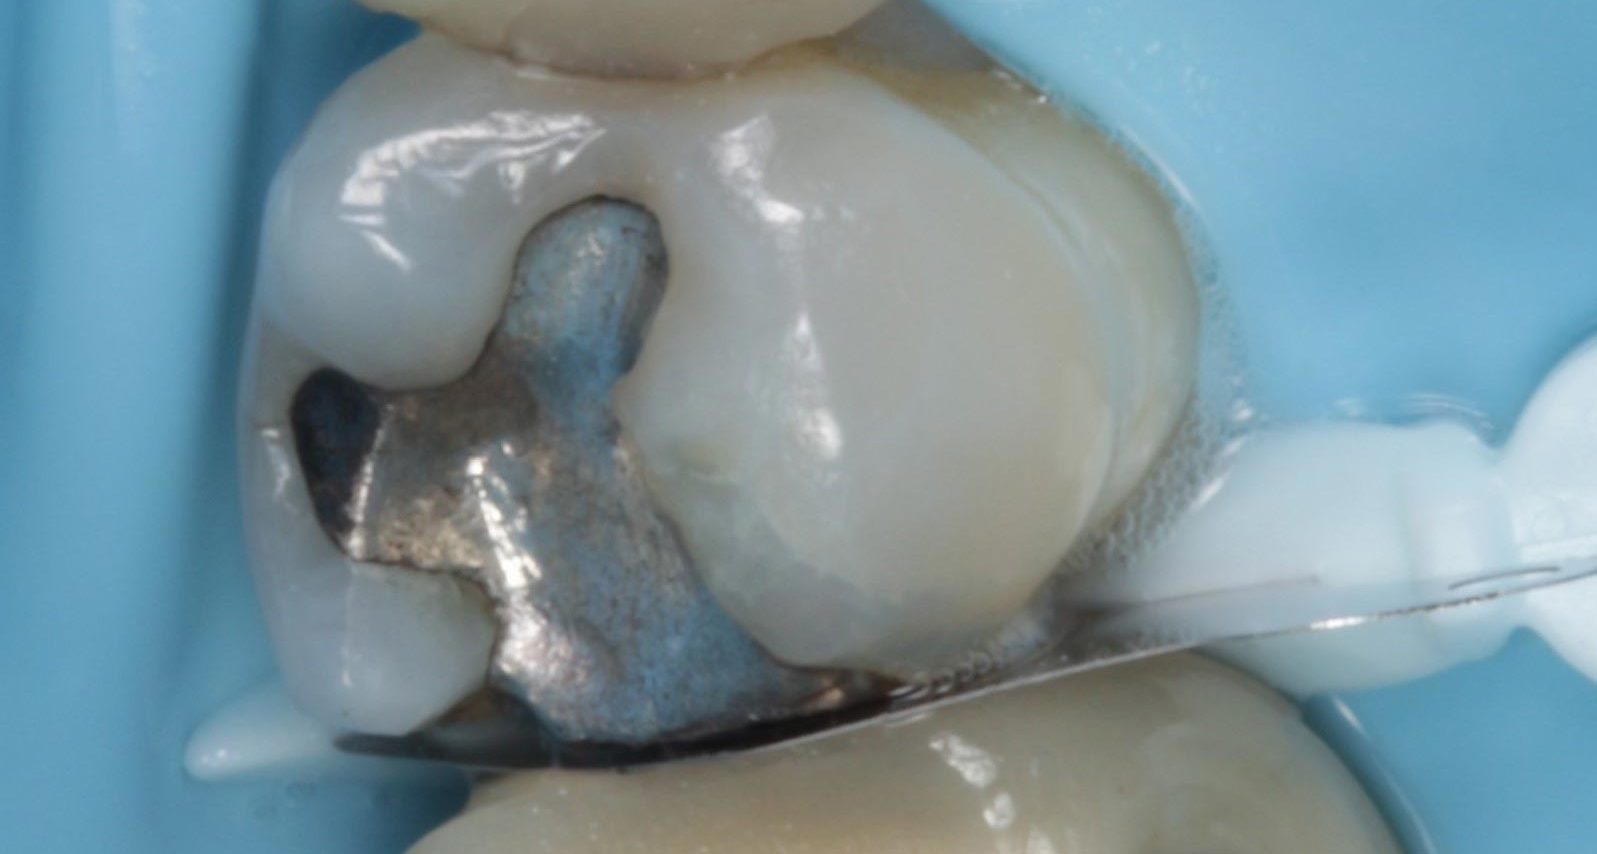
The amalgam filling was removed using an air turbine fast hand piece and the tooth was assessed for decay.
A small amount was present on the distal margin, which was removed using a rose head bur. The tooth was sand blasted using 30-micron aluminium oxide particles to treat the surface and help ensure that the composite would bond with the surface effectively.
A selective etch technique was employed ensuring etch was placed on the enamel surface only (Figure 3). The etch was then washed and dried for 30 seconds.
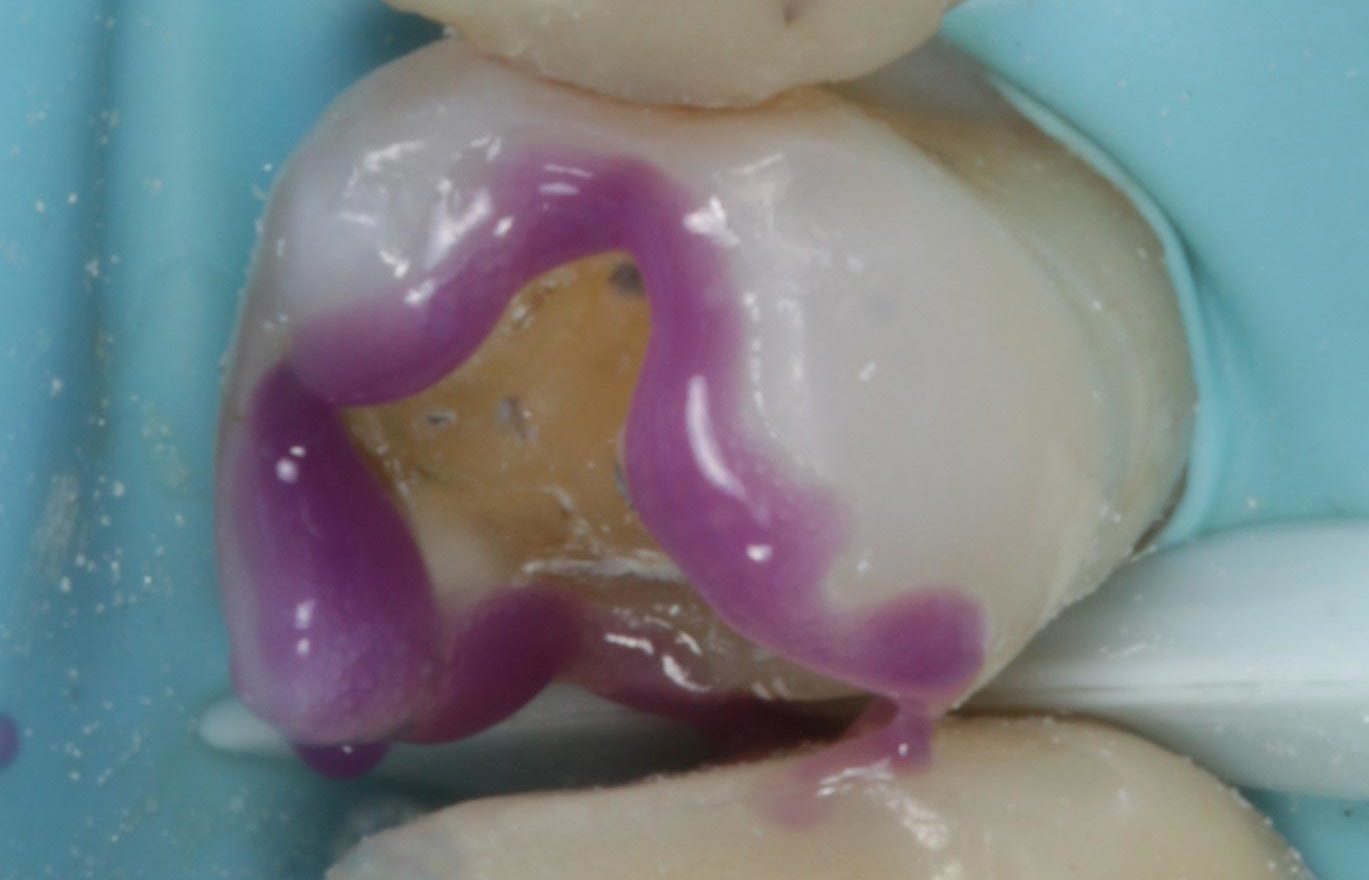
Following this, the tooth was treated using Scotchbond Universal Adhesive from 3M Oral Care. This was scrubbed and rubbed into the tooth and then light cured for 30 seconds.
The final results
A sectional matrix was placed on the distal margin and held in place using a dental ring and wedge. At this point, a small gap between the tooth and the sectional matrix was identified. We overcame this by packing PTFE between the sectional matrix and ring and customising a wedge with PTFE in order for the wedge to sit snugly, helping seal the base of the matrix (Figures 4 and 5).
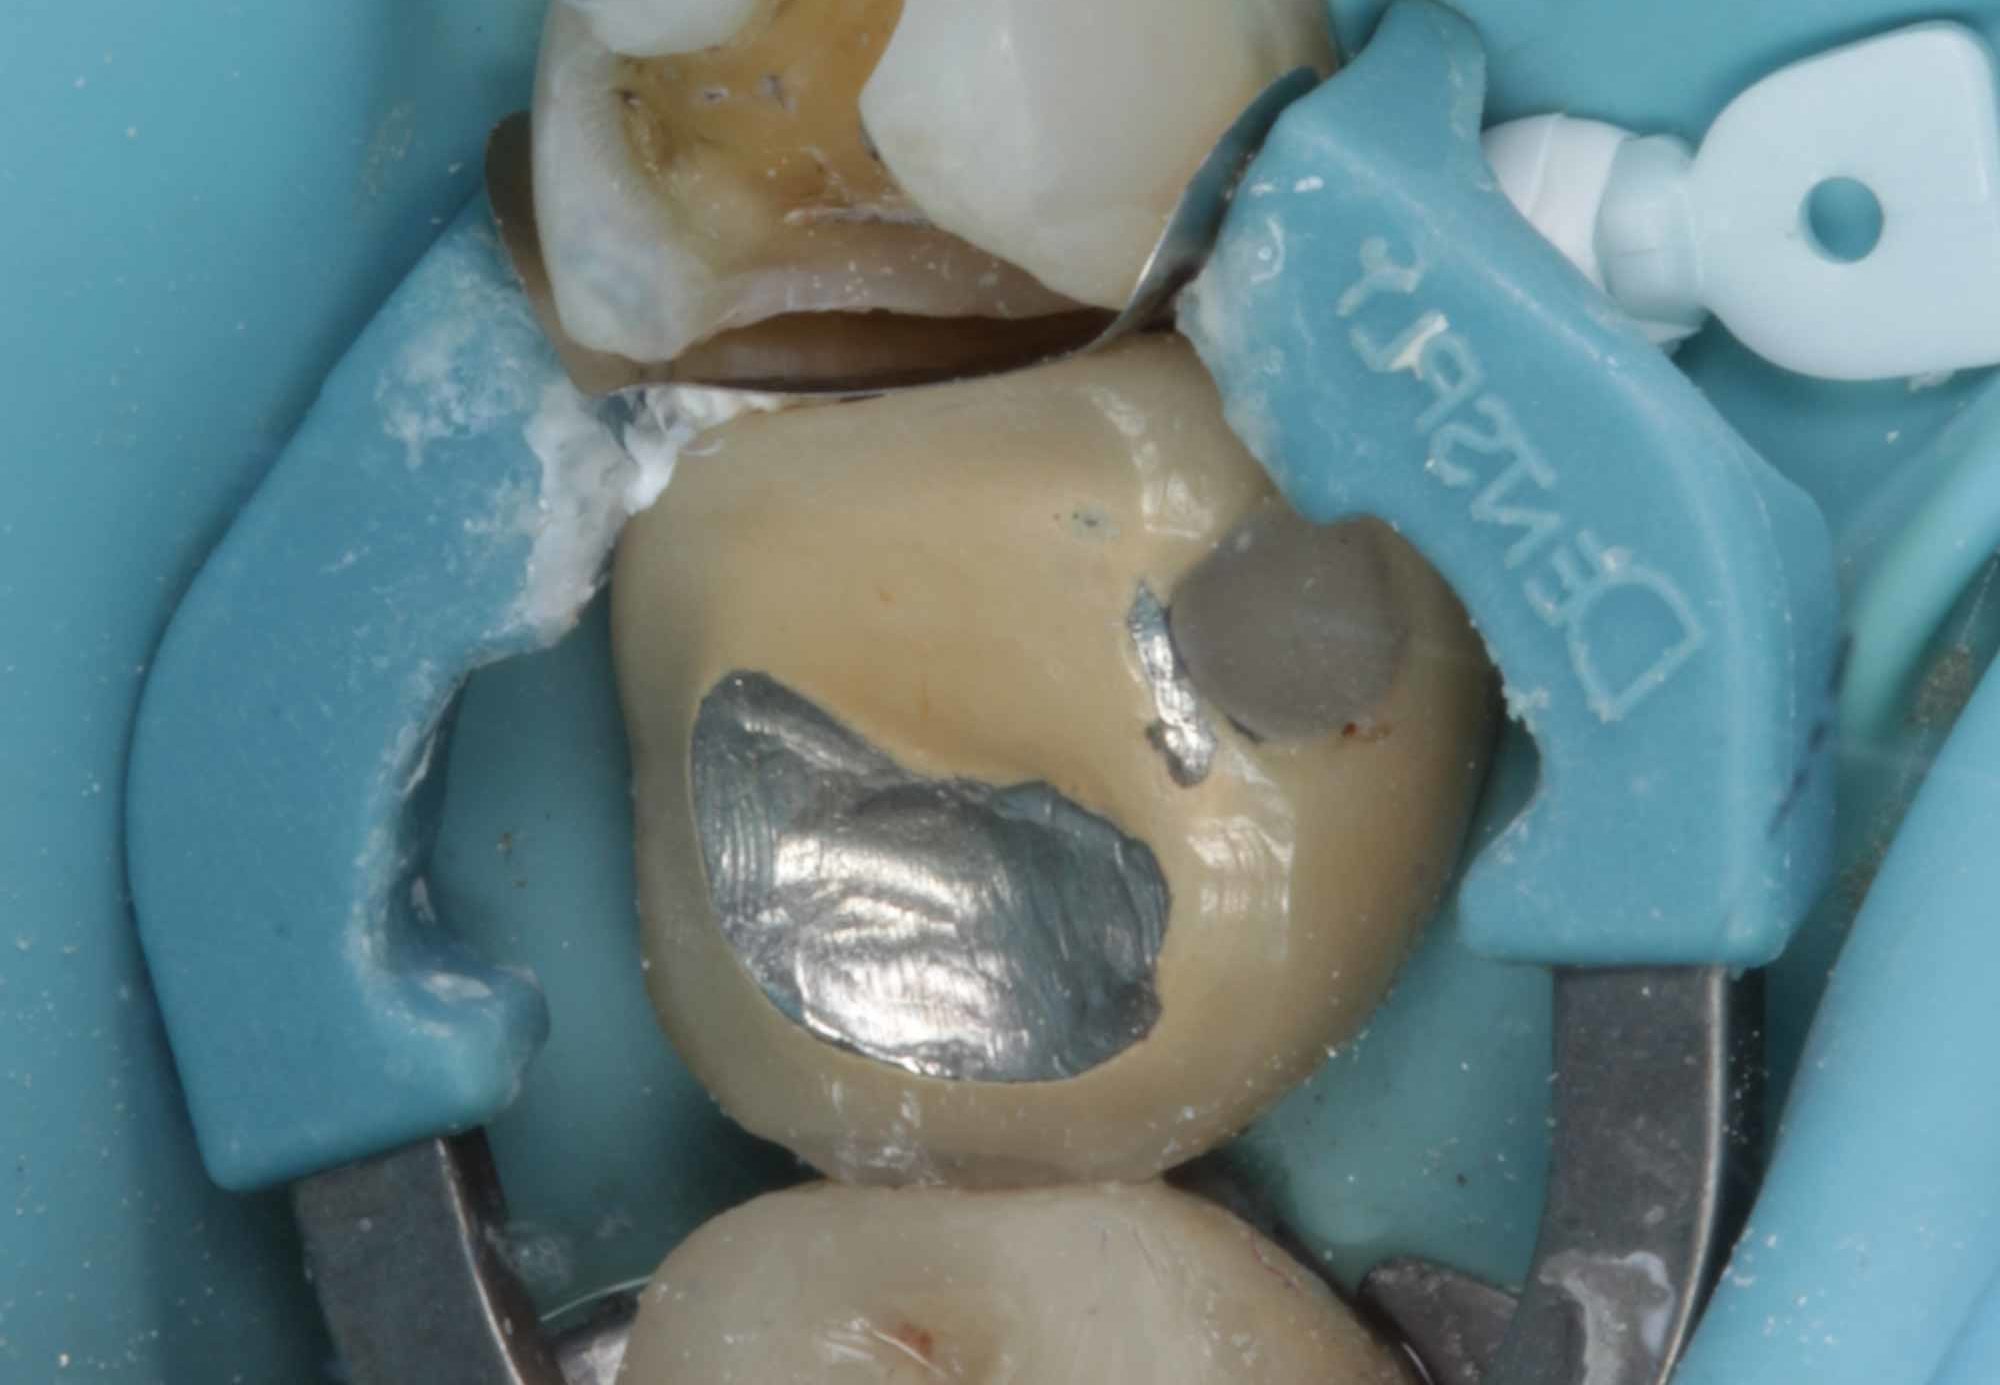
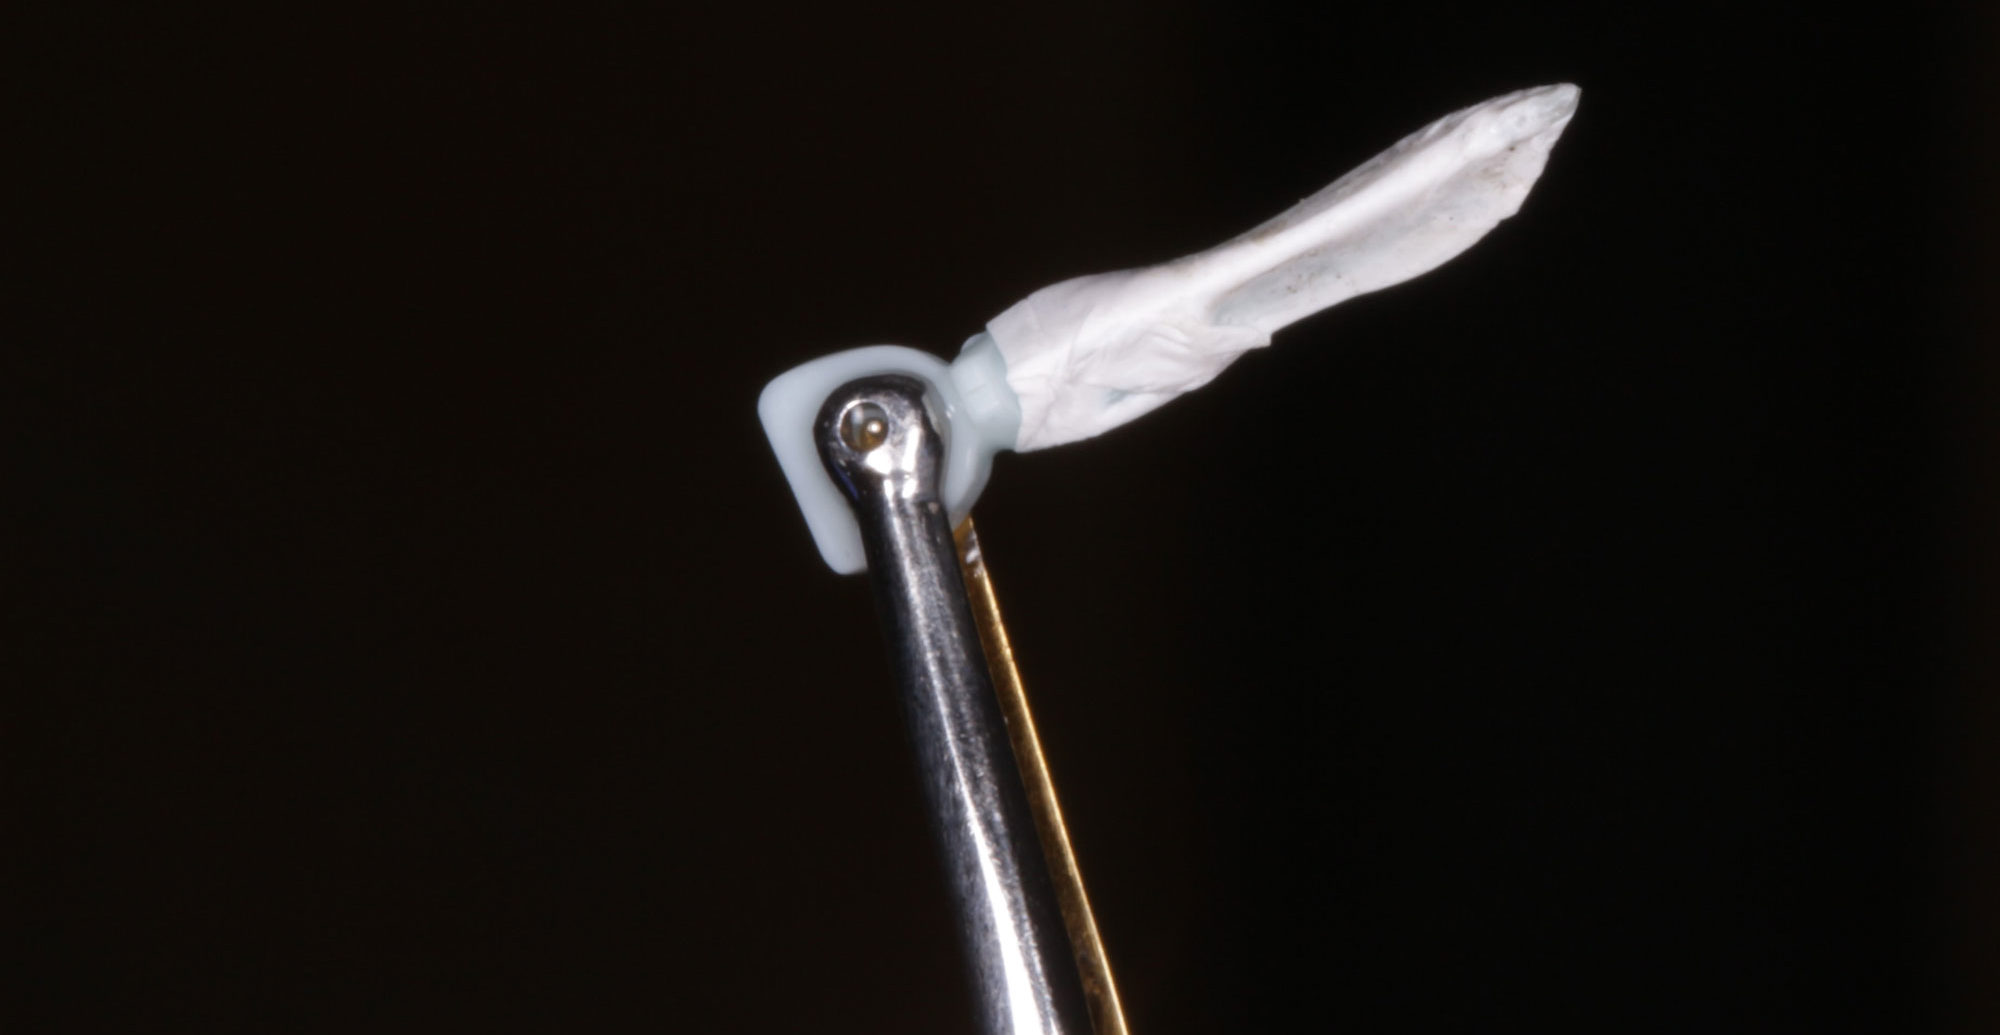
The injection moulding technique was used to restore the distal wall. We placed Filtek Supreme Flowable Restorative from 3M Oral Care at the base of the proximal box and matrix.
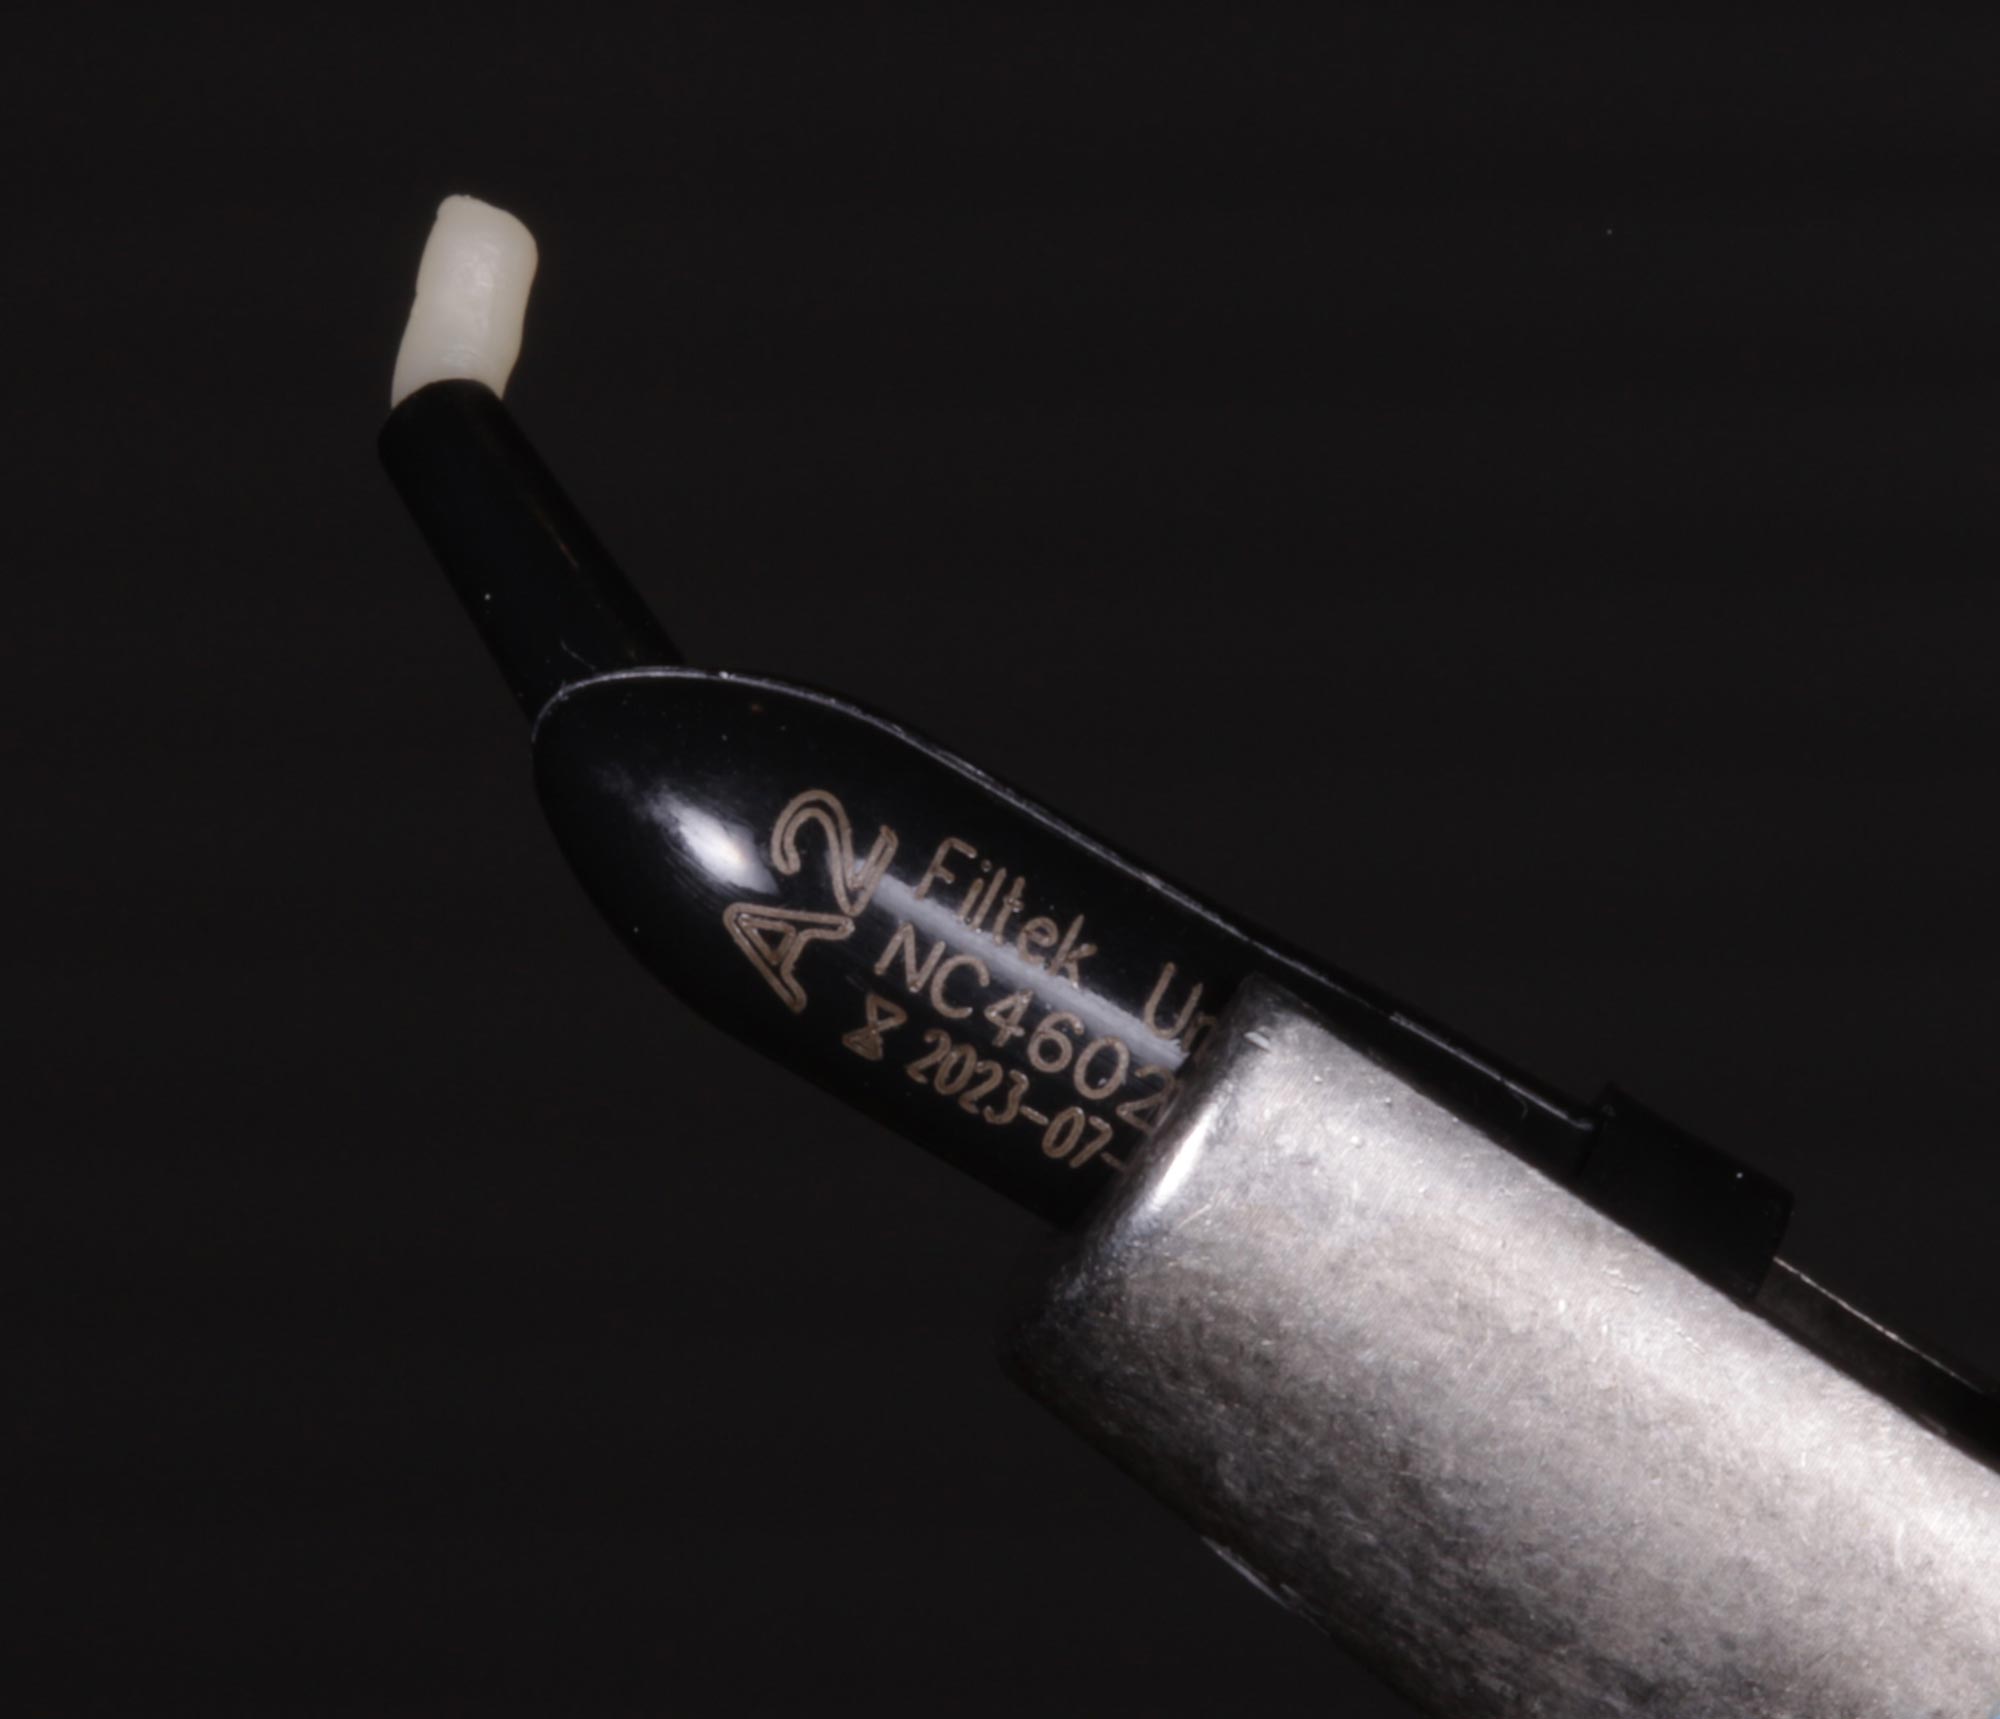
Immediately after this, we placed a heated capsule of Filtek Universal Restorative composite in shade A2 directly on top of the flowable composite. After removing the excess material, we shaped this composite to create the distal wall before light curing (Figure 6).
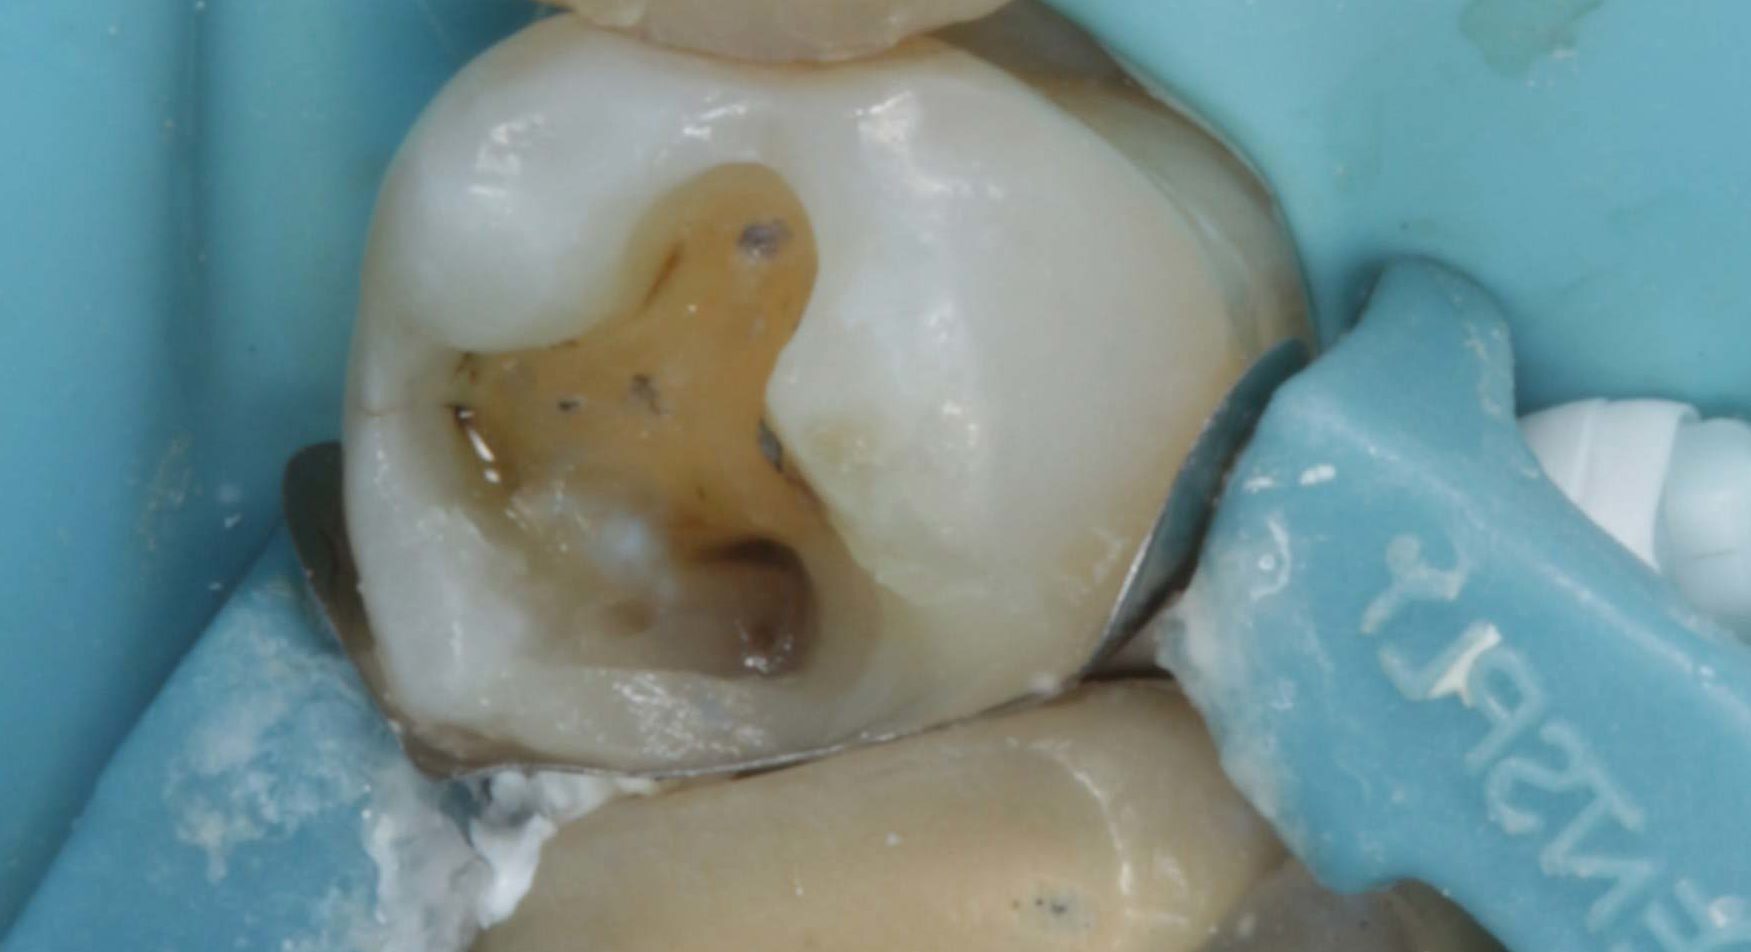
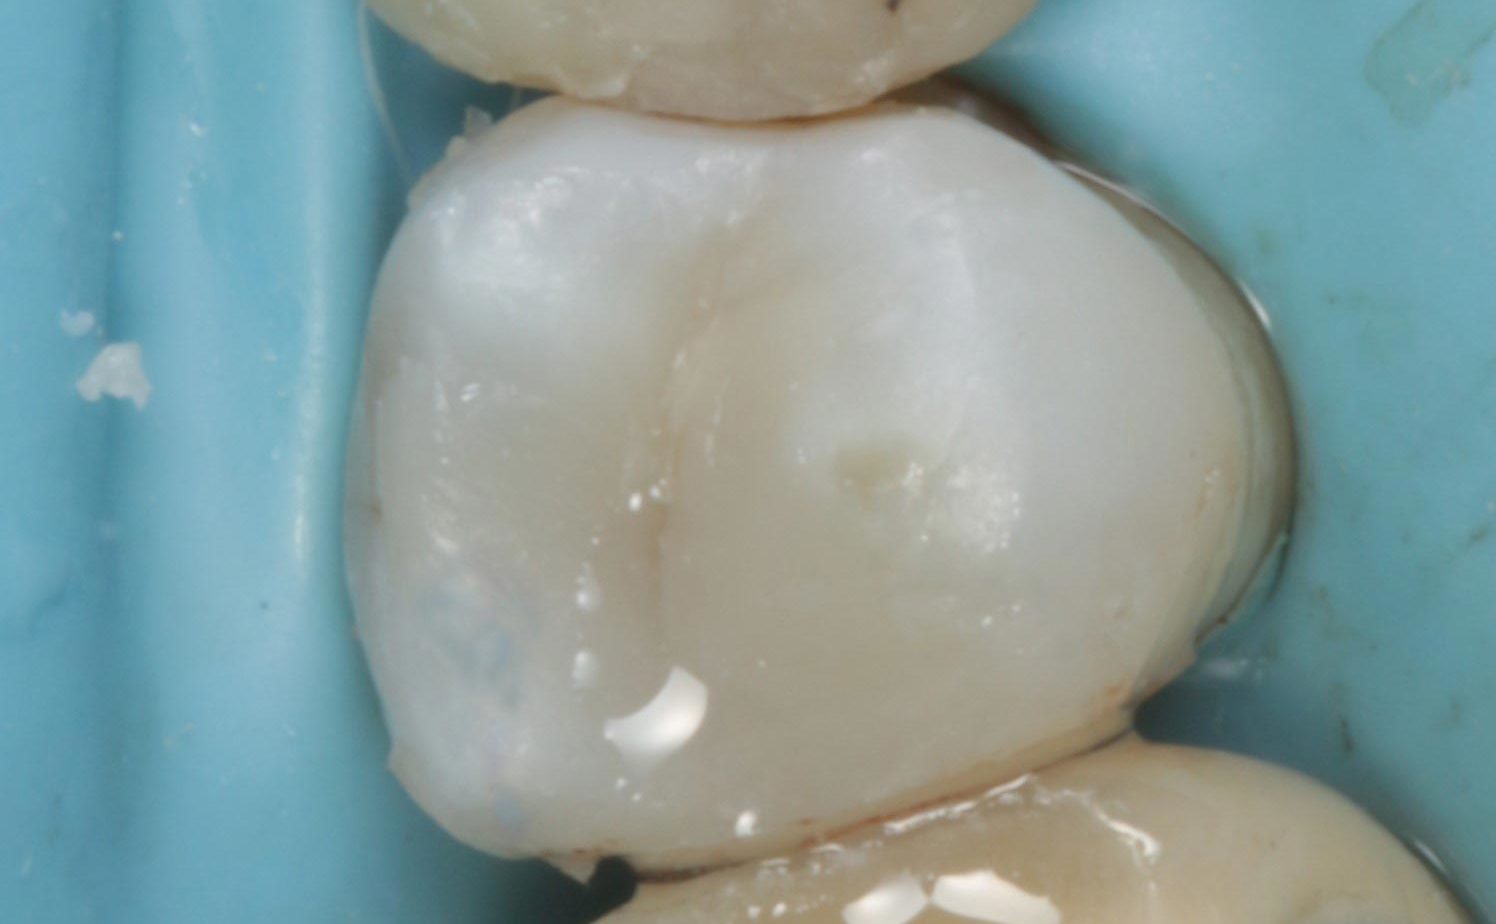
The remainder of the tooth we restored with further increments of Filtek Universal Restorative composite in the same shade in 2-3mm increments. Each stage was cured for 20 seconds using a LED curing light. Glycerine was used for the final light cure in order to minimise the oxygen-inhibition layer (Figure 7).
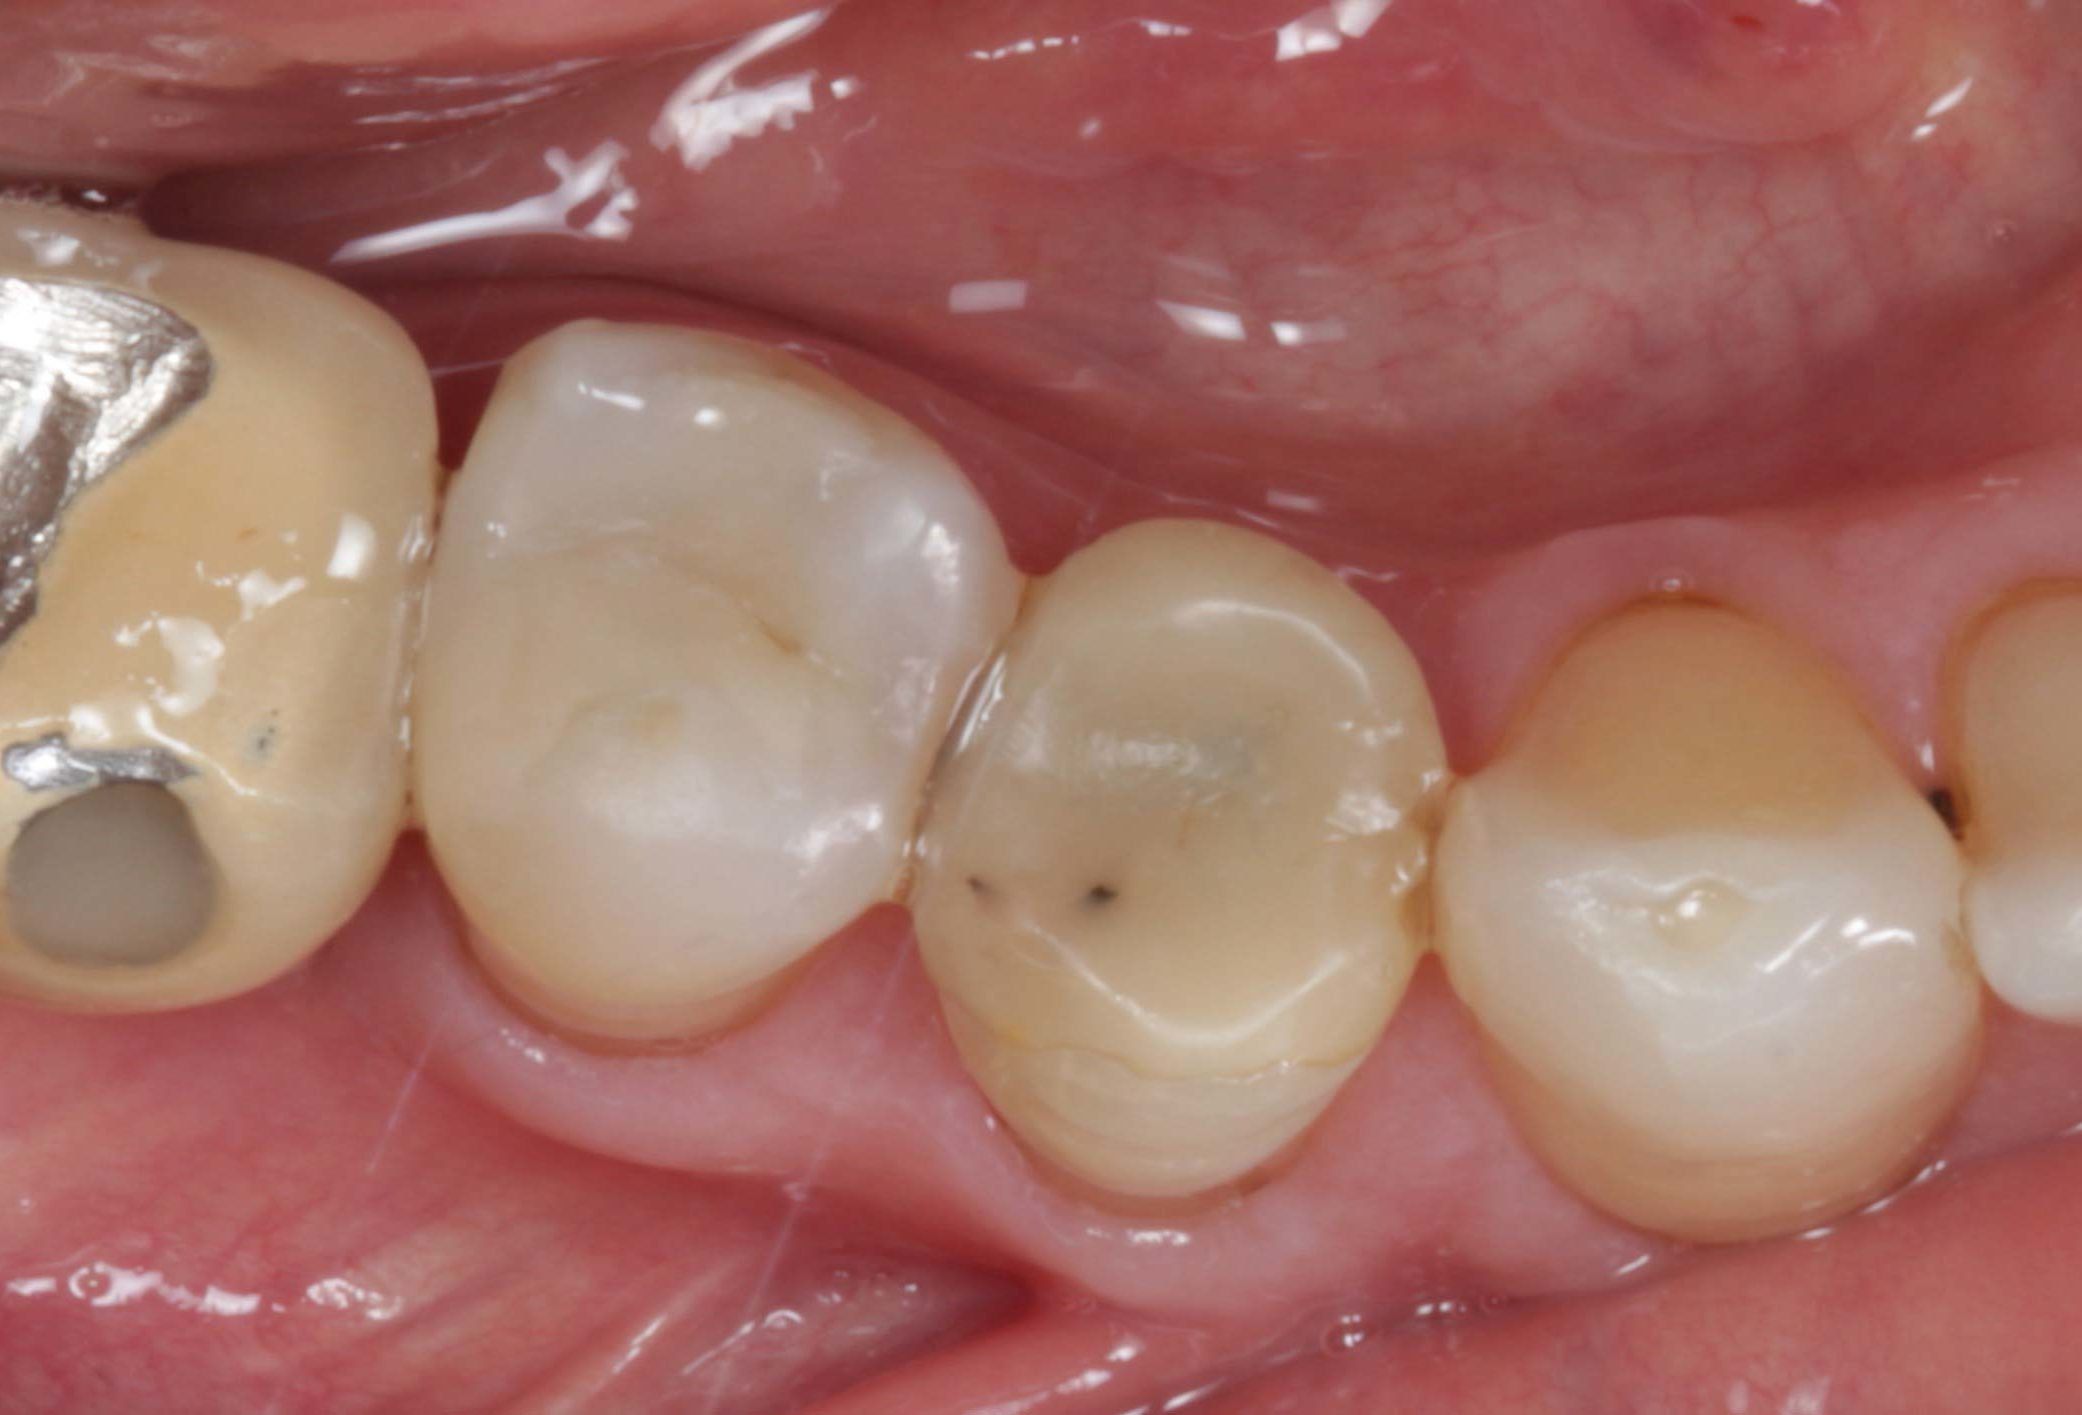
After removing the rubber dam we assessed and adjusted the occlusion as needed. We carried out a final polish before taking the final postoperative photos (Figure 8).
Final thoughts
The patient was very happy with the results, mentioning zero postoperative sensitivity following treatment.
He also confirmed that the problem he was experiencing with food packing had significantly decreased. This was due to the shape of the new restoration and found it much easier to clean the area
The use of Filtek Supreme Flowable Restorative, Filtek Universal Restorative composite and Scotchbond Universal Adhesive from 3M Oral Care consequently really helped to streamline this whole process.
As the restoration was a single shade there was therefore no need to worry about using multiple composites. This saved time and also resulted in a highly aesthetic outcome.
Plus, clinicians can heat Filtek Universal Restorative, which means that it is easy to handle and place (Figure 9).
For more information, call 0845 873 4066 or visit www.3m.co.uk/Dental. 3M representatives remain contactable by phone or via video conferencing
3M, Filtek and Scotchbond are trademarks of the 3M Company.


