From cost efficiency to time saving, Ralph Riquer discusses some of the benefits of implementing digital processes into your laboratory.
The digital design of restorations is taking on an ever increasing presence.
The CAD (computer-aided design) design of inlays, crowns and bridges was alone at the beginning. But now, more and more indications, such as partial or total prostheses, splints and bars are following.
However, in addition to the digitally supported design of dentures, there is also an increasing production of auxiliary parts that the digital approach can follow.
Once CNC manufacturing processes are established, ie milling machines or 3D printers have been integrated in the laboratory, the need for the highest possible capacity utilisation is must.
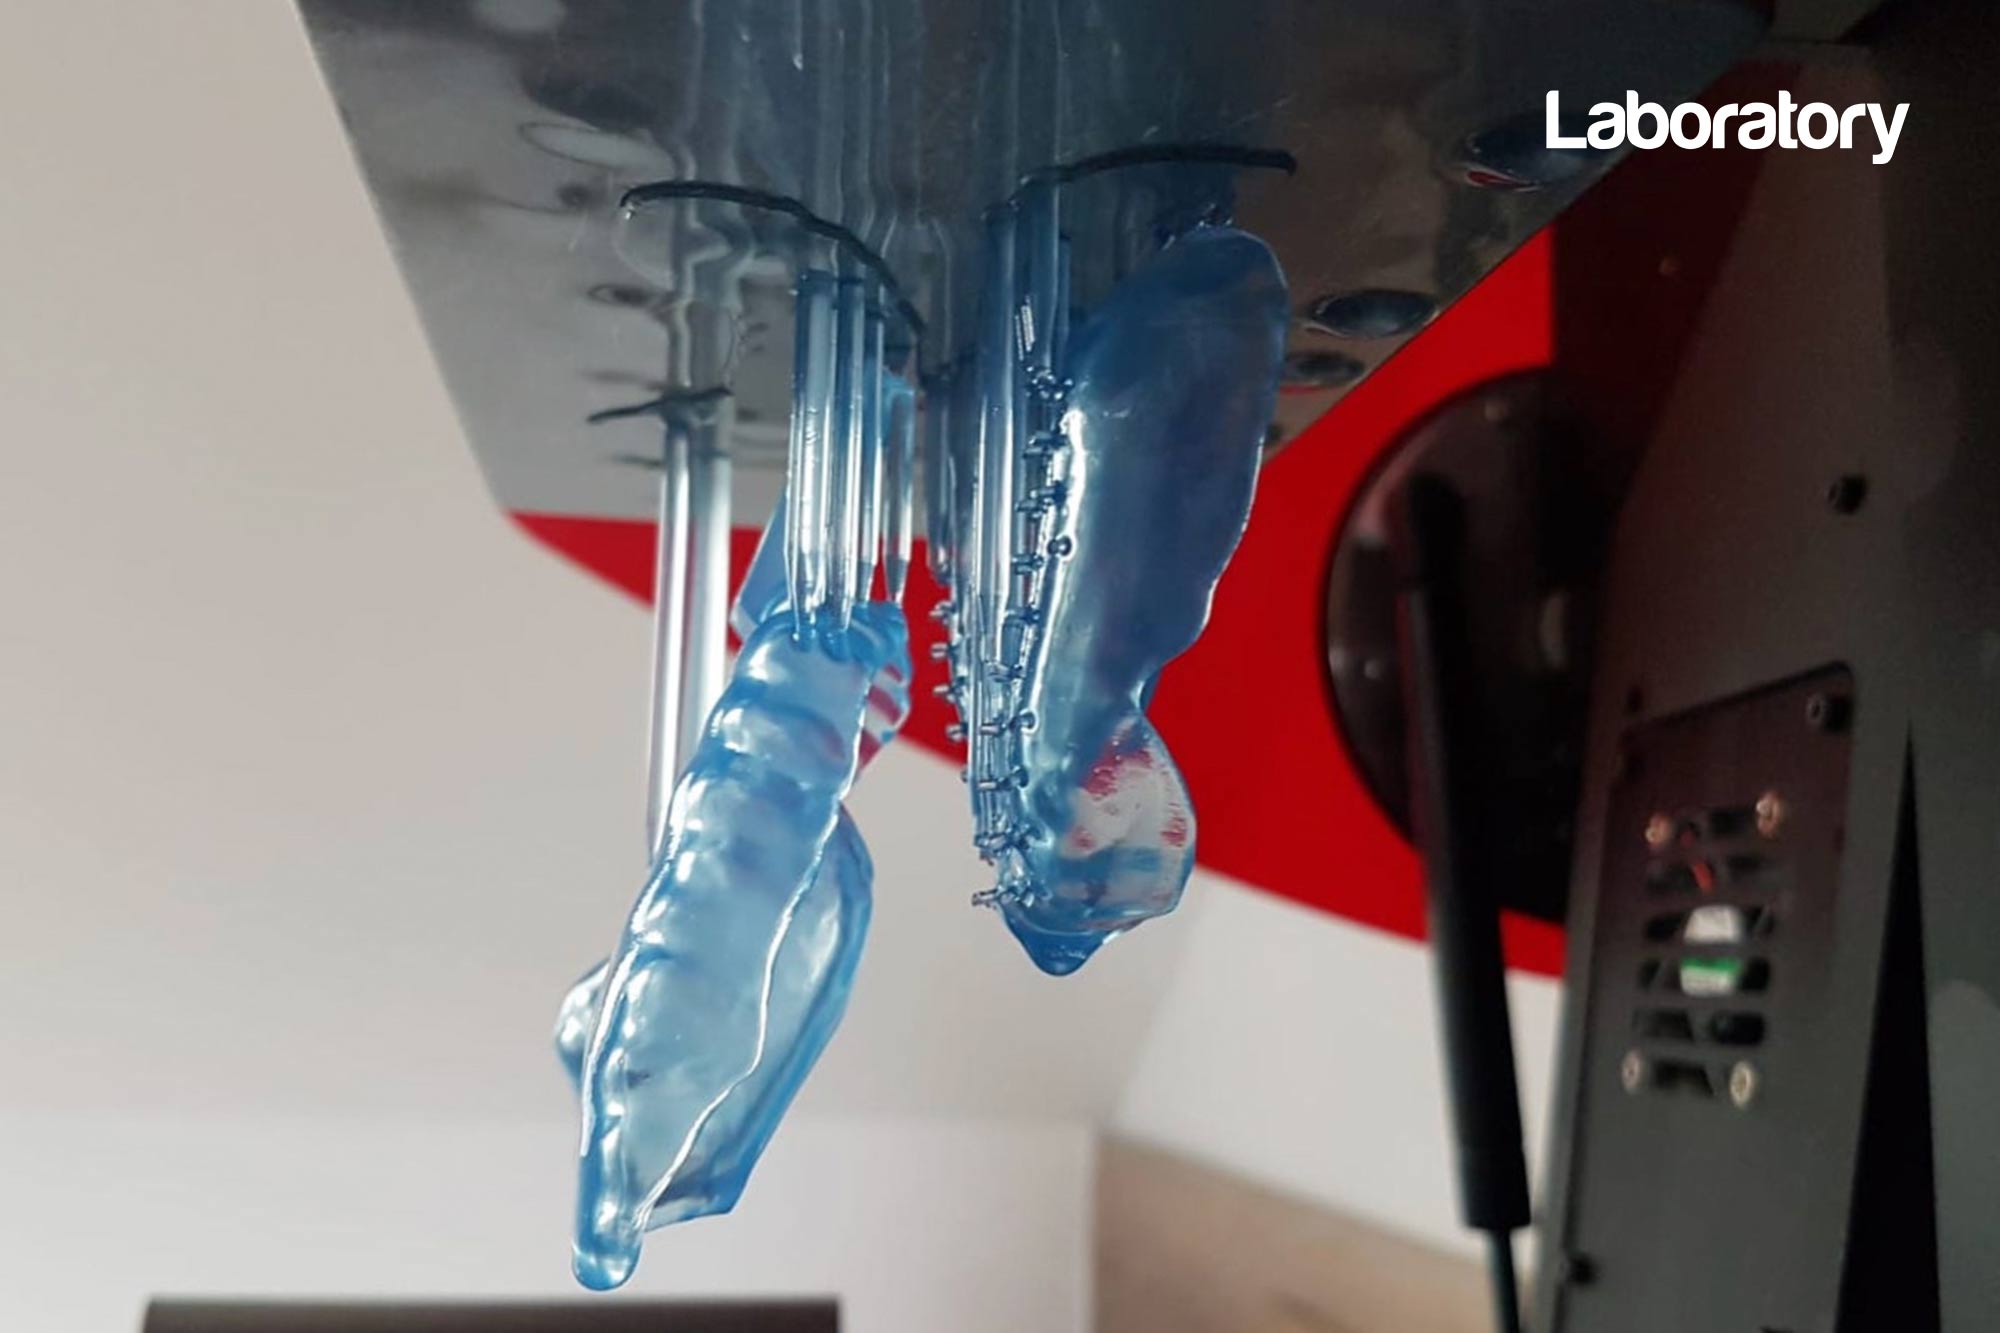
Often it does not make sense to have a special machine only for the production of auxiliary parts. However, these exact auxiliary parts can lead to an increased utilisation of the existing processing equipment (Figure 1).
Standalone software solutions can be used for trays, bite blocks, set-up bases and support pin registrations and can be designed directly in the plastics department without using the CAD department (Figure 2).
Solution approach
Specialised software (stand-alone) solutions have the advantage that, during construction, no all-round software from 3shape or Exocad is blocked. As a result, this ensures cost-effectiveness to produce auxiliary parts (Figure 3).
In addition, the workflow is specially designed for the production of trays or bite templates. Therefore, the software can be operated without expert knowledge.
This gives technicians or assistants without CAD experience a simplified entry into digital construction.
 Figure 1: 3D printing enables efficient production of auxiliary parts


Digital plastics department
The first digital area that covered the plastics department was the construction of individual trays (Figure 4).
The digital process enables a uniform quality in terms of wall thickness and the uniformity defined according to impression material or dentist preferences.
The achievable reproducibility, independent of the technician’s expertise is a decisive advantage.
By creating a dentist database all important dentist-related parameters can be can be saved individually (Figure 5).
Automatic functions of software support relevant design steps such positioning of the handle height to the cover fold or transfer of the occlusal plane to the parallel alignment of the handle (Figure 6).
Many possibilities
In the second step, other areas such as set-up bases or the construction of bite templates can be constructed (Figure 7).
The simplest variant is bite registration in combination with wax ridges. Only the base plate must be constructed.
The automatic transfer of the marking into the software is extremely timesaving. Undercuts for better attachment of the wax rims can be created digitally on the base (Figure 8).
A further option is the construction of fixed bite ridges for jaw relation determination in complete dentures (Figure 9).
A further development of the Bitereg software now also allows arrow angle or support pin registrations, Avosax registrations or IPR templates.
This expansion will now digitise also the more labour-intensive manual activities in the plastics department.
 Figure 4: Customised trays were the first objects in the digital workflow of the plastics department


Construction of bite registrations
After the 3D scan, the model data sets are transferred to the design software (Figure 10).
After creating the job including assignment of the predefined dentist parameters from the database, the models are created according to the desired insertion direction automatically blocked out (Figure 11). If required, further ‘hollows’ can be made at deep palatal folds.
After marking the base plates in the upper and lower jaws, additional cavities, on the papilla incisive can also be created (Figure 12).
The occlusal plane can be adjusted using the retromolar triangles and the distance to the cover fold (Figure 13).
When the bite block has been taken, the occlusal plane can be marked directly on this plane.
The median plane is marked on the maxilla (Figure 14).
The occlusal plane is used to create the bite blocks height determination (Figure 15).
 Figure 10: Loading upper and lower jaw data sets


Expansion, alignment and thickness
After the first bite block has been created, the opposing jaw bite block is displayed transparently (Figure 16). This allows the bite blocks to be aligned to each other (Figure 17).
The thickness of the bite block can be varied frontally and dorsally as desired. Also, the bevel in the dorsal area can be freely determined.
The automatic punching of retention areas on the walls for secure encryption by the dentist is also a possibility (Figure 18).
Once the bite rims have been created, the template type is selected.
The following are currently possible: the standard support pin, the Avosax register or the IPR shell.
The expansion of the recorder plate can be adapted along the bite wall (Figure 19). A crosshair represents the position of the support pin.
This can be positioned along the median plane (Figure 20).
After confirmation, the recorder plate and the support pin are calculated automatically (Figures 21-23).
For IPR or Avosax registrations, the required shapes are automatically digitally punched (Figures 24-25).
 Figure 16: To create the opposing jaw bite block, the already constructed bite block becomes transparent


Summary
The transfer of the digital 3D printing is the most economical way to transfer design data into the ‘real’ world (Figure 26).

The plastics department is by no means to be seen as a ‘computer-free zone’.
Stand-alone design programs enable the design of auxiliary parts such as individual trays, bite templates, set-up bases or complex registrations directly in the department (Figure 27).

Through the target-oriented design process of specialised software solutions employees without CAD experience can be quickly trained.
In addition, no license is required for the software systems for the production of low-cost auxiliary parts.
The construction is done where the analog bite registrations were created; with the staff that was responsible for this before.
Integrating digital processes does not necessarily mean to promote expert knowledge. Expertise is usually a cost driver.
But especially in the production of auxiliary parts, cost efficiency is the top criterion and therefore the digital process must be time savings and allow the integration of existing employees.
Top laboratory stories
- Lab in the Limelight – CW Dentures
- Auxiliary digital parts – 3D printing and its possibilities
- The Godfather of FX teeth – creating teeth for Star Wars, Marvel and Austin Powers
- Beyond the Dental Lab – Jonathan Tasker
- Finding my feet as a dental technician.
Follow Dentistry.co.uk on Instagram to keep up with all the latest dental news and trends.

