 Rachel Derby presents a case in which a patient with caries and tooth surface loss was treated with a material that blends seamlessly with the surrounding natural tooth for optimal aesthetic impact.
A male in his early 50s visited St Mary’s House Dental Care. He is a regular attendee with a moderately restored dentition.
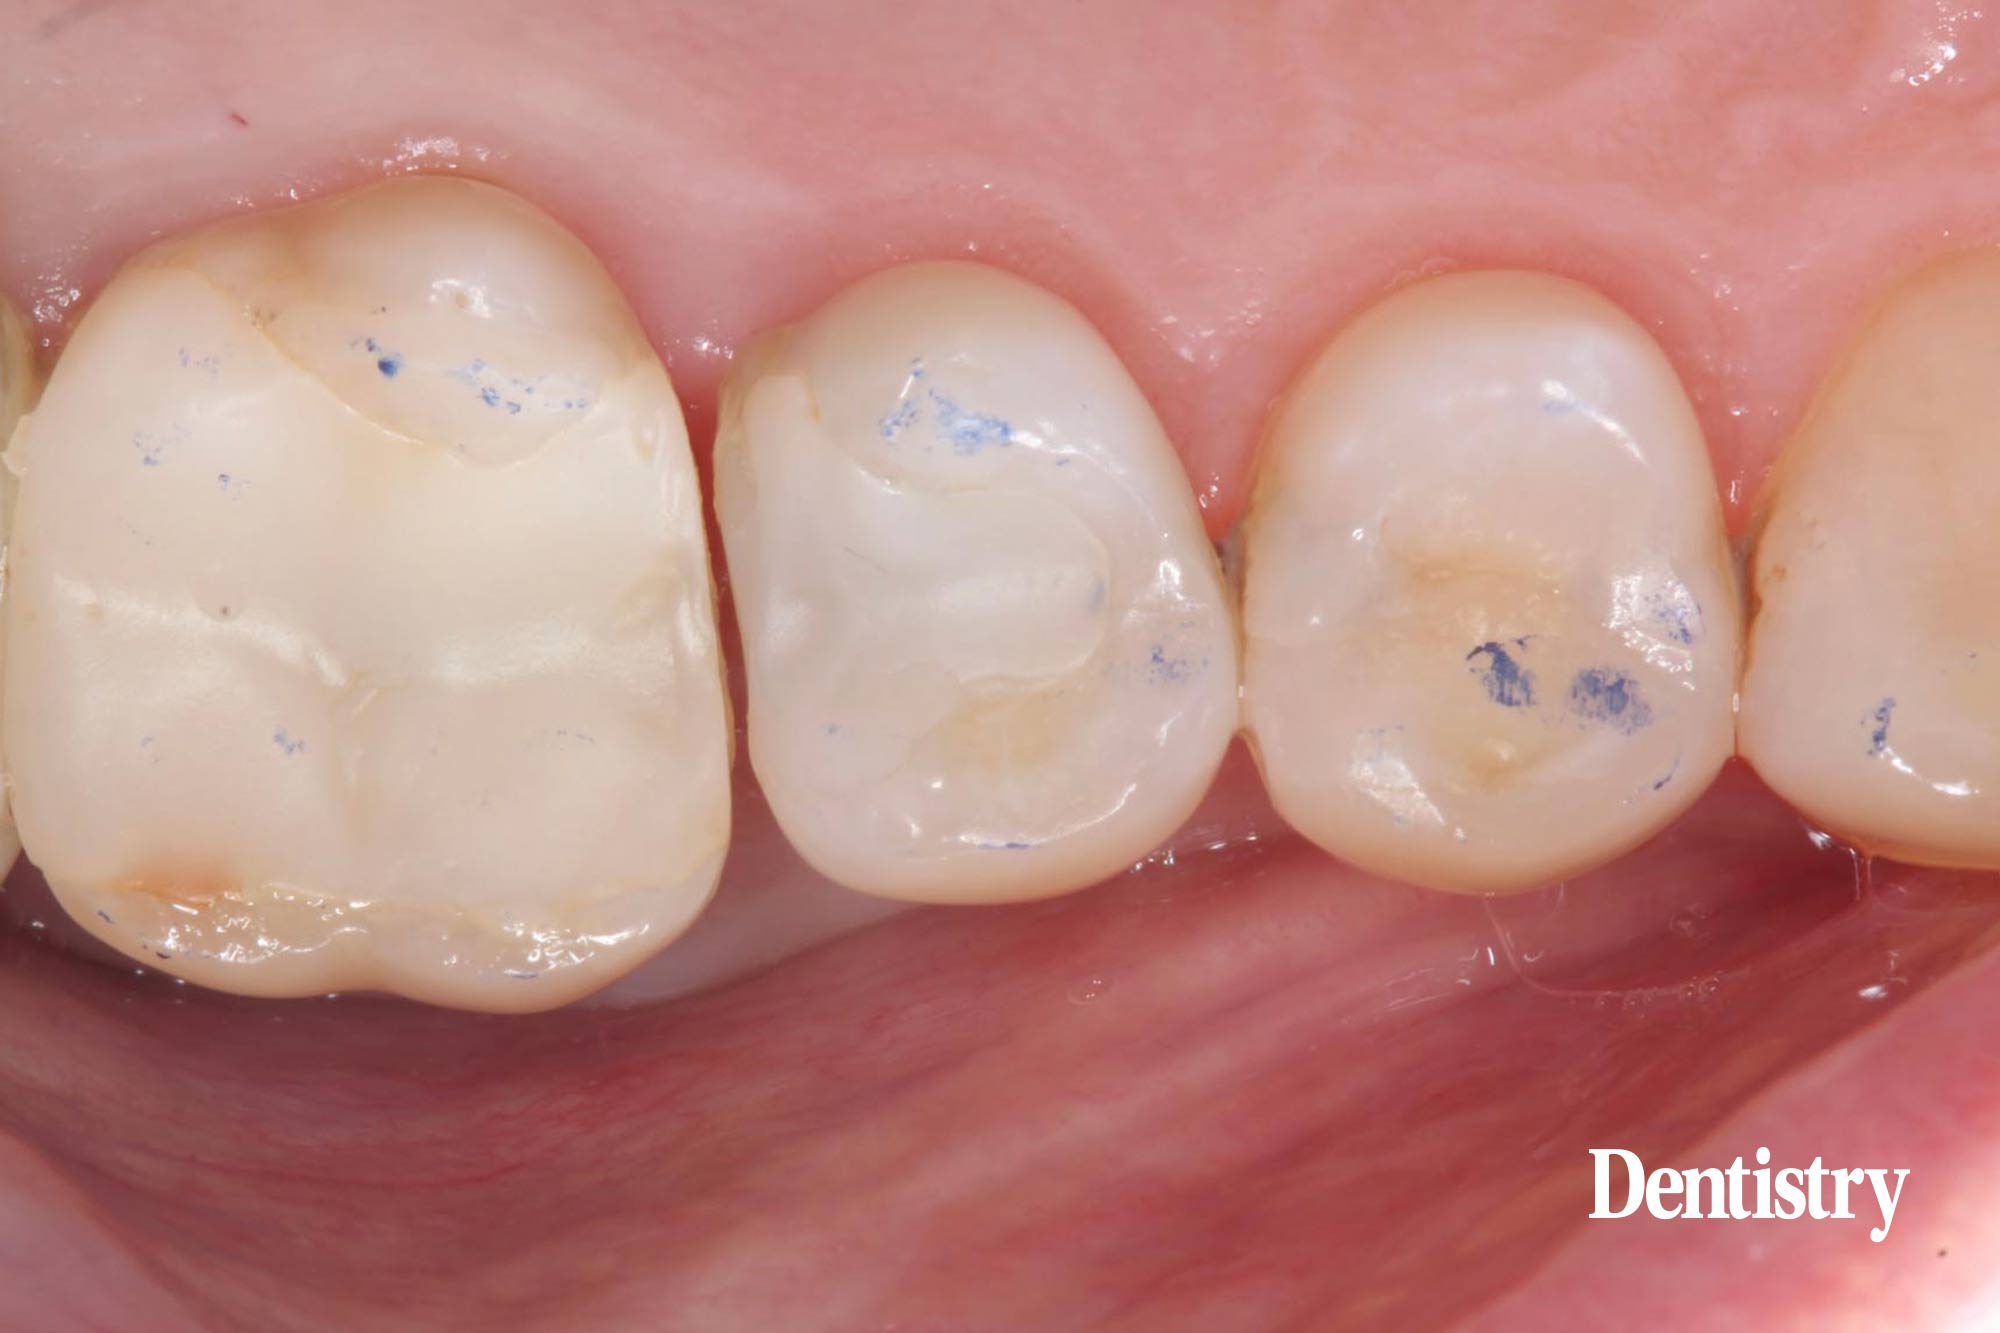
Upon examination, it was noted that a small open contact was present between the upper right first molar (UR6) and upper right second premolar (UR5), which had resulted in caries. Caries was also noted on the mesial aspect of the upper right second premolar and the distal aspect of the upper right first premolar (UR5 and UR4) (Figure 1).
The UR6 had been treated for gross caries more than a year ago. The caries was extensive and the tooth was deemed to have a high risk of pulpitis. Upon removal of the caries, it was noted that the buccal cusps were less than 2mm thick.
We had discussed removing the caries and restoring the UR6, initially with a composite filling while monitoring tooth vitality, followed by a crown when we were more certain of the pulpal health.
There was a high probability that the tooth would require endodontic treatment and this would be easier and more predictable to complete through composite rather than a crown. There was also a serious risk of fracture due to the thin buccal cusps.
The condition of the adjacent canines and premolars, which had tooth surface loss, also indicated that the UR6 could be vulnerable in excursive movements. A crown would help to protect the tooth against fracture.
We therefore planned to place the crown, provided the UR6 had remained vital and asymptomatic for 12 months.
The UR6 had continued to respond positively to sensibility testing, using a cotton pellet and endo-frost to assess the response of the nerve fibres in the dental pulp. We therefore decided that it was ready to be crowned.
Treatment planning
The first option is always no treatment. However, the caries in the premolars would continue to progress, eventually contaminating the pulp, which would be painful and result in extensive restorative treatment.
The second option was to restore UR4 and UR5 with composite and close the open contact. However, the UR6 was at risk of fracturing.
The third option would be to fit a crown on the UR6, remove the caries and restore the UR4 and UR5 with composite filling material. This would strengthen the UR6 and eliminate the active caries.
Since the tooth could be easily isolated for bonding, a monolithic lithium disilicate glass ceramic material was chosen for the crown on the UR6. Ceramic requires minimal preparation when compared to a porcelain fused-to-metal crown, thus helping to preserve the dental tissue.
The patient would have benefitted from a gold crown due to its minimal preparation and wear rate similar to enamel, but he declined it for aesthetic reasons. A monolithic zirconia crown was not desirable either, due to the patient’s need for an aesthetic outcome.
Caries removal and crown preparation
Impressions were taken of the UR6 and sent to SJL Studios laboratory to be fabricated (Figure 2). Having previously placed the composite filling, I was confident of its integrity as a core material.
At the fit appointment, the quadrant was isolated with rubber dam. The crown was tried in and the fit and aesthetics were confirmed (Figure 3). The caries was removed from the UR4 and UR5 using a drill on high and low speed settings, and the cavities were prepared. The UR4, UR5 and UR6 were sandblasted with 27 microns of aluminium oxide to enhance the strength of the bond (Figure 4).
One-step method
The crown was fitted using a universal resin cement. Once the adhesive cementation was completed, the margins were cleaned with a micro brush to remove the gross material (Figure 5). Floss and Tepe brushes were used to ensure removal of cement from the interdental spaces. This would aid thorough cleaning in these areas by the patient. The restoration was then light-cured, and further removal of any excess cement was performed with a hand scaler. Once I was satisfied, the margins were polished with polishing cups.
The UR4 and UR5 were etched with 37% phosphoric acid. Kulzer Ibond Total Etch adhesive was then applied and light-cured in accordance with the manufacturer’s instructions. I have been using Ibond for many years and have complete confidence in this system. I like the simplicity of the one-step method and have found it to be effective for treatment of hypersensitive teeth.
The distal aspect of the UR5 was deep. Accordingly, a Tor VM saddle matrix was selected for the marginal elevation. Tor bands are rigid and hold their shape well for packing. The curve at the top helps to create a perfect, rounded contact point.
 Figure 2: Impressions were taken for laboratory fabrication of the UR6 crown


Seamless margins
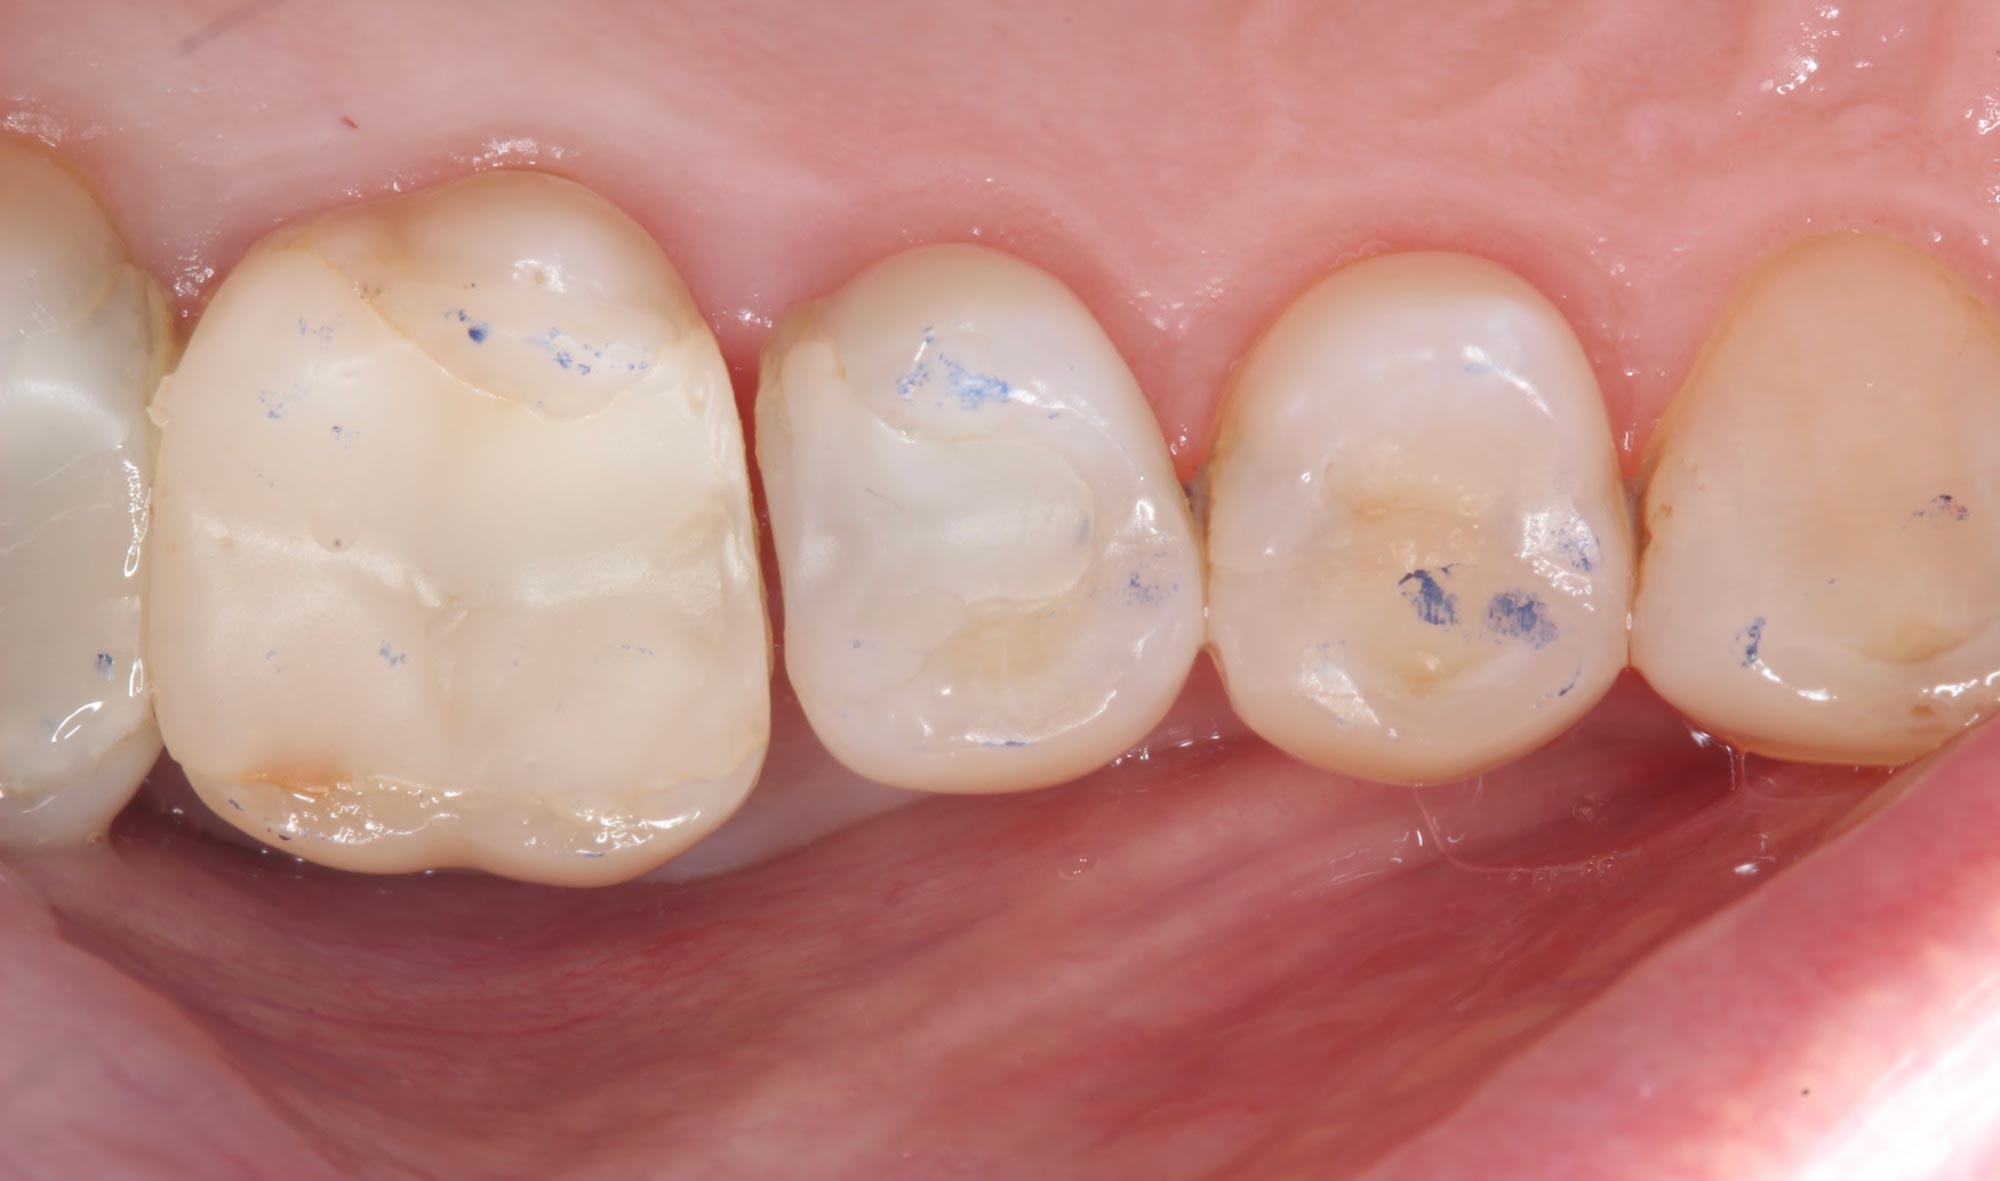
Kulzer Venus Pearl One was selected for the UR4 and UR5 restorations and was applied in incremental layers (Figure 6). The aesthetic effect of the Venus Pearl One material is impressive. It was ideal for this case as the teeth were not discoloured and the cavities were minimal. The material’s shade adapted well to the margins and blended seamlessly. The handling properties are superior, and consistent with other Venus materials. The rubber dam was then removed, and occlusion checked (Figure 7).
I was very happy with the treatment outcome. The patient will be regularly monitored, but I am confident that the restorations will help to prevent further caries and provide lasting aesthetics.
 Figure 6: The composite restorations were carried out with Kulzer Venus Pearl One in incremental layers

Follow Dentistry.co.uk on Instagram to keep up with all the latest dental news and trends.

