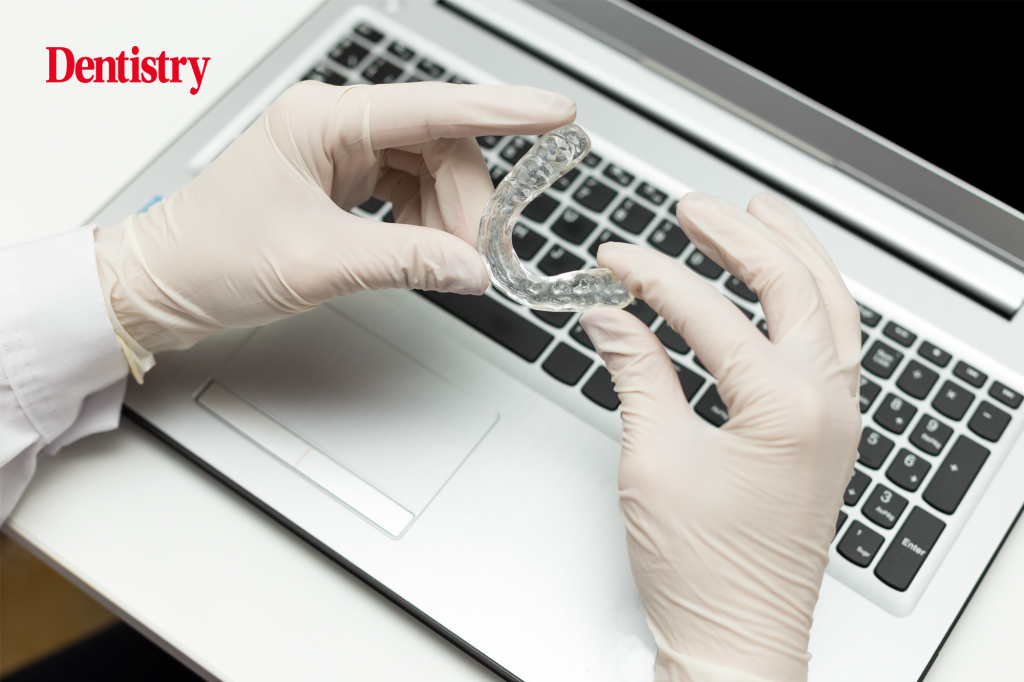
Aligner Dental Academy presents a guide to ClinCheck, the digital treatment planning tool for Invisalign clear aligners.
In recent years Invisalign has revolutionised the way GDPs approach tooth alignment. ClinCheck, Invisalign’s digital treatment planning tool, allows for precise and customisable planning of orthodontic treatment. Using ClinCheck effectively can have a significant impact on treatment time, treatment outcome and patient satisfaction.
With Aligner Dental Academy being the leading educator in Invisalign, we have seen over hundreds of thousands of ClinChecks, and as such have put together a quick start guide for you on the top tips and tricks for ClinCheck treatment planning:
1. ‘Fail to plan, plan to fail’ – the SAFE Assessment
Before starting your treatment plan you must conduct a thorough assessment of the patient. Use our SAFE Assessment to ensure you are comprehensively reviewing aesthetics, structure, function and biology. Our SAFE Assessment form can be easily accessed through the ADA platform. A thorough assessment at this stage can avoid most of the issues providers find themselves in.
2. Set treatment goals
Following your SAFE Assessment for each item under aesthetic, function, structure and biology choose whether to ‘Accept’, ‘Improve’ or ‘Correct’. For example, if the patient has an increased overbite are you going to accept this, aim to improve it, or correct it. Setting clear treatment goals is vital for treatment planning but also for patient consent. Your treatment goals can be recorded using our Treatment Goals form – accessible on ADA.
3. ClinCheck review
The most common pitfalls when assessing ClinChecks include:
Expansion
It is important to assess the amount of planned expansion on the ClinCheck treatment plan. If there is too much expansion planned there is a risk of gingival recession, especially around the lower anterior teeth. Use the Superimposition Tool and Tooth Movement Table to assess planned expansion. Add IPR to reduce expansion if needed.
Check out the ADA tutorial on ‘Clincheck Pro and 3D controls’ to learn about how to apply these type of changes to your ClinChecks.
Overbite correction
Use the Superimpostion Tool and Smile View to assess how the planned overbite correction is affecting the patients smile. If the patient has a high smile line with gingival display, extrusion may increase gingival display leading to a more gummy appearance. Ensure both you and the patient are happy with the planned overbite post treatment.
It is also important to assess any midline shift in this view. For example, if the patients midline is 2mm off to the left side you should not accept a plan that is moving the midline further to the left.
IPR distribution
Ideally try to limit IPR to 0.3mm around the anterior teeth. If the IPR is planned as 0.5mm on one contact point, modify this and redistribute it to neighbouring teeth. You can also delay or stage IPR throughout the treatment plan.
Join one of ADA’s hands-on skill days at Londec to further your IPR planning skills.
Overjet
Make sure your post treatment overjet is at least 2mm, ideally 2-4mm. This reduces the risk of a posterior open bite developing after treatment. You may need to add lower anterior IPR to achieve an adequate overjet. Ensure when your are planning the overjet that there is no risk of lip catch post treatment. Changing the inclination of the anterior teeth will increase or decrease the planned overjet.
Tooth Movement Table
For many the Tooth Movement Table can look like a matrix screen, but it is an essential part to open when reviewing your ClinChecks.
Identify the ‘leading movements’ which will be underlined in the TMT. If the leading movement is not needed, for example, derotation of a premolar, you can reduce or remove it which often shortens treatment time.
ADA have a fantastic webinar called ‘Mastering your ClinCheck’ which deconstructs each row of the table and the biomechanics behind each movement.
Staging movements
Staging complex movements will increase treatment predictability and reduce the chance of poor tracking. If there are complex movements planned, for example rotation and extrusion at the same time, plan to rotate only first and then extrude.
4. Smile Architect
Smile Architect is Aligns ortho restorative treatment planning system – accessible to you within ClinCheck. The Smile Architect software allows doctors to view, modify and customise a patients smile proportions according to their facial anatomy.
It allows you to plan the precise movements needed for the desired tooth position and then restore the minimally invasive restorative work. Want to know more about Smile Architect? Join the ADA webinar with Dr Mark Hughes with FMC on the 26 June at 7pm.
5. Ask for help
ClinCheck can be daunting and we are here to help! The Aligner Dental Academy has a support forum where you can upload your case and have your ClinCheck reviewed within 48 hours. Or book a ‘Case Café’ session, where you can have a one to one discussion about your case with a specialist. We also offer Treatment Planning Services which are accessible through the ADA platform.
Mastering Invisalign through effective use of ClinCheck can significantly enhance the outcomes of orthodontic treatments, leading to improved patient satisfaction and more efficient use of treatment time. The effective use of ClinCheck is a blend of careful planning, continuous learning, and utilising available support systems. By mastering these aspects, dentists can truly become skilled smile architects, transforming their patients smiles with confidence.
Scan the code below for the opportunity to join Aligner Dental Academy.

This article is sponsored by Aligner Dental Academy.

