 Hussein Hassanali gives some quick tips to help you make sure you achieve the perfect colour match for your restorations.
Isn’t it nice when you get that warm fuzzy feeling? No, not when you meet your significant other, more that single upper central crown.
It’s notoriously known that trying to match that one crown can sometimes be impossible. When you get it right though, it can be the difference between something that looks acceptable or natural and stunning.
The science bit
Shade taking in dentistry utilises the Munsell colour system developed by Professor Albert H Munsell over a century ago.
Not only is this system used in dentistry, but also in many disciplines of art and science. This system is based around a three-dimensional model depicted in the Munsell Colour Tree with each colour having three attributes – hue, value and chroma.
Hue (H) – the basic colour, distinguishing one colour from another (natural order = red yellow green blue purple).
Value (V) – the lightness or darkness of a colour (0 = pure black and 10 = pure white).
Chroma (C) – the colour intensity, the departure from the neutral colour of the same value (can be low/weak or high/strong).
Colour matching in dentistry
As demands and requests for aesthetic dentistry increase, so has the importance in merging real with fake.
All-ceramic restorations have quickly become the first choice when it comes to mimicking nature. Trying to create a restoration to be as lifelike as possible means taking a prep shade as well as a dye shade so that your technician can select the correct milling block. The IPS E.max Shade Navigation app is an easy tool to do this and is free to download.
Composite dentistry has evolved into a true artform. Every manufacturer will advise using their specific shade guide. However, what seems to work better is to trial different shades with button tabs, sometimes with polarised filters too. That small blob in direct contact with the tooth can give a better indication of its suitability.
A final mention to whitening. While this doesn’t involve any operative dentistry, pre and post whitening shades are advised with shade tab photos to demonstrate the effect. This can also offer guidance towards any restorative treatment after the whitening process.
Get snap happy
Taking photos has become an essential part of modern dentistry. When it comes to shade matching, labs can use these to pick out features to personalise the restorations. The best thing for labs is several shade tab pictures, which will give them the best chance of nailing that match.
Any reflection of light from the teeth, no matter what source, can affect the choice of shade. Polarising filters remove this reflection and show the true character of the tooth.
There are gadgets out there that can help when taking pictures. Smile Lite mimics natural daylight by reproducing a light temperature of 5,500°K. Its smartphone attachments and polarising filters make it easy to take quick shade photos.
Lab communication
You could do the best preps in the world, but without relaying the right information to the lab, your final restorations may never look right. Good communication and teamwork are vital.
Diagrams (preferably a large one) are great to annotate what you’re after. In combination with your photos, this should provide sufficient information to your lab. Get your nurse and the patient involved as someone else might spot something you don’t.
Be specific. Some lab sheets will have lots of boxes to tick as a handy reminder for not missing anything. Photos allow you to review your prescription after the patient has left. Examples of what you could include are:
- Incisal edge translucency
- Surface texture
- Dentine hues
- Cracks
- Tooth shape
- Tooth arrangement.
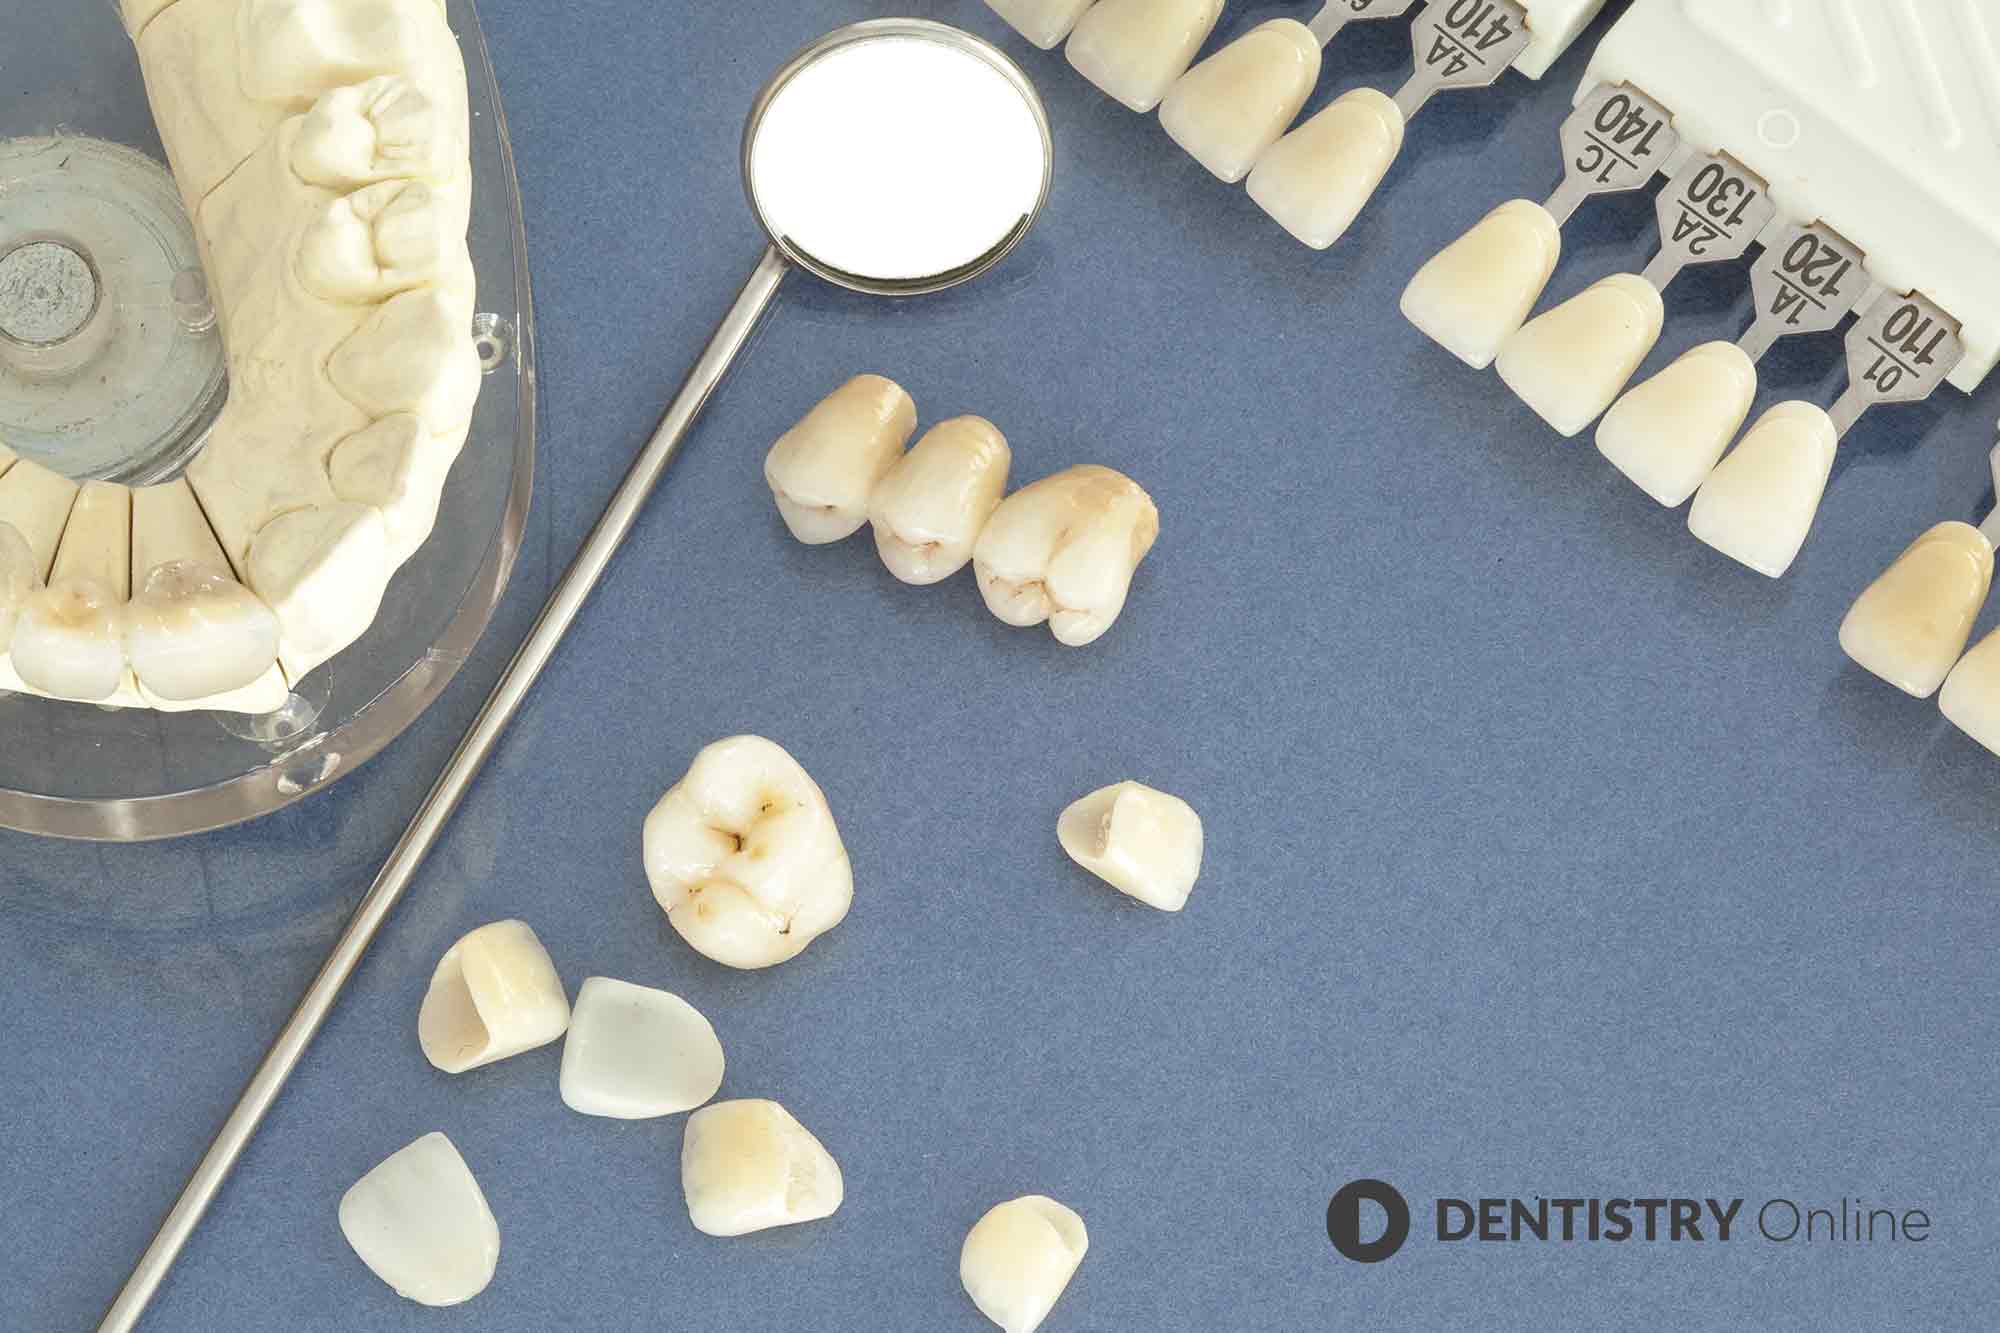
Shade guides
Which ones do you really need? This probably depends on what sort of dentistry you’re doing and what level you want to do it to. Ideally, arrange your shade guide by value rather than hue. This has been shown to be more accurate when it comes to shade selection.

As a general rule, it’s best to have the respective shade guide for the material and brand your lab is using. Shade guides are available for specific ceramics and porcelains. If you’re doing a lot of high end aesthetic dentistry, you may need a some or all of the below:
- Vita Classical A1-D4
- Vita Bloc 3D Master Shade Guide
- The Vita Bleach Shade Guide
- Vita Linearguide 3D-Master
- Ivoclar Vivadent E.max Press/CAD LT Shade Guide
- Ivoclar Vivadent Natural Dye Shade Guide
- Gingival shade guides – Vita VM, Ivoclar Vivadent E.max Ceram Gingivae
- Stains – Vita Akzent.
The Vita Easyshade V is a spectrophotometric device that can take the guesstimating out of shade selection. This digital shade taking device records both Vita Classic and Vita 3D shades and is designed to work with the Vita Assist software.
All prices correct as of June 2019. Available from Dental Directory (www.dental-directory.co.uk)
This article first appeared in Young Dentist magazine. You can read the latest issue here.

