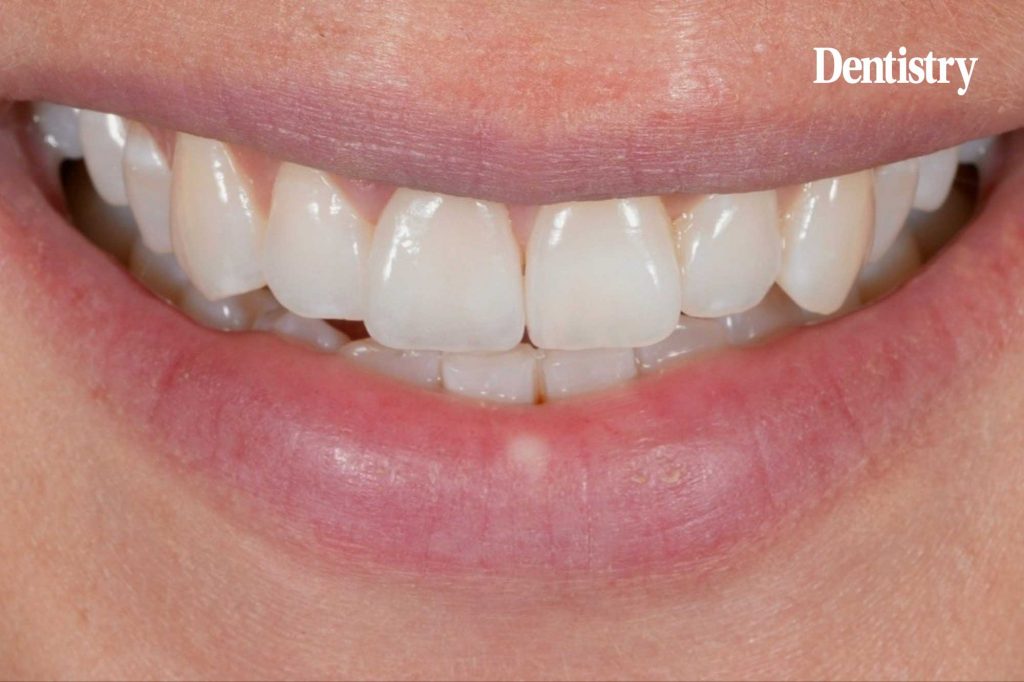
Dr Kostas Karagiannopoulos tackles one of the hardest aesthetic challenges: matching a single central crown.
Matching a single central crown is probably the hardest task aesthetically for a restorative dentist. If you throw in the enigma of that crown being a replacement one, the restorative challenge becomes even greater.
This patient requested a crown replacemen. Patients usually do not know about the complexities involved and why would they even expect anything else other than perfection? Opacity, form, line angles, value, restorability and incisal effects simply do not even cross the patient’s mind. They want it to match the tooth next door which usually has its own eccentricities and defects.
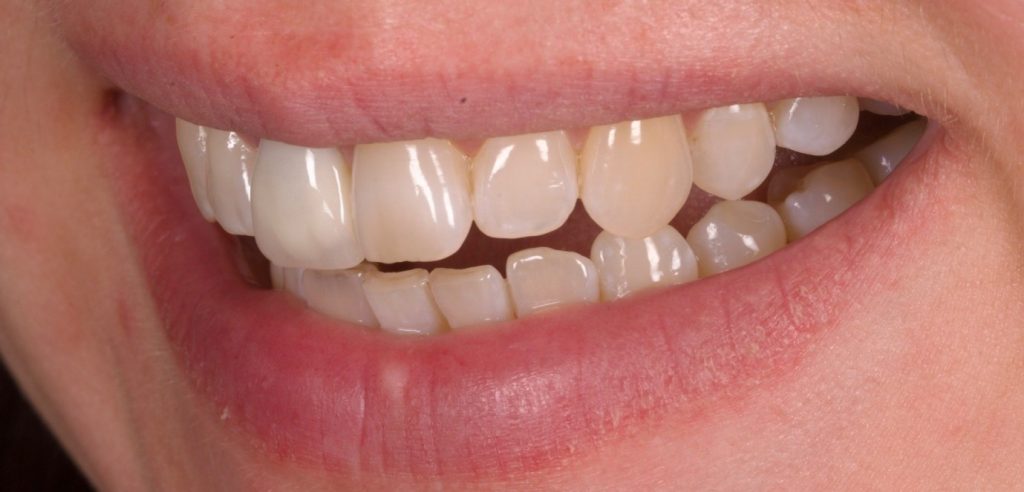
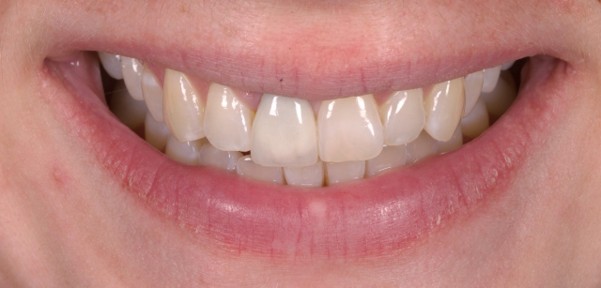
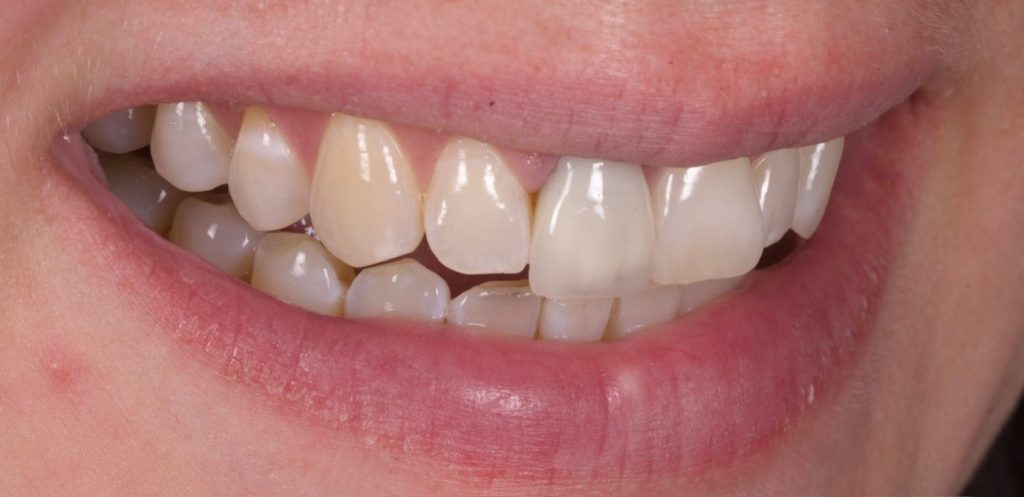
Assessment and consent
First things first! Consent and restorability assessment. Below are some key consent points:
- ‘I do not know what is under your crown’
- ‘X-rays and CBCT may help but do not exclude cracks or caries’
- ‘Nine out of 10 crowns I replace are fine for like-for-like renewal’
- ‘You need to be prepared for additional work: endo, post or even losing the tooth!’
- ‘I will need to remove your crown merely for the purpose of assessing the condition of the supporting tooth’
- ‘You will have an excellent temporary crown thereafter’
- ‘I may need a few attempts until I can match the final crown to your natural teeth’
- ‘If you want brighter teeth, we need to do whitening first and it will delay the outcome by six weeks.’
Step 1: Restorability assessment
We start this by considering the shape of the provisional the patient will leave with. If we can control the tooth shape intra-orally, we can take an index/stent of the existing/adjusted crown to use for the temp. Otherwise we may need a wax-up to mirror the contralateral crown tooth.
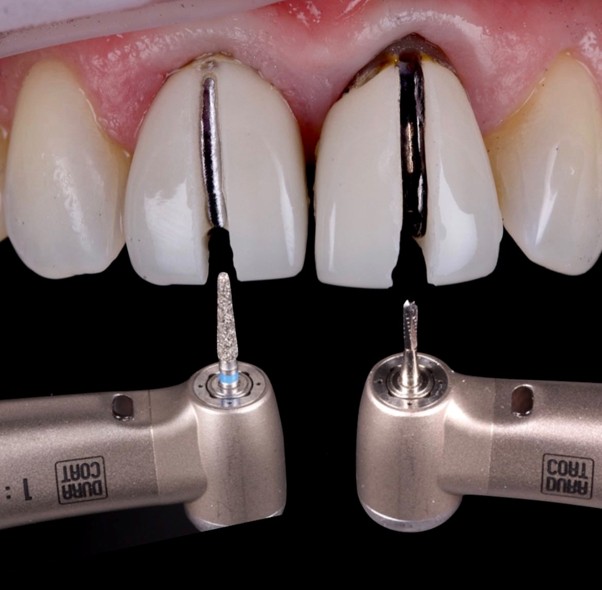
A coarse/medium diamond bur will cut through porcelain or zirconia. A Jet tungsten carbide may be needed if a metal coping is present. Crowns in terms of complexity to remove from hardest to easier are as follows:
- Bonded lithium disilicate
- Zirconia crowns
- Metal ceramic crowns
- Metal crowns.
An excellent provisional crown will aid with:
- Lab communication
- Aesthetic planning
- Ability to mask prep
- Promoting tissue health in preparation for scan/imps and cementation
- Patient reassurance.
Step 2: Capture the data
This aims to gather all the information needed by the dental technician. We start with shade matching as dehydration affects value massively within a few minutes, hence it is best not to carry out this step during restorability assessment.
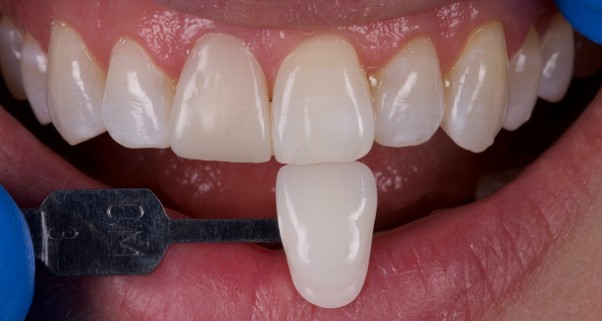
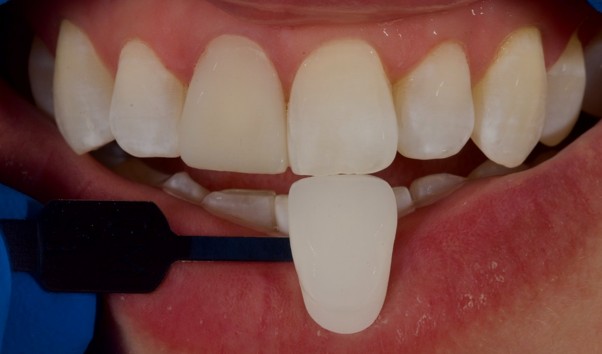
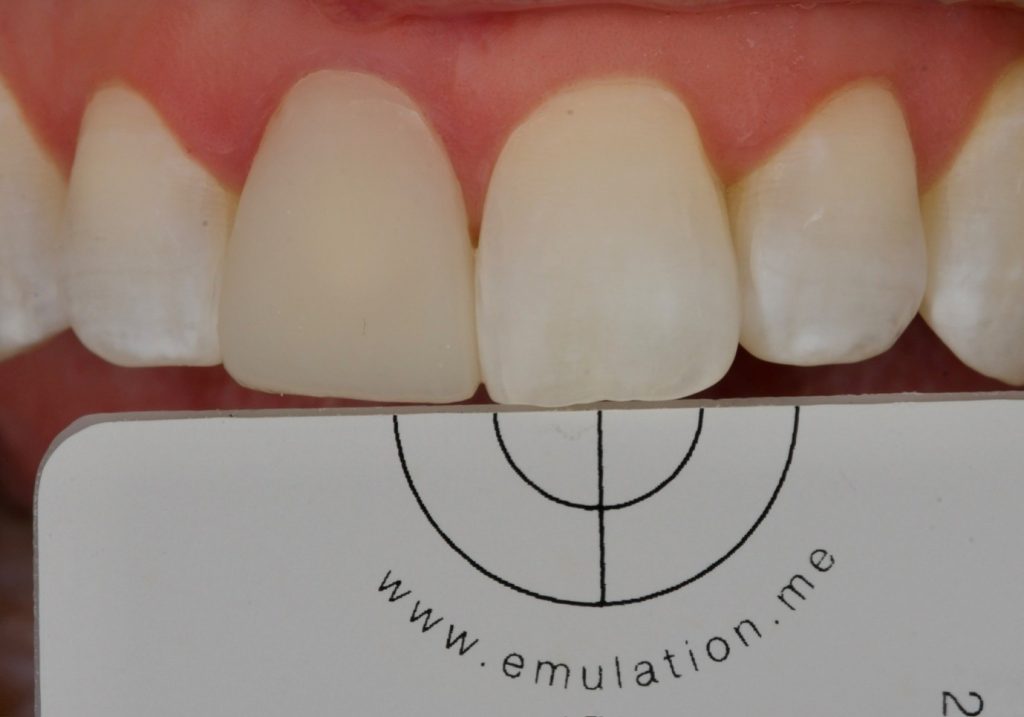
Finally IOS/imps of the prep, opposing teeth, a bite record and a copy of the provisional (ideally superimposed over prep model) should be taken.
It is the clinician’s responsibility to identify the base shade and give that to the technician. Other information the lab requires include:
- Zirconia or Lithium based
- Degree of translucency (HT, MT, LT)
- Degree of texture (low, moderate, high)
- Degree of lustre (high or satin gloss)
- Incisal effects (mild, moderate, high)
- Tooth map drawing to describe specific things needed eg opacities, CEJ, line angles etc.
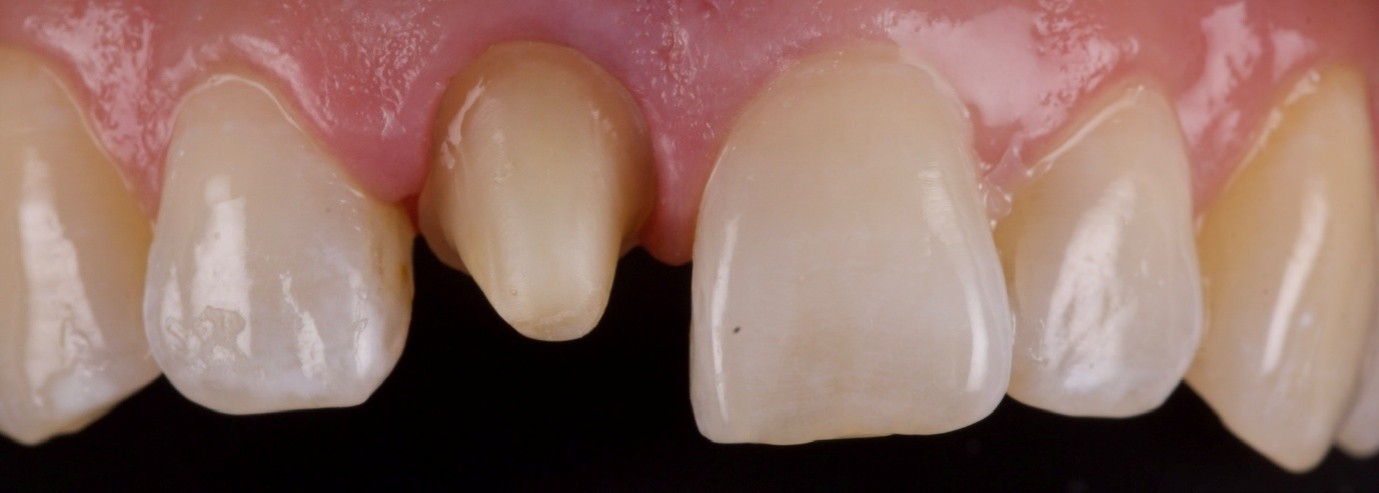
It is also an option to send the patient to the lab for a custom shade match and even a custom finish on the day of cementation.
Pricing for a single crown must allow for the above as well as multiple try-ins potentially. A single anterior crown should be priced at 50-100% more than the fee of a standard crown.
Step 3: Cement the crown
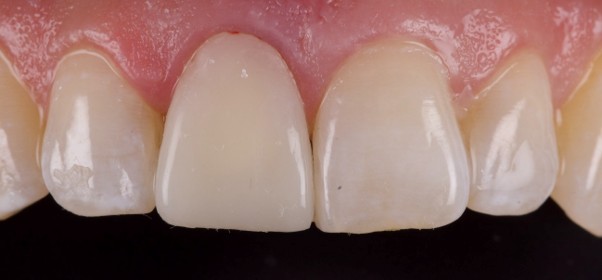
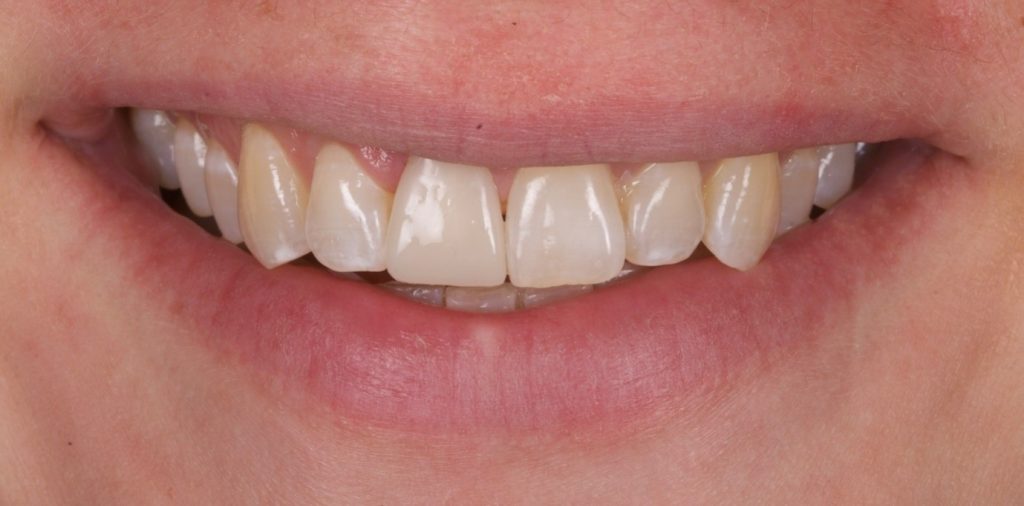
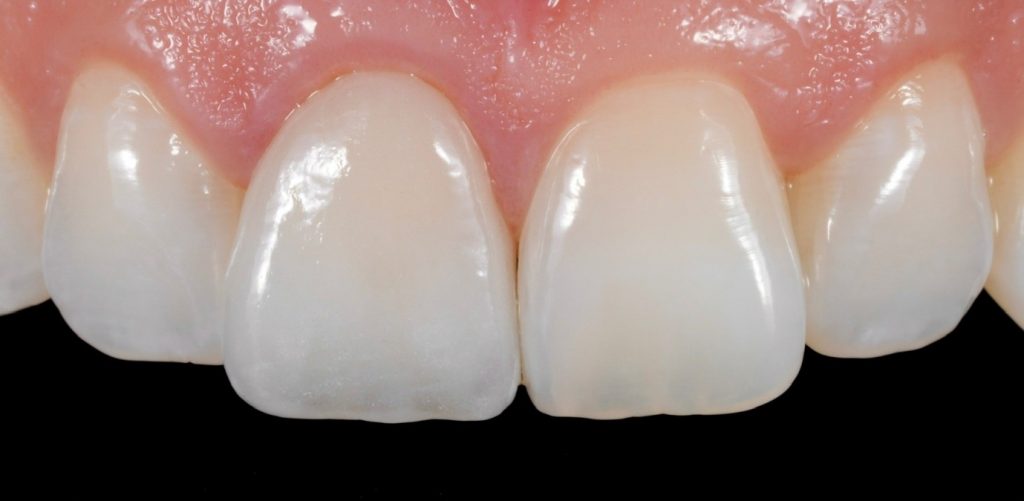
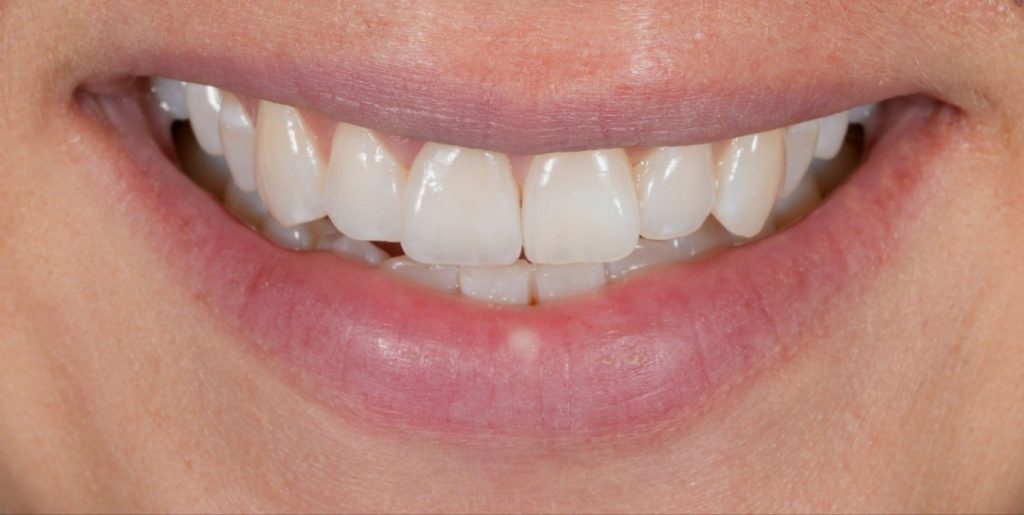
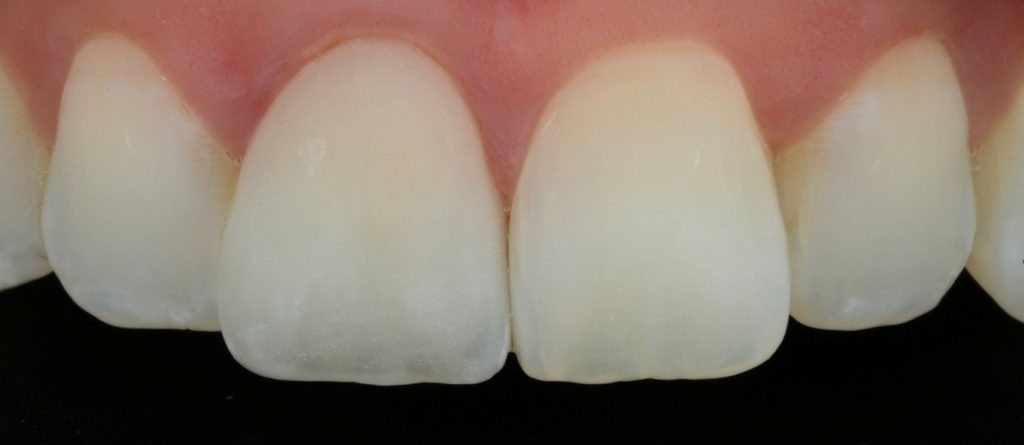
In this case, the crown was made using LiSi PRESS (GC) with facial layering.
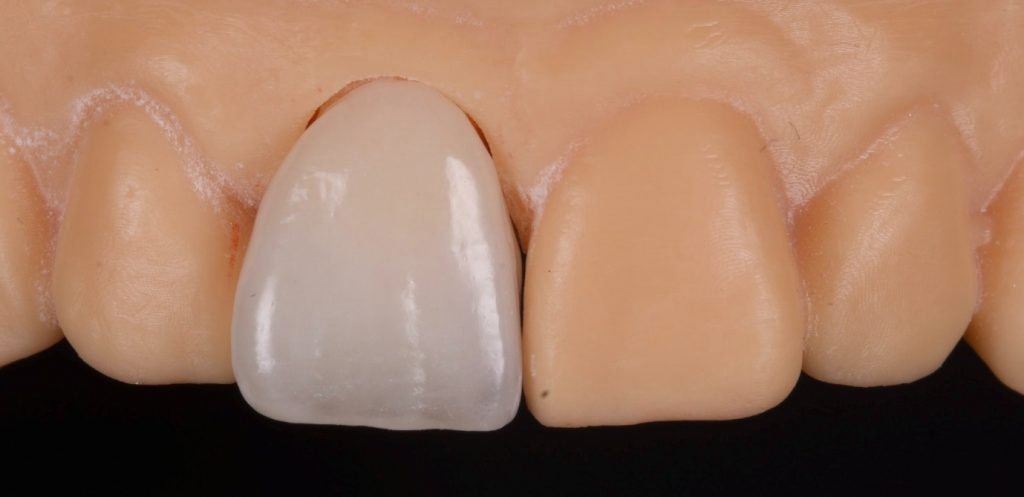
A try-in paste is recommended to check colour match under different lights and allow adequate time for the patient to verify and approve. A few attempts/returns may be needed with the relevant photos to convey the message to the lab for changes needed. Once all parties are satisfied, use resin cement and isolation as per clinician’s choice. In this case G-CEM ONE (GC) A2 resin cement was used under rubber dam isolation.
The final result
This article is sponsored by GC.