
Clinical Dentistry|Dentistry
Dentistry’s guide to dental photography with Sony
Last updated: 16th February 2026
Contents
The importance of dental photography is well known. The real challenge is picking the right camera, and with so many mirrorless cameras available, it is often difficult to pick one to suit your needs.
This guide breaks down the options available, the advantages of each, and which one may suit your personal workflow and dental photography budget best.

‘Investing in the right camera system is one of the most effective ways to elevate the quality, consistency and professionalism of your dental photography’
Timothy Zoltie
Specialist in medical and dental photography
Why mirrorless, and why should you trade in your DSLR?
For years, DSLRs (Digital Single Lens Reflex) cameras were the go-to choice for dental photography, but the landscape has changed.
One of the most immediate benefits of mirrorless cameras is their smaller, lighter design. Combine portability with real-time exposure preview, focus peaking, and advanced video capabilities, and mirrorless cameras are leading the way in dental photography.
Sony is revolutionising dental photography, offering mirrorless cameras that combine precision, portability and professional grade image quality.


Choosing a camera for dental photography
When choosing a camera, consider the following factors:
Resolution and sensor size:
- The higher the resolution, the more detail your camera can capture
- Advanced Photo System type-C (APSC) sensors provide a balance between resolution and camera size, while full-frame sensors offer superior image quality and low light performance.
Autofocus capabilities:
- Evaluate autofocus performance for quick and accurate focusing
- Look for advanced manual focusing features such as focus peaking.
Ergonomics and portability:
- Choose a dental camera with a design that feels comfortable during extended use
- Consider portability, especially if you require mobility between multiple clinics.
Lens compatibility:
- Check the availability of compatible lenses for your specific dental photography needs
- Explore the versatility of lens options to cover various dental procedures and scenarios such as portraits, vlogging and surgical recording.
Video capabilities:
- If video documentation is part of your dental practice, assess the camera’s video recording capabilities
- Look for features such as 4K video and reliable autofocus during video capture.
Budget considerations:
- Determine your budget and find a camera that aligns with your financial constraints
- Consider the long-term investment and potential for future upgrades.
As you navigate through the options, keep in mind that the chosen camera should seamlessly integrate into your dental photography workflow, providing the precision and versatility required for your practice.
Best cameras for dental photography
Sony Alpha series cameras offer a range of options, each with unique features suited to various needs and budgets.
Here are our recommended options, tiered by budget:

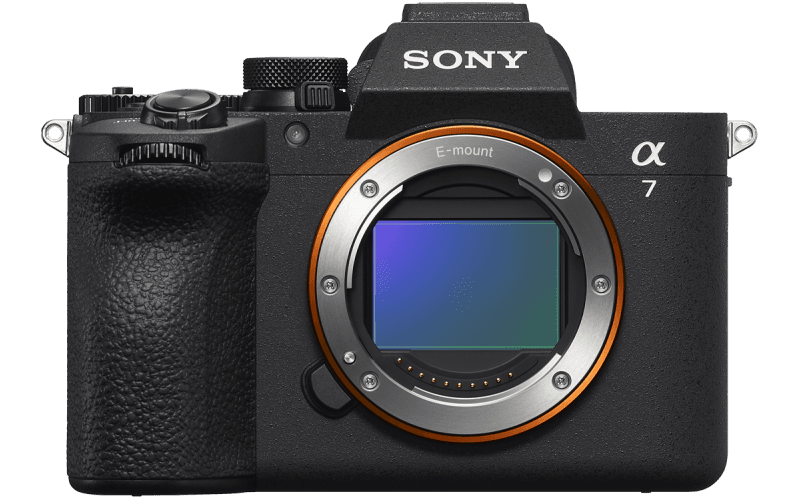
- Exceptional image quality
- High resolution sensor
- Dual card slots
- High dynamic range.
- 33mp full frame partially stacked sensor
- Blackout free continuous shooting at up to 30fps
- 4k 60p video
- High dynamic range.

- Affordable yet capable
- Lightweight and easy to handle
- APS-C sensor so patient can be further away when undertaking occlusal photographs.
Alternatives for the travel conscious dental photographer
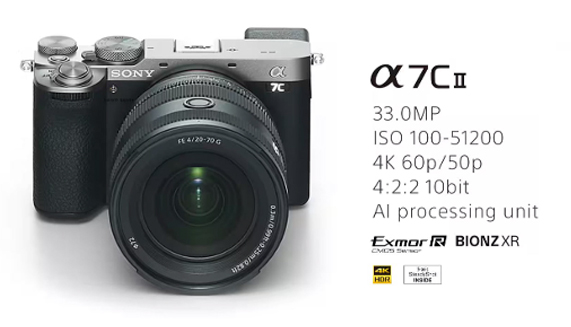
- Compact full frame camera designed for travel and ease in handling
- Same sensor as the Sony a7IV.
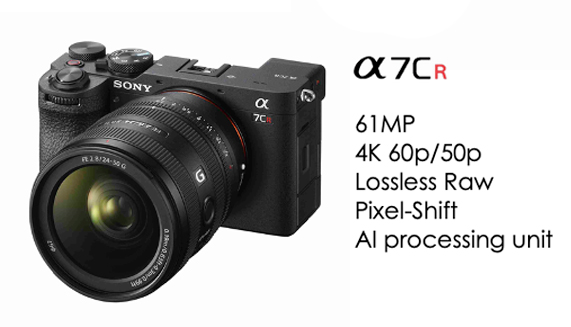
- High resolution full frame camera in a small camera body
- Ideal for travel when portability is essential.
Best lenses for dental and non-clinical photography

FE 90mm F2.8 Macro G OSS
The Sony 90mm f/2.8 Macro lens is the main requirement for dental photography due to its 1:1 magnification ratio, versatile 90mm focal length, exceptional optical performance, smooth autofocus, image stabilisation, durable build, and dedicated macro functionality.
The inclusion of distance scales and ratios on the lens barrel enhances its usability for dental photography in ensuring standardisation.

FE 100mm F2.8 Macro GM OSS
The Sony 100mm f/2.8 Macro GM lens is an equally strong option for dental photography, offering advanced macro capability with a closer macro focusing range, exceptional sharpness, and fast, highly accurate autofocus.
Its G Master optical quality delivers outstanding resolution, making it ideal for intraoral imaging.
The lens features image stabilisation, a robust professional build, and refined macro functionality, while compatibility with Sony teleconverters allows magnification ratios to be increased when greater detail is required, enhancing its flexibility for demanding clinical photography workflows.

FE 50mm f1.8
The Sony 50mm f/1.8 lens is a versatile choice for non-dental photography, great for portraiture and vlogging.
With its wide aperture, it captures beautifully blurred backgrounds, making subjects stand out.
Its lightweight design makes it a convenient choice for vlogging, and the best part is it is budget friendly!
Useful camera features for dental photography

Focus peaking
- Highlights edges of the subject that are in focus during manual focusing
- Ensures sharpness in intraoral shots and helps avoid missed focus on restorations or fine detail.
Lens barrel distance ratios
- Provides magnification guides for consistent shooting distances
- Guarantees standardisation across different appointments, making comparisons accurate.


Square grid display
- Adds alignment guides to the screen or viewfinder
- Helps with symmetry, framing and consistent positioning in both intraoral and extraoral photos.
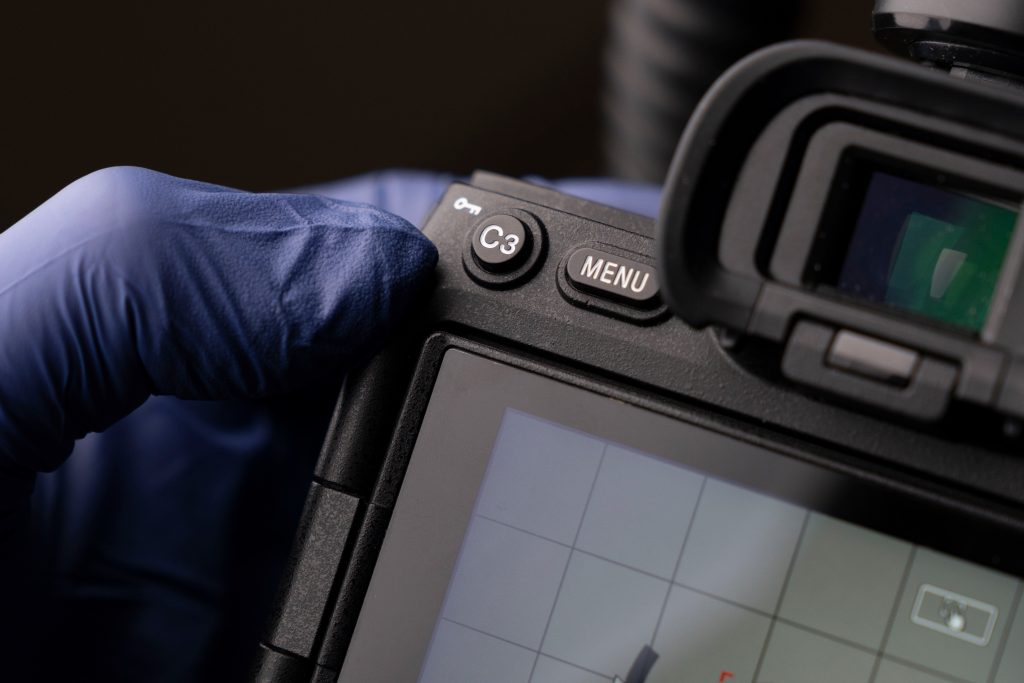
Customisable buttons
- Allows users to assign camera functions to dedicated buttons
- Speeds up workflow, eg turning the grid on/off instantly without navigating menus.

Memory recall (MR)
- Saves and recalls aperture, shutter speed, ISO and other exposure settings
- Maintains consistency across patient records, removing guesswork of past setups.
Timothy’s top tips
Looking to get the most out of your Sony mirrorless camera for dental photography?
These practical tips will help you achieve consistent, professional results every time:
- Set a custom white balance – this only takes a few minutes, and ensures colour accuracy
- Use consistent lighting – pair your Sony body with a Godox ring flash or twin flash for shadow-free, standardised results
- Lock in your aperture – around f/22 works best for intraoral shots, giving the widest depth of field
- Take advantage of memory recall – available on all alpha series models, this stores preferred exposure settings to save time and standardise your workflow
- Check alignment with the square grid – helps keep extraoral and intraoral images symmetrical and professional
- Keep your lens spotless – particularly important with the Sony 90mm Macro G OSS, as even minor marks will show in clinical photos
- Back up immediately – back up your images immediately following photography to ensure no patient records are lost
- Turn focus peaking on – this will help when manually focussing.

Investing in the right camera system is one of the most effective ways to elevate the quality, consistency and professionalism of your dental photography. With mirrorless innovations, industry-leading lenses, and features designed for clinical accuracy, Sony cameras are setting the benchmark for modern dental imaging.
Interested in learning more? Contact us to receive tailored advice on how Sony cameras can benefit your dental practice, plus access to exclusive offers available to Dentistry readers.
Stay updated with relevant information about this webinar