
 Tariq Bashir presents a case in which he treated a fellow dentist with aesthetic restorations to close a black triangle in advance of her summer wedding.
A 27-year-old dental colleague dentist attended the clinic.
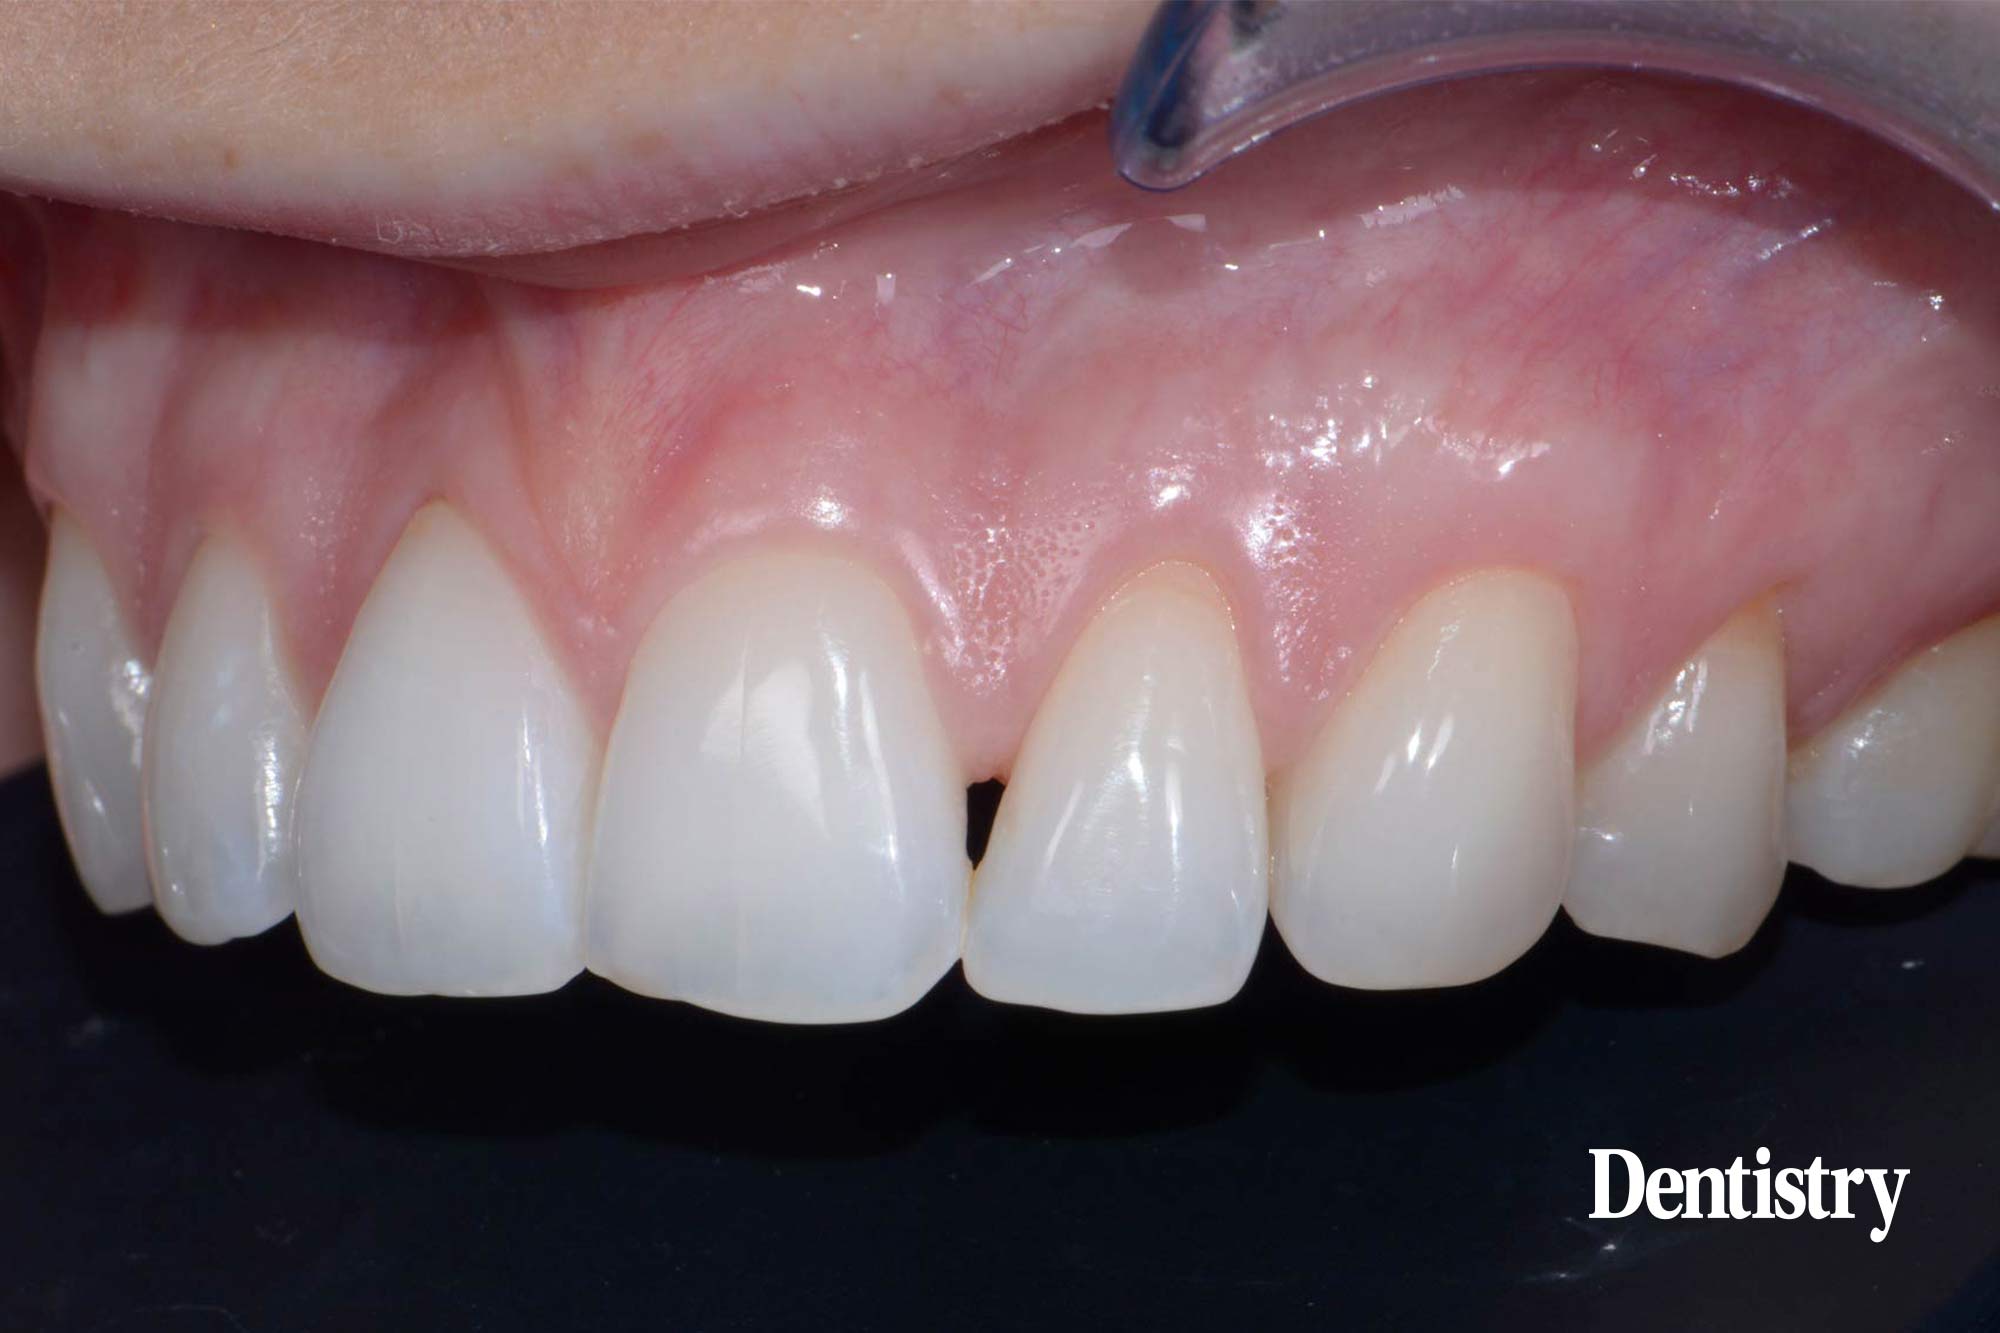
She was keen to have composite bonding carried out to improve the aesthetic appearance of her UL1 and UL2 before her summer wedding (Figure 1).
She had undergone orthodontic treatment in the past and was showing some signs of relapse.
A small rotation of the UL1 was noted and, due to the triangular tooth shape and loss of papilla, a black triangle was visible between the UL1 and UL2 (Figure 2).
Unsightly black triangles, or open gingival embrasures, can be successfully treated with a range of aesthetic options. As the patient was a dentist, she understood the benefits and procedure involved with composite bonding.
Prior to the treatment, she completed a course of home teeth whitening using Boutique by Night 10% carbamide peroxide with night-time trays.
Whitening was followed by a two-week waiting period to allow shade stabilisation and eliminate any residual bleaching agent that could reduce the enamel-to-resin bond strength.
 Figure 1: The patient was keen to have composite bonding carried out to improve the aesthetic appearance of UL1 and UL2

Shade selection
At the treatment appointment the shade was selected using composite buttons with Kulzer Venus Pearl nano-hybrid composite B1 and BL shades. Small amounts of the closest matching shades were selected and placed on the UL1 and light-cured.
Next, retracted photographs were taken in colour and monochrome to check the composite value, to ensure a close match would be achieved for the enamel shade.
The B1 composite button on the mesial aspect of UL1 was revealed to be the closest matching shade (Figures 3 and 4).
No further shades would be required for this case as only a small amount of composite was needed for the mesio-incisal aspect of the tooth.
Preparation
Retracted photographs with a black contraster were also taken to check the incisal translucency (Figure 5). Rubber dam was then placed with molar clamps on the upper first molars and the upper anterior teeth were isolated.
Floss ties around the anterior teeth were used to stabilise the dam (Figure 6).
Rubber dam not only helps with isolation to minimise contamination of the bonding site, it also aids retraction of the papilla to create a favourable subgingival composite emergence.
A minimal 1-2mm bevel preparation was carried out on the mesial aspect of the UL1. Then, the UL1 and UL2 were particle abraded with Aquacare aluminium oxide 29 micron powder to remove biofilm and increase the composite bond strength.
The margins were etched with 37% phosphoric acid etch gel.
A two-bottle, total-etch bond was then applied to the surfaces and air dried, before light-curing for 20 seconds in accordance with the manufacturer’s instructions.
 Figure 3 and 4 : Venus Pearl B1 on the mesial aspect of UL1 was the closest matching shade


Seamless contouring
The mesial aspect of the UL2 was first outlined using a posterior matrix adapted around the palatal aspect. The B1 Venus Pearl shade was applied to create the new mesial contour of the tooth.
I have used Venus Pearl for more than 10 years for anterior and posterior composite cases.
Strong and durable, the material delivers superior polishability. It blends seamlessly with the natural tooth due to its chameleon-like characteristics and easy handling.
The mesial aspects were then built out and shaped with Venus Pearl B1 composite using Garrison Varistrip Mylar matrix strips.
The Mylar Pull technique was applied to finalise the shape of the lateral incisor.
The composite was brushed into position using a number two brush with wetting resin, and light-cured.
The same process was repeated to improve the distal form of the UL1. Also, to even the space between the UL1 and UL2.
Finishing and polishing
The composite restorations were finished using Sof-lex discs of decreasing coarseness.
The Kulzer Venus Supra polishing kit was used with water to give a final natural sheen.
The kit has just two grades of polishing points so it is time-saving and simple to use.
The finish was achieved with a fine goat hair wheel and aluminium oxide paste.
The occlusion was checked in all movements during the chewing pattern and no interferences were found.
The patient was ecstatic with the outcome. She could not wait to show the result to her fiancé, who is also a dentist.
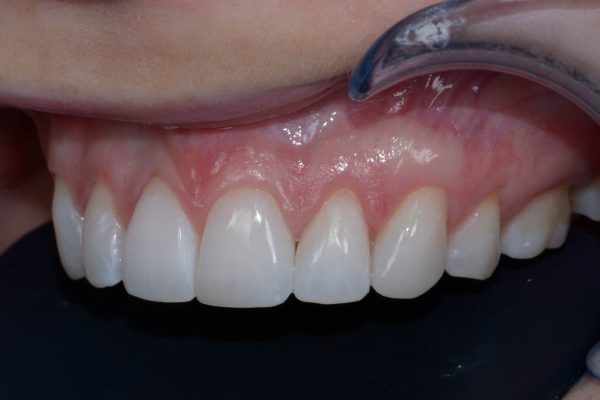
Post-treatment shots were taken (Figure 7). Final photographs will be obtained at the review appointment during the patient’s next visit.
I was honoured to help improve this colleague’s smile in time for her big day this summer.
Her fiancé has since booked an appointment with me. They also had restorations placed, which I created with Venus Pearl!
Dr Bashir runs anterior composite training. His new advanced composite course will enable delegates to learn and practise the above techniques. Please subscribe to the mailing list at www.scottishdentalstudyclub.co.uk to be notified of new course dates.
For further information, visit: www.tariqbashirdentistry.co.uk or www.scottishdentalstudyclub.co.uk.

